Orchids, known for their delicate and exquisite beauty, are often misunderstood as difficult plants to care for. Many orchid owners face challenges when trying to maintain healthy, blooming orchids. With the right care and attention, however, orchids can thrive for years, providing stunning blooms season after season. In this comprehensive guide, we’ll walk you through essential tips for orchid care, covering everything from watering techniques to optimal placement, ensuring your orchids remain healthy and vibrant throughout the year.
1. Choose the Right Pot for Your Orchid
When it comes to choosing the right pot for your orchid, one size does not fit all. While many orchids are sold in transparent pots, not every orchid benefits from this type of container. For instance, terrestrial orchids, which grow on the ground, perform better in opaque ceramic pots that provide stability and moisture retention. On the other hand, epiphytic orchids, such as the widely known Phalaenopsis, thrive in transparent pots because they need light to reach their roots.
However, regardless of the orchid type, all orchids need a proper balance of light and space for their roots to grow healthily. If an orchid does not receive enough light, its roots may begin growing outside the pot in search of more light, which is a clear indication that its growing conditions need adjustment.
2. Watering: The Key to Healthy Orchids
Watering is one of the most critical aspects of orchid care. Orchids require consistently moist roots but can be very sensitive to water stagnation, which can lead to root rot. The key is to provide enough water for the orchid’s needs without creating an overly damp environment.
To water your orchids, consider spraying water on the substrate for terrestrial orchids or soaking the plant in water for approximately two minutes for epiphytic varieties. Ensure that the plant is able to drain thoroughly after watering to prevent waterlogging.
To check whether your orchid needs water, gently insert your finger into the substrate to assess its moisture level. Alternatively, you can check the color of the roots: healthy roots are typically a fresh green color, while dried or shriveled roots indicate that the orchid needs watering.
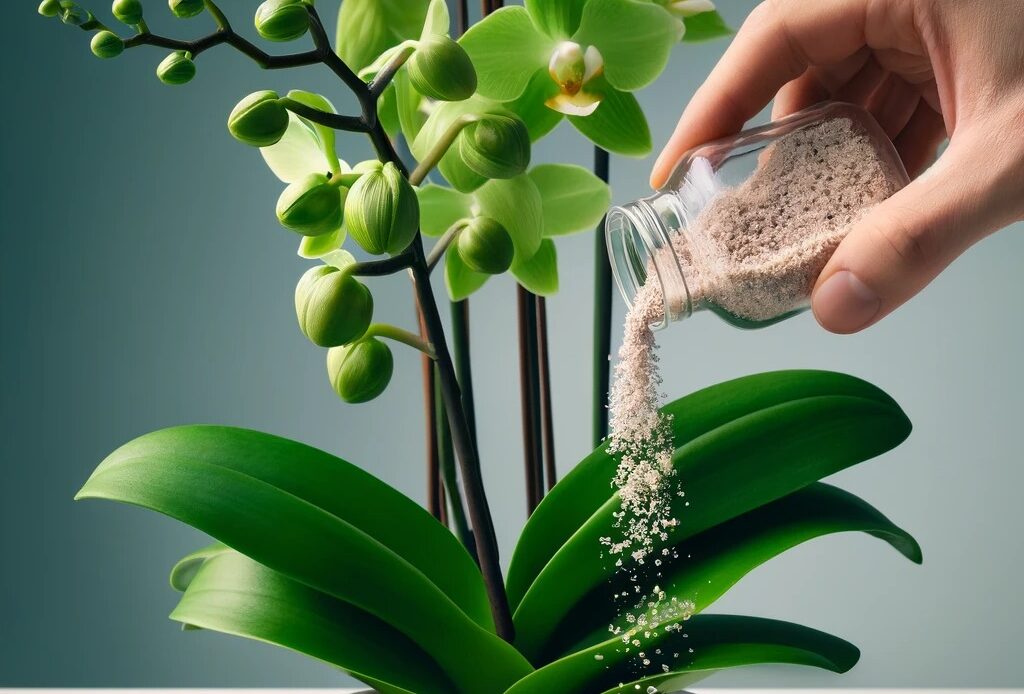
3. Fertilization and Substrate Change for Continuous Bloom
To maintain continuous blooming, it’s important to replace the substrate (the growing medium) of your orchid annually. Over time, the substrate loses its nutrient content, which can hinder the plant’s growth and blooming. Orchids generally do not outgrow their pots, so you can keep the same pot when changing the substrate.
When repotting, use a special orchid fertilizer to provide the plant with the necessary nutrients. Additionally, always opt for a substrate specifically designed for orchids, which typically includes a mixture of bark, perlite, and other materials that provide excellent drainage.
4. Stimulating Orchid Flowering: A Simple Trick
One of the most effective methods to encourage orchids to bloom is by exposing them to a bit of cold during the colder months. Orchids are often triggered to flower when they experience temperature fluctuations, signaling a seasonal change.
During the months of February, March, October, or November, you can place your orchid outdoors, on a balcony or terrace. Just ensure the plant is protected from frost, direct sunlight, and cold drafts. Leave it outside for about a week. This exposure to cooler temperatures will stimulate the plant, signaling it to flower.
If your orchid has not bloomed for an entire year and the roots are exhausted, another trick to encourage flowering is to add a teaspoon of dissolved honey to the water you use for irrigation. This process should only be done once a year to avoid stressing the plant.
5. Transplanting: How to Replant Your Orchid Safely
Transplanting orchids is a relatively simple process that can help rejuvenate the plant and encourage healthy growth. To transplant your orchid, gently remove it from the pot, allowing the pine bark (or any other substrate) to fall off naturally. Next, spray the orchid roots with a specific fungicide designed for orchids to prevent infections.
After cleaning the roots, carefully place the orchid back in the pot, adding fresh substrate around the plant. Tap the pot gently to settle the substrate, ensuring the roots are adequately covered but not too compacted. Regularly check the roots and the substrate for any signs of decay or rot.
6. Pruning: Maintaining Healthy Blooms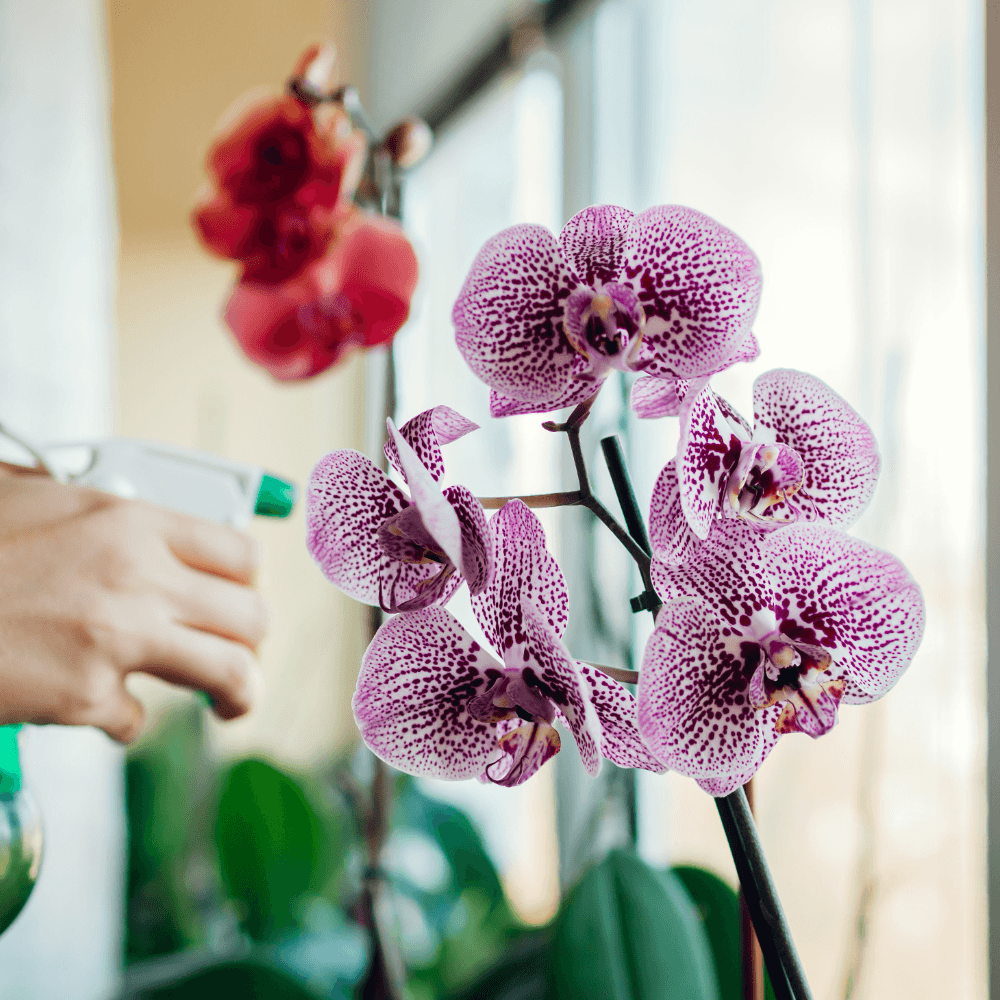
Pruning is an essential step in orchid care, especially when it comes to managing spent flowers. Once an orchid spike has stopped producing flowers and starts to decay (turning brown or drying up), it’s time to prune. Use sterilized scissors or pruning shears to remove the spent spike carefully.
To prevent infection and promote healing, apply a small amount of powdered cinnamon to the cut area. This natural remedy helps to protect the plant while it recovers.
7. Light: The Secret Ingredient to Orchid Health
Light plays a crucial role in the overall health of your orchid. While orchids generally love bright, indirect light, exposure to direct sunlight can cause damage to their delicate petals and leaves. Ideally, orchids should be placed in a spot that receives filtered sunlight, such as near a window with sheer curtains or under a grow light designed for indoor plants.
Phalaenopsis orchids, for instance, thrive in bright, indirect light, while Cattleya orchids require even more light to bloom. Keep an eye on your plant’s leaves to monitor light levels: if they turn yellow or develop brown spots, it’s a sign that the plant is receiving too much direct sunlight.
To ensure that your orchid receives the appropriate amount of light, consider rotating the plant every few weeks to allow all sides to benefit from sunlight. This practice promotes balanced growth and avoids uneven development of the leaves and flowers.
8. Humidity: Creating the Ideal Environment
Orchids thrive in high humidity environments, typically between 50% and 70%. If you live in a dry climate or your indoor space lacks the necessary moisture, you can create an ideal environment for your orchids by using a humidifier or placing the orchid pot on a moist pebble tray.
A pebble tray is simple to set up: fill a shallow tray with water and small stones, then place your orchid pot on top, ensuring the pot doesn’t sit in the water. As the water evaporates, it increases the humidity around the plant, creating a more favorable environment for growth and flowering.
For added humidity, you can also place multiple orchids together. The moisture from one plant can create a microclimate, increasing humidity for the rest. Just be sure the plants have enough space to grow without overcrowding.
Care Tips for Thriving Orchids
Orchids are a beautiful and rewarding plant to care for, but they do require specific care to keep them thriving and blooming year after year. By following these simple yet effective tips, from choosing the right pot and watering properly to stimulating flowering and pruning, you can ensure that your orchids continue to flourish and bring joy to your home.
Remember that patience is key when caring for orchids, and with the right attention, these stunning flowers can grace your space with their beauty for many seasons to come. By incorporating these best practices into your orchid care routine, you’ll enjoy an abundance of blooms and a healthy, thriving plant year after year.