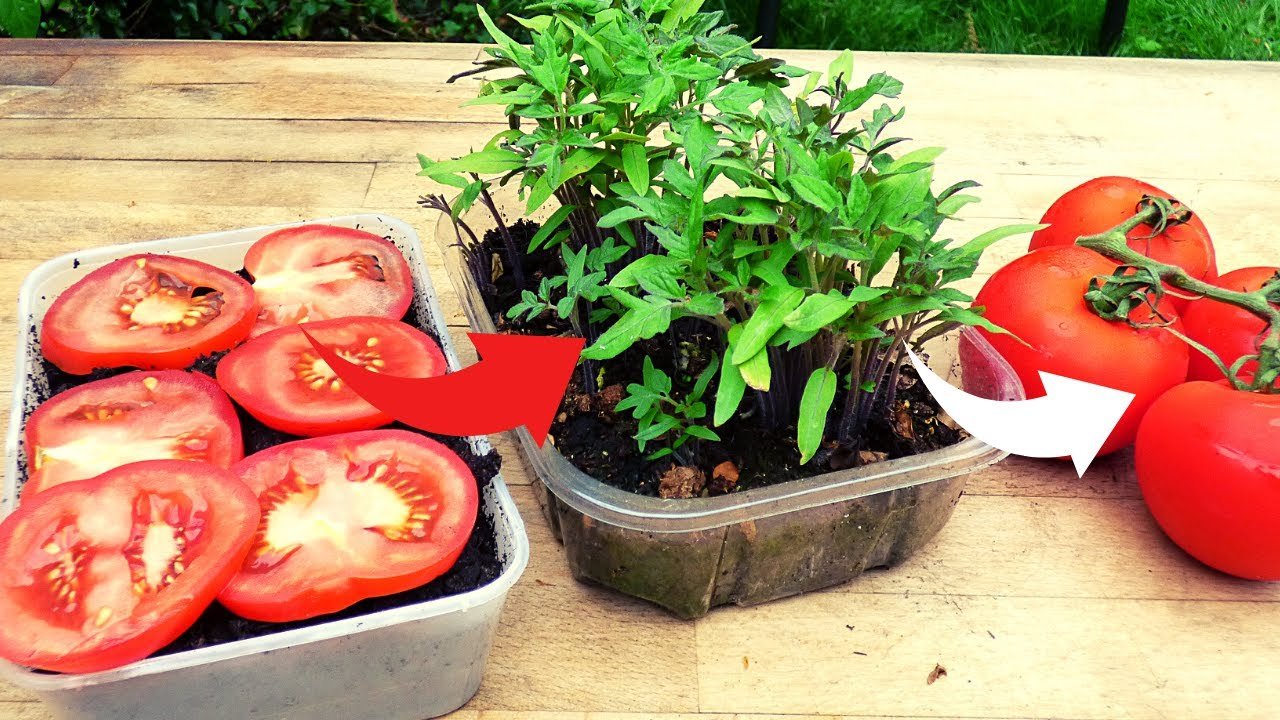
Have you ever wondered if you could grow a tomato plant from just a simple slice of tomato? It might sound like magic, but with a little patience and the right steps, you can unlock the potential of nature and transform a humble slice into a thriving tomato plant. Let’s explore the fascinating process of growing tomatoes from slices and how you can create a flourishing garden right from your kitchen.

### Why Grow Tomatoes from Slices?
Tomatoes are among the most popular and rewarding crops to grow at home. They’re easy to grow, and the satisfaction of harvesting your own fresh tomatoes is unparalleled. But did you know you can take an extra simple approach by using a tomato slice to start the growing process?
Unlike traditional seed starting, growing from slices offers an easy and accessible method for beginner gardeners. You don’t need to purchase expensive seeds or worry about complicated planting techniques. With a few basic supplies, you can grow your own tomatoes, using a method that feels almost like nature’s little secret.
### How to Grow Tomatoes from a Slice
Growing tomatoes from slices is surprisingly easy. Here’s a step-by-step guide to help you unlock the magic of this natural process:
#### Step 1: Choose a Fresh Tomato
Start by selecting a ripe, healthy tomato. It’s important to choose a tomato that is fully ripe to ensure that the seeds inside are mature and viable. You can choose any variety of tomato, but heirloom tomatoes are often a great choice for growing as they tend to have more robust seeds.
#### Step 2: Prepare the Slice
Next, take your ripe tomato and slice it into thick pieces. Each slice will contain multiple seeds, so you don’t need to worry about being overly precise. Ideally, you should aim for 3-4 slices, as this gives you more chances for success.
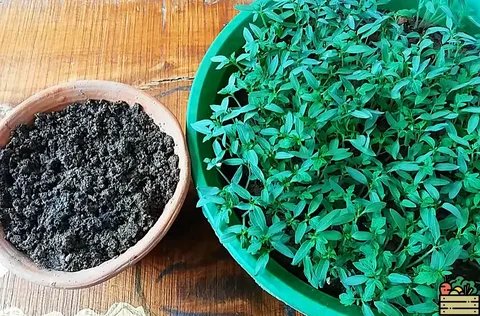
#### Step 3: Prepare the Seed Starting Soil
Use a quality seed starting soil or a well-draining potting mix. It’s important to use soil that’s light and fluffy to allow proper air circulation and drainage for the tomato seeds. Fill a shallow container with about an inch of soil, ensuring it’s leveled.
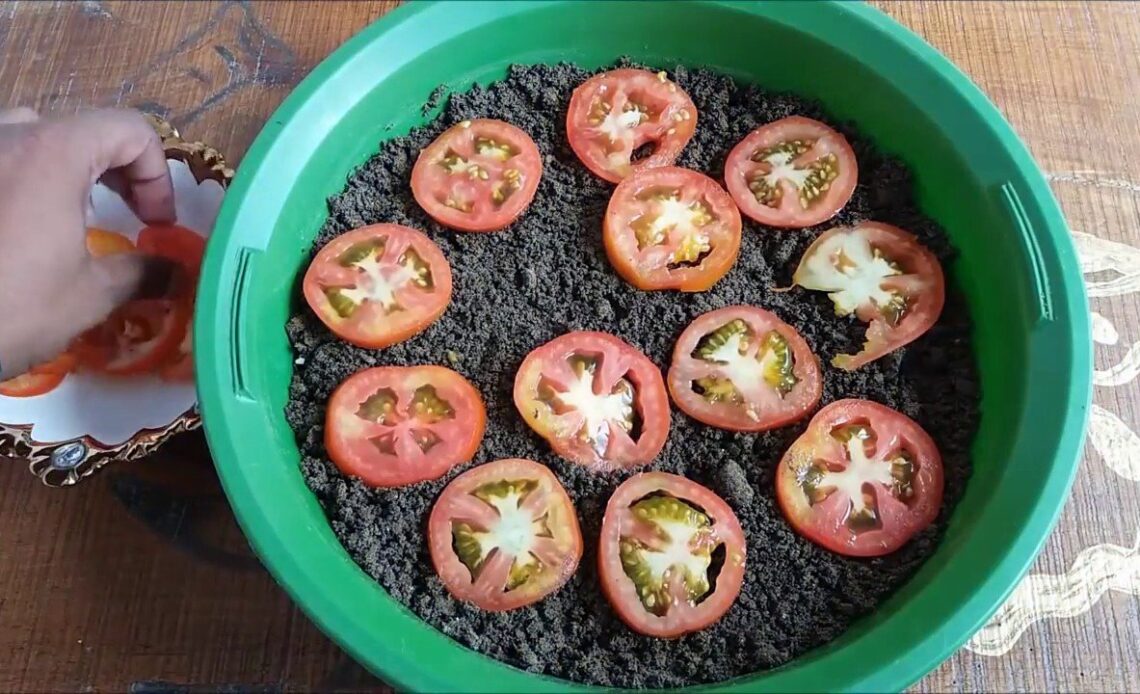
#### Step 4: Place the Tomato Slices
Lay the tomato slices on top of the soil. Be sure the seeds are facing downward, touching the soil. This will ensure that the seeds begin to sprout and root into the soil. You can place multiple slices in one container, depending on its size.
#### Step 5: Cover with a Thin Layer of Soil
Lightly cover the tomato slices with a thin layer of soil, just enough to ensure they are lightly buried. The goal here is to allow moisture and warmth to aid in seed germination.
#### Step 6: Water and Maintain Moisture
Water the container lightly to keep the soil moist but not soggy. Tomatoes require consistent moisture for successful germination, so it’s essential to keep the soil damp, but not overly wet. You can cover the container with a plastic wrap or a humidity dome to retain moisture and warmth, which will help the seeds sprout.
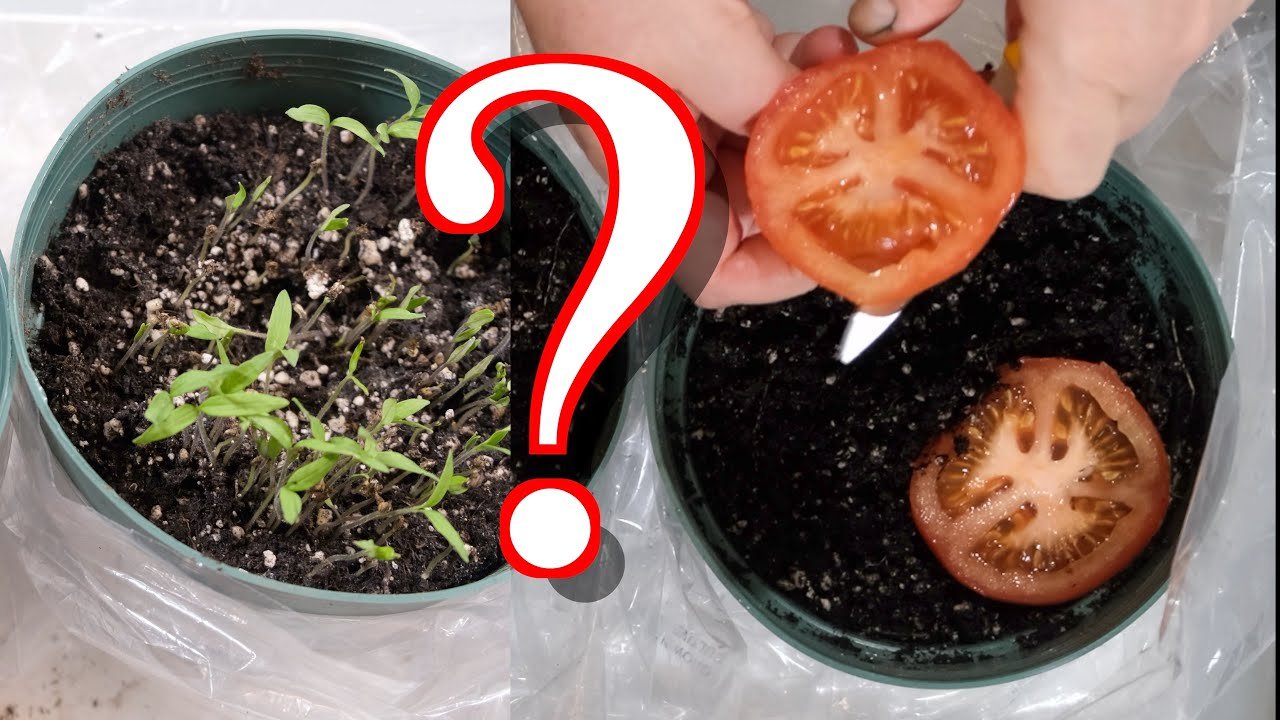
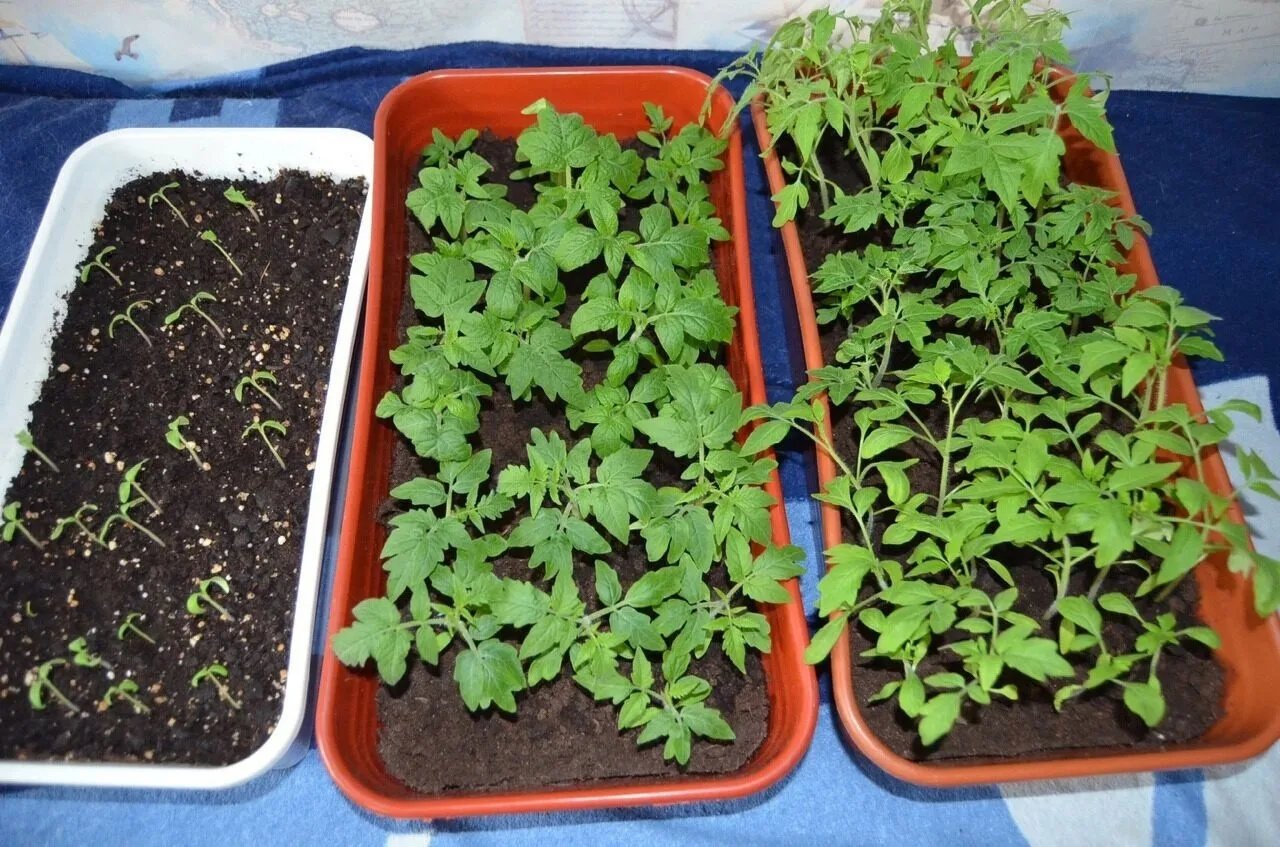
#### Step 7: Watch for Germination
Within 5-10 days, you should start to see small green shoots emerge from the seeds in the tomato slices. Be patient during this phase, as it may take some time for the roots to develop. Once the seedlings have grown large enough, you can carefully transplant them into separate pots or your garden.
### Tips for Success When Growing Tomatoes from Slices
1. **Warmth is Key**: Tomatoes love warmth Make sure the container is kept in a warm spot with plenty of indirect sunlight. Ideally, temperatures should range between 70°F to 80°F (21°C to 27°C) for optimal growth.
2. **Consistent Moisture**: Keep the soil moist but not soggy. Overwatering can cause mold growth or rot, while underwatering may hinder germination.
3. **Good Drainage**: Ensure the container has drainage holes to allow excess water to escape. This will help prevent waterlogging and root rot.
4. **Thin the Seedlings**: Once the seedlings are large enough, thin them out so that the strongest plants can grow. Leave only the healthiest and most robust seedlings to continue growing.
5. **Transplanting**: When the seedlings are a few inches tall and have developed several sets of leaves, it’s time to transplant them into larger containers or directly into your garden.
### The Benefits of Growing Tomatoes from Slices
– **No Need for Seeds**: Using slices eliminates the need to purchase tomato seeds, making it a cost-effective gardening method.
– **Easy for Beginners**: This method is beginner-friendly and requires minimal gardening experience. If you’ve never grown tomatoes before, this is a great place to start.
– **Sustainable**: By reusing tomatoes you already have, you are reducing waste and practicing sustainability by growing food from scraps.
– **Fun and Rewarding**: There’s something magical about watching a slice of tomato transform into a thriving plant. The process is educational and rewarding for gardeners of all ages.
Growing tomatoes from slices is an enchanting and simple way to connect with nature and watch the magic of growth unfold before your eyes. It’s a process that requires minimal effort but rewards you with a bounty of delicious, homegrown tomatoes. Whether you’re a seasoned gardener or a complete beginner, this method is a fun and easy way to start your gardening journey.
So, the next time you enjoy a fresh tomato, think twice before tossing that slice away—it may just be the beginning of your next gardening adventure