If you’re passionate about gardening and want to expand your collection of fruit-bearing trees, **propagating fig trees from cuttings** is a fantastic and cost-effective way to do it. Fig trees, known for their sweet and delicious fruits, are relatively easy to propagate with the right technique. In this article, we’ll share a **unique and successful method** to grow new fig trees from cuttings that will help you achieve high success rates. Whether you’re a seasoned gardener or a beginner, this method will ensure you get strong, healthy fig trees with minimal effort.
### **Why Propagate Fig Trees from Cuttings?**
There are several reasons why propagating fig trees from cuttings is a great idea:
– **Cost-Effective**: Instead of purchasing multiple fig trees, you can propagate several trees from just one healthy specimen.
– **Maintain Variety**: When you propagate from a tree you love, you are guaranteed that the new plant will have the same characteristics, including fruit quality and tree size.
– **Fast and Easy**: With the right technique, you can grow a new fig tree within a few months, making it a quick and rewarding project.

### **Materials Needed for Fig Tree Propagation**
Before we dive into the step-by-step method, here’s what you’ll need:
– A healthy **fig tree** (choose a mature, healthy tree for the best cuttings)
– **Sharp pruning shears** or a clean knife
– **Rooting hormone** (optional but highly recommended for faster rooting)
– **A small pot** (about 6 inches deep)
– **Well-draining potting mix** (a mix of perlite and peat moss works great)
– **A plastic bag** or clear plastic wrap (for humidity)
### **Step-by-Step Guide to Propagate Fig Trees from Cuttings**
Now that you have everything you need, let’s walk you through the unique and effective technique to propagate fig trees from cuttings.
#### **1. Choose the Right Cutting**
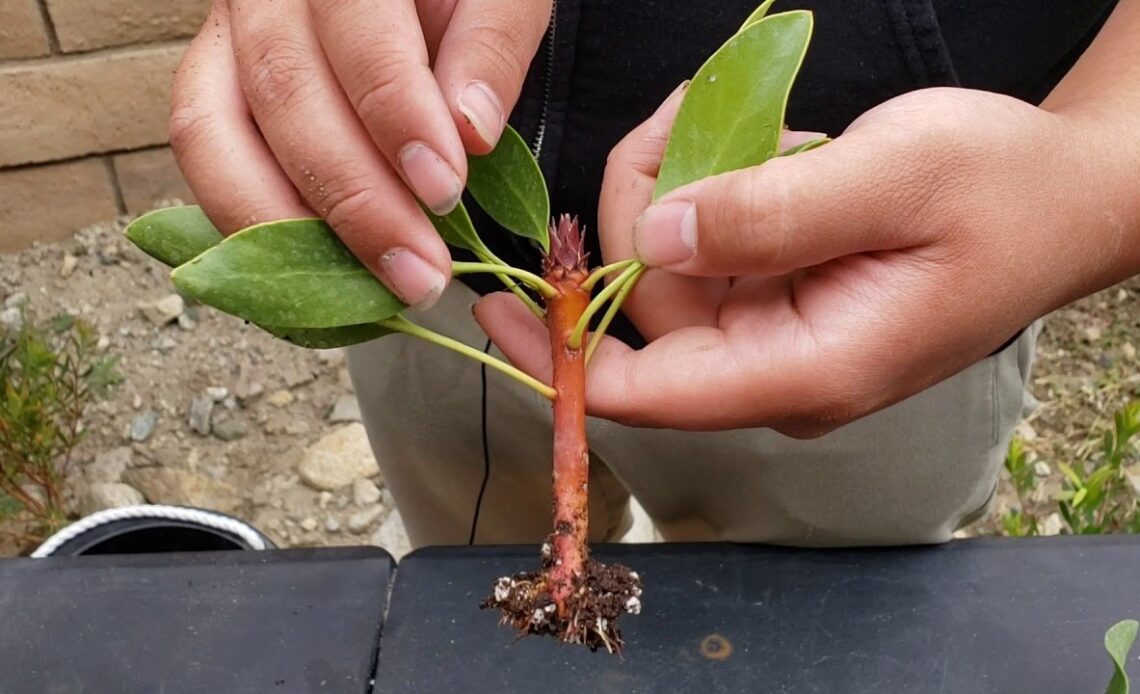
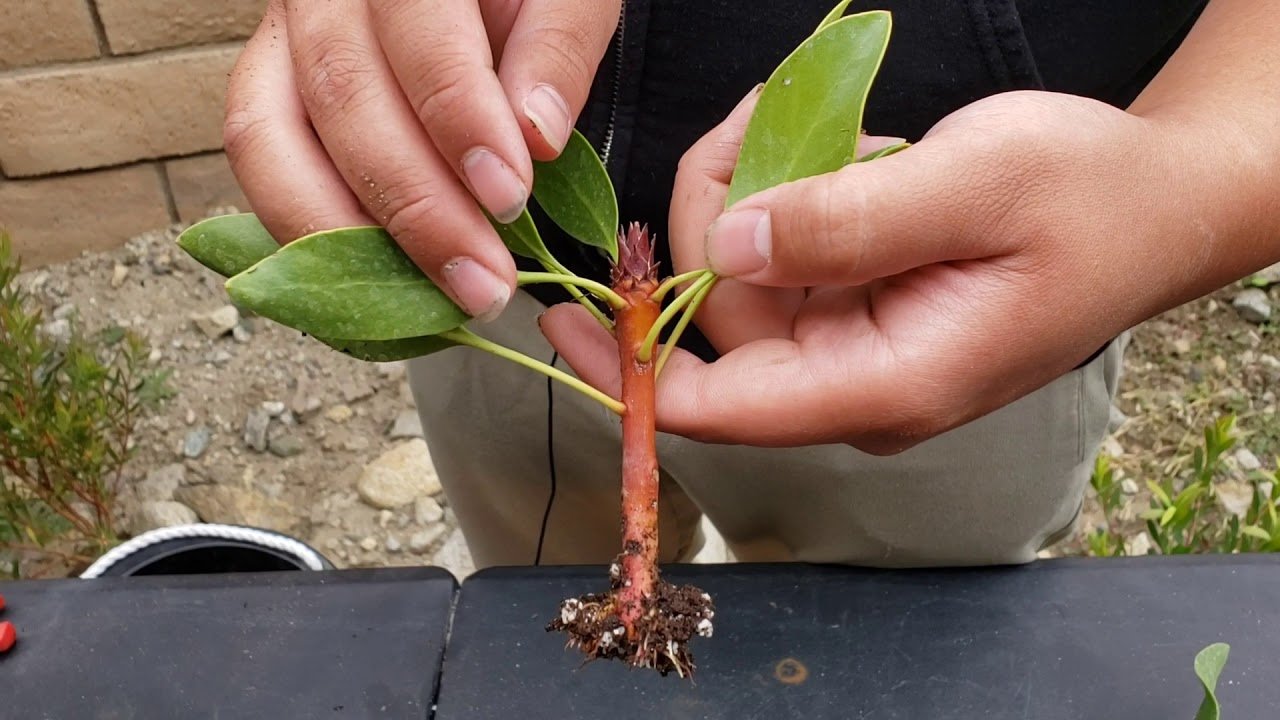
To start the process, you need to select a healthy cutting from the parent fig tree. Look for **young, healthy growth** that is approximately 6-8 inches long. Make sure the cutting is taken from a **non-fruiting branch**, as they tend to root better.
– **Tip**: Cut a section of the branch that is about the size of a pencil. Make sure your cutting has at least **3-4 nodes** (the points where leaves and branches sprout) for better rooting success.
#### **2. Prepare the Cutting**
Using your sharp pruning shears or a clean knife, make a **clean cut** just below a node. Remove any leaves or lateral branches from the lower half of the cutting, leaving just the top leaves intact. This will help reduce water loss and allow the cutting to focus on root development.
– **Optional Step**: Dip the cut end of your cutting in **rooting hormone**. While this is optional, rooting hormone can significantly speed up the rooting process and improve the success rate.
#### **3. Plant the Cutting in Potting Mix**
Now that your cutting is prepared, it’s time to plant it. Fill your small pot with **well-draining potting mix**. Gently make a hole in the soil with your finger or a pencil, and place the cutting into the hole, ensuring the **cut end is buried about 2-3 inches deep**.
– **Tip**: Be careful not to bury the nodes below the soil line, as these are where the roots will emerge.
#### **4. Water and Create a Humid Environment**
After planting the cutting, water the soil thoroughly to ensure the cutting has enough moisture to begin the rooting process. Then, cover the pot with a **plastic bag** or clear plastic wrap to create a humid environment around the cutting. This will help prevent the cutting from drying out and promote root growth.
– **Tip**: If using a plastic bag, make sure it doesn’t touch the cutting directly. You can prop the bag up with small sticks or bamboo poles to create a little “greenhouse” effect.
#### **5. Place in a Warm, Bright Location**
Place the potted cutting in a **warm** and **bright** location, but out of direct sunlight. Ideal temperatures for fig cuttings to root are between 65°F and 75°F (18°C to 24°C). The warmth will encourage faster root growth, while indirect light will ensure the cutting doesn’t get scorched.
#### **6. Monitor Progress and Water Regularly**
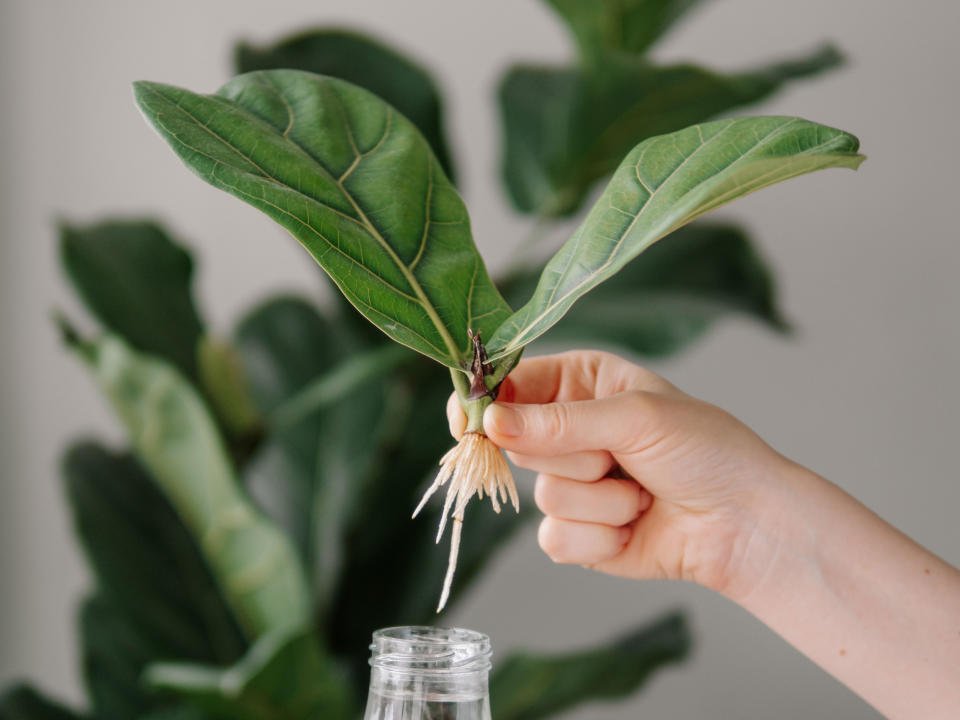
Check on your cutting every few days. Keep the soil moist, but not waterlogged, as excess moisture can cause the cutting to rot. After about 3-4 weeks, gently tug on the cutting to check for resistance, which indicates that roots are beginning to form.
– **Tip**: If you see roots emerging, it’s time to remove the plastic cover and allow the cutting to acclimate to the air.
#### **7. Transplant to a Larger Pot or Garden Bed**
Once the fig cutting has established strong roots (usually within 6-8 weeks), it’s time to transplant it to a larger pot or directly into your garden bed. Be sure to gradually expose the young plant to full sunlight over a week or two to avoid shock.
– **Tip**: If transplanting into the garden, ensure the soil is well-draining and your fig tree will receive at least 6-8 hours of direct sunlight daily.
### **Tips for Success in Propagating Fig Trees from Cuttings**
– **Choose the Right Time**: The best time to take cuttings from a fig tree is during the **spring or early summer**, when the tree is actively growing.
– **Patience is Key**: Fig cuttings can take time to root, sometimes up to 8 weeks. Don’t be discouraged if progress seems slow
– **Keep the Cutting Healthy**: Be mindful of pests or mold. If you notice any mold forming on the cutting, remove the plastic cover to allow better air circulation.
– **Ensure Good Drainage**: Make sure the pot has proper drainage to prevent water from sitting at the bottom, which can lead to root rot.
### **Final Thoughts: The Joy of Growing Fig Trees at Home**
Now that you know how to propagate fig trees from cuttings, you can easily grow your own fig orchard at home Not only will you have fresh figs at your fingertips, but you’ll also enjoy the satisfaction of propagating plants and nurturing them to maturity. With the method above, you’re well on your way to becoming a fig-growing pro in no time
### **Support Us on Our Journey**
If you found this guide helpful, we’d love your support Leave a comment, share your thoughts, or let us know how your fig propagation journey is going. Your engagement helps us stay connected, and we can continue bringing you amazing gardening tips and techniques.