Hydrangeas are some of the most stunning and beloved flowering shrubs, known for their large, colorful blooms that can transform any garden into a vibrant haven. If you’ve ever wanted to grow your own hydrangeas, but didn’t want to spend a fortune buying new plants, you’re in luck Growing hydrangeas from cuttings is a simple and rewarding process that allows you to propagate these beautiful flowers right at home. Whether you’re a beginner gardener or looking for an easy way to expand your garden, this guide will walk you through everything you need to know.
### **Why Grow Hydrangeas from Cuttings?**
Before diving into the process, let’s first understand why growing hydrangeas from cuttings is such a great option:
– **Cost-Effective**: Buying mature hydrangea plants can get expensive, especially if you want to create a large garden. Taking cuttings is a budget-friendly way to grow your hydrangeas without the added cost.
– **Personal Satisfaction**: There’s something incredibly satisfying about watching your cuttings grow into healthy, full-sized plants. Plus, you’ll have more control over the process and the type of hydrangea you propagate.

– **Variety**: Growing hydrangeas from cuttings allows you to reproduce a specific cultivar you already love. Whether you adore the classic blue blooms or the rich pink tones, you can replicate your favorite varieties.
### **What You Need to Get Started**
Before you begin, it’s important to gather the necessary supplies. Here’s what you’ll need to successfully propagate hydrangeas from cuttings:
– **Healthy Hydrangea Plant**: Choose a hydrangea bush that’s in good health and free from pests or disease. It’s best to take cuttings from a plant that has healthy growth.
– **Sharp Pruning Shears**: A clean, sharp pair of pruning shears or scissors is essential for making clean cuts without damaging the plant.
– **Rooting Hormone**: Rooting hormone is optional but can significantly improve the success rate of rooting. It helps stimulate root growth in your cutting.
– **Small Pots or Containers**: You’ll need small pots or containers to place your cuttings in. Ensure they have good drainage.
– **Well-Draining Soil**: Use a potting mix that’s light and well-draining to allow the cuttings to root properly.
– **Plastic Bag or Propagation Dome**: To maintain humidity around the cuttings, you can use a plastic bag or a propagation dome.
– **Watering Can or Spray Bottle**: Keep the cuttings hydrated by misting them regularly.
### **Step-by-Step Guide to Growing Hydrangeas from Cuttings**
Now that you have everything you need, let’s go over the step-by-step process of propagating hydrangeas from cuttings.
#### **Step 1: Take the Cuttings**
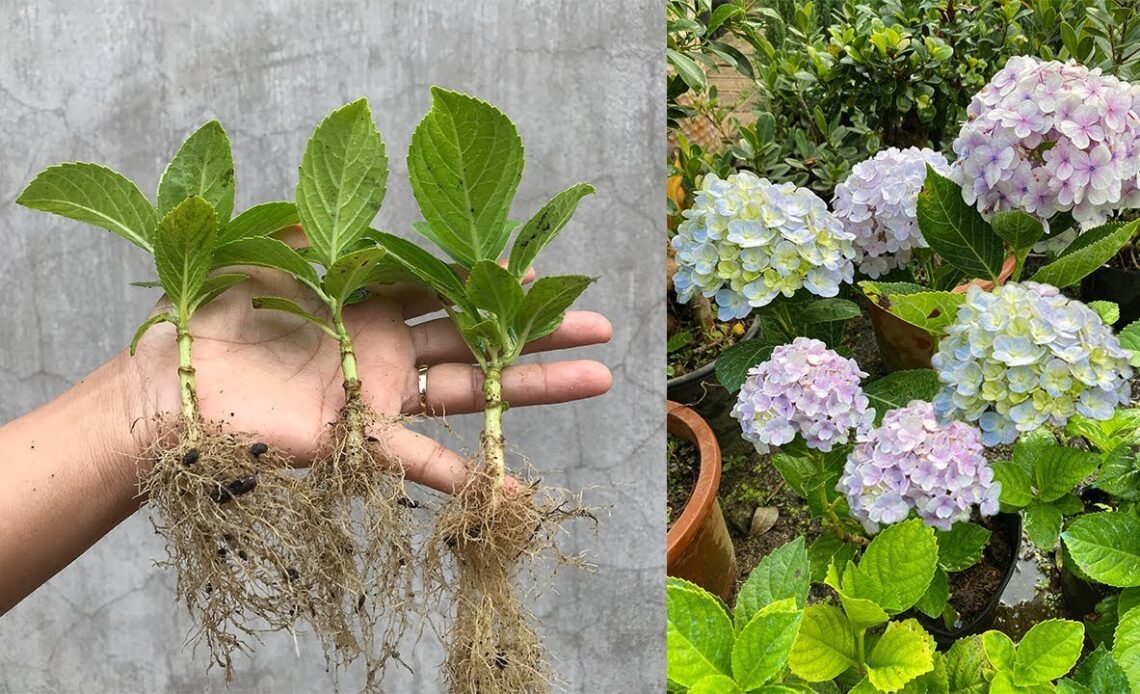
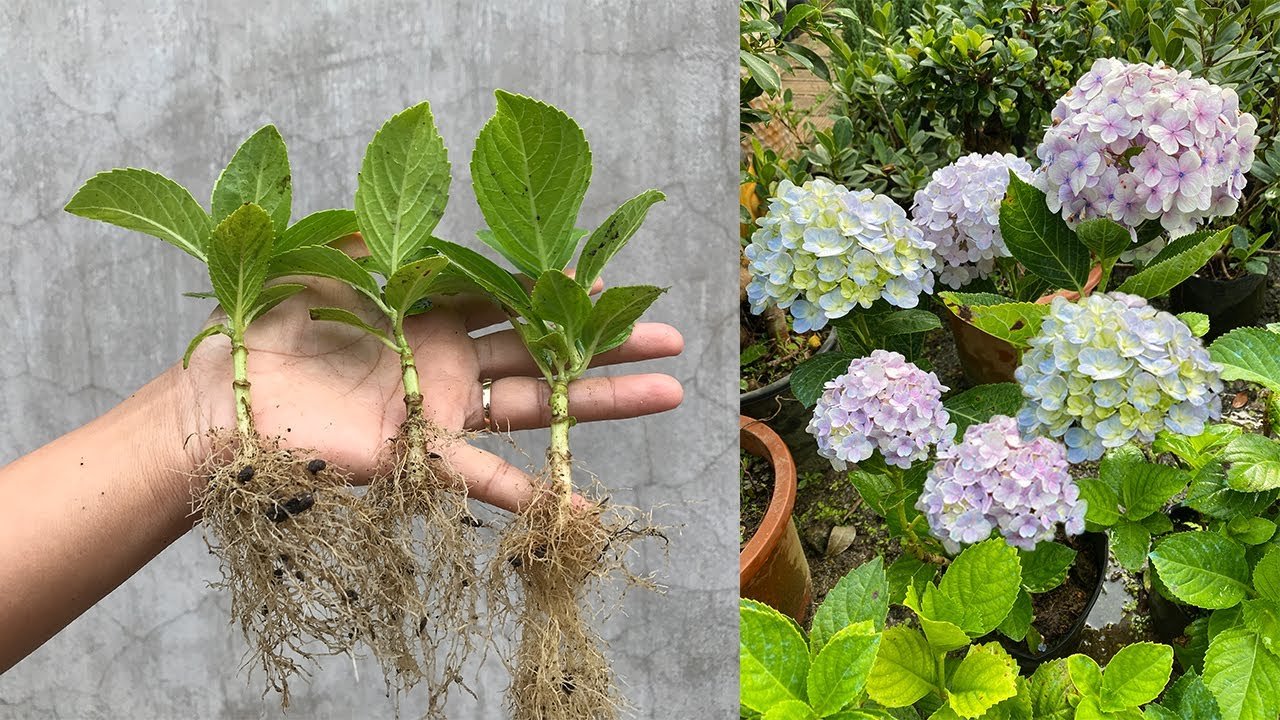
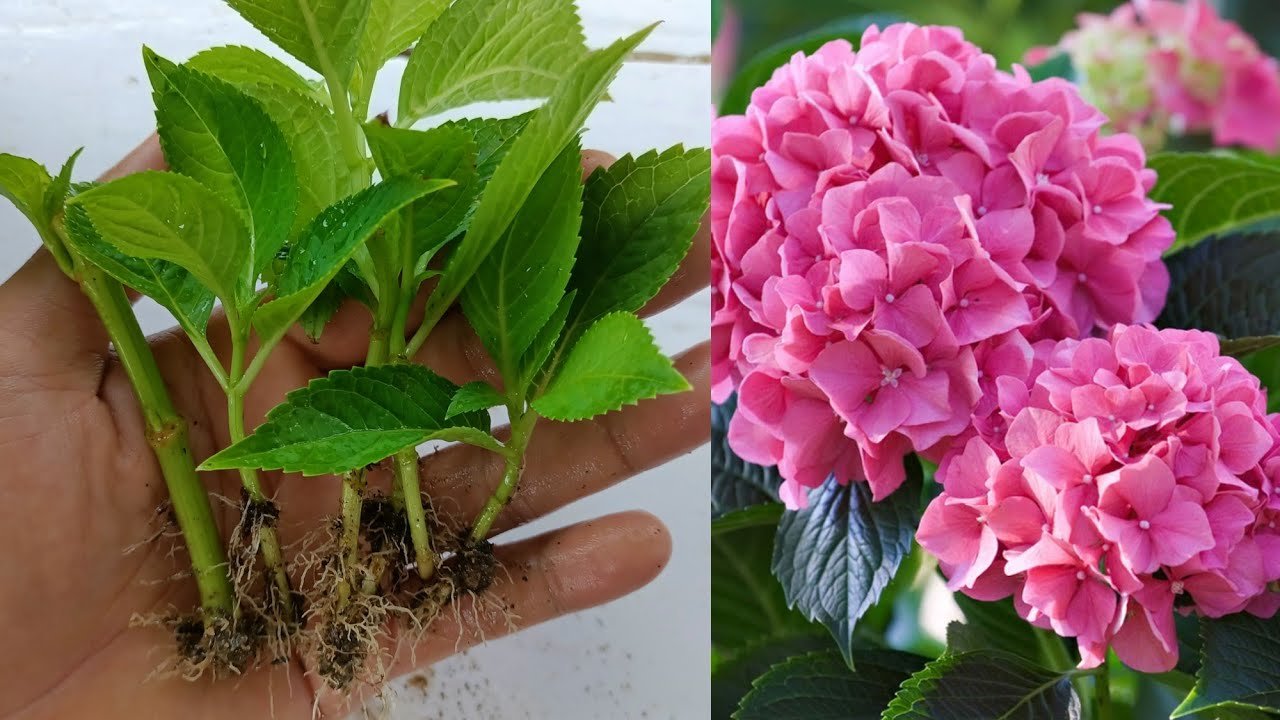
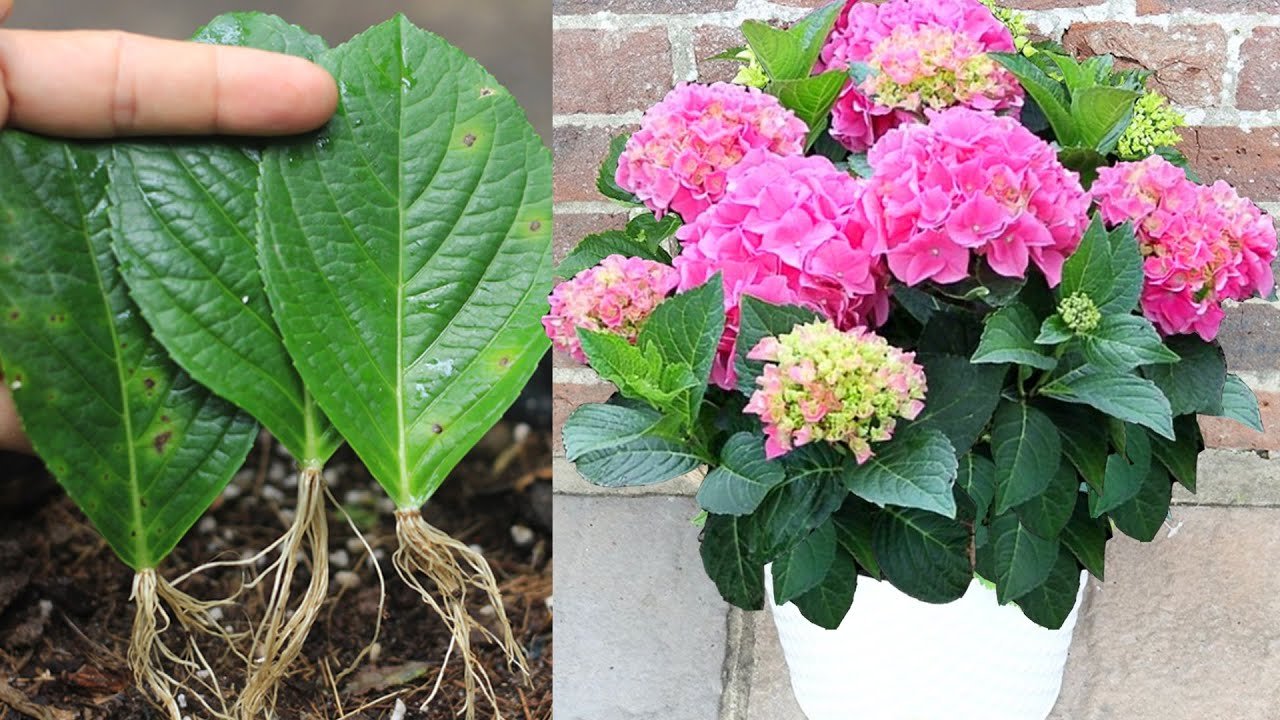
The best time to take hydrangea cuttings is during the late spring or early summer when the plant is actively growing. Choose a healthy, non-flowering stem that is about 4 to 6 inches long. The cutting should come from a softwood stem, meaning it’s not too woody but has some firmness. Use your sharp shears to cut the stem just below a leaf node, which is where the roots will eventually form.
#### **Step 2: Remove Excess Foliage**
Once you’ve taken your cuttings, remove the lower leaves from the stem, leaving just two or three leaves at the top. Be sure not to remove too much of the upper foliage, as it helps the cutting stay healthy while it develops roots.
#### **Step 3: Apply Rooting Hormone (Optional)**
To help encourage root development, dip the cut end of your hydrangea cutting into rooting hormone. Gently tap off any excess powder. While this step is optional, using rooting hormone increases your chances of success, especially if you’re new to propagating plants.
#### **Step 4: Plant the Cuttings in Pots**
Prepare your small pots by filling them with well-draining potting mix. Make a hole in the center of the soil, either with your finger or a stick, and insert the cutting about 2 to 3 inches deep into the soil. Gently press the soil around the cutting to hold it in place.
#### **Step 5: Create a Humid Environment**
Hydrangeas thrive in high humidity, so creating a humid environment is crucial. Cover your pot with a plastic bag or place it under a propagation dome. This helps trap moisture around the cutting and prevents it from drying out. Be sure to leave some space for airflow to avoid mold growth.
#### **Step 6: Water and Maintain Temperature**
Water your cuttings lightly, ensuring the soil is moist but not waterlogged. Check them regularly for moisture and mist them with a spray bottle if needed. Keep the cuttings in a warm area with indirect sunlight. A temperature range of 65–75°F (18–24°C) is ideal for rooting. Avoid placing them in direct sunlight, as it may scorch the cuttings.
#### **Step 7: Wait for Roots to Develop**
It typically takes about 4 to 6 weeks for hydrangea cuttings to develop roots. You can check the progress by gently tugging on the cuttings; if they feel resistant, roots are starting to form. At this stage, you can remove the plastic bag or dome for short periods to help the cuttings acclimate to the air.
#### **Step 8: Transplant Your Hydrangea Cuttings**
Once your cuttings have developed a good root system, it’s time to transplant them into larger pots or directly into the ground. Gently remove the rooted cutting from its container and plant it in a well-prepared spot in your garden, or in a larger pot with more room for growth.
### **Care Tips for Your Newly Propagated Hydrangeas**
Once your hydrangea cuttings are rooted and established, here are a few care tips to keep them healthy:
– **Water Regularly**: Keep the soil consistently moist, especially during the first few months of growth.
– **Fertilize Lightly**: After a few weeks, you can start fertilizing your hydrangea with a balanced, slow-release fertilizer.
– **Pruning**: Prune the hydrangea regularly to promote bushy growth and encourage the development of more flowers.
– **Mulch**: Apply mulch around the base of the plant to retain moisture and protect the roots during the warmer months.
Growing hydrangeas from cuttings is a simple, cost-effective, and rewarding way to expand your garden. By following these easy steps, you can propagate these beautiful plants and enjoy their stunning blooms year after year. Whether you’re a beginner or a seasoned gardener, this method will allow you to grow healthy hydrangeas and fill your garden with vibrant color
So grab your pruning shears, gather your supplies, and start growing your own hydrangeas from cuttings today. You’ll be amazed at the results