Orchids are one of the most beautiful and elegant flowers you can have in your garden or home, but they can also be one of the most delicate. If you’re a passionate orchid lover, you may want to learn how to propagate your orchids to expand your collection or share them with others. Fortunately, orchids are not as difficult to propagate as you might think

In this guide, we’ll walk you through **5 genius ways to propagate your orchid plant** and ensure it thrives in every stage of its growth. From simple cuttings to advanced techniques, we’ve got the tips and tricks you need to successfully propagate your orchids and enjoy their beauty all year round.
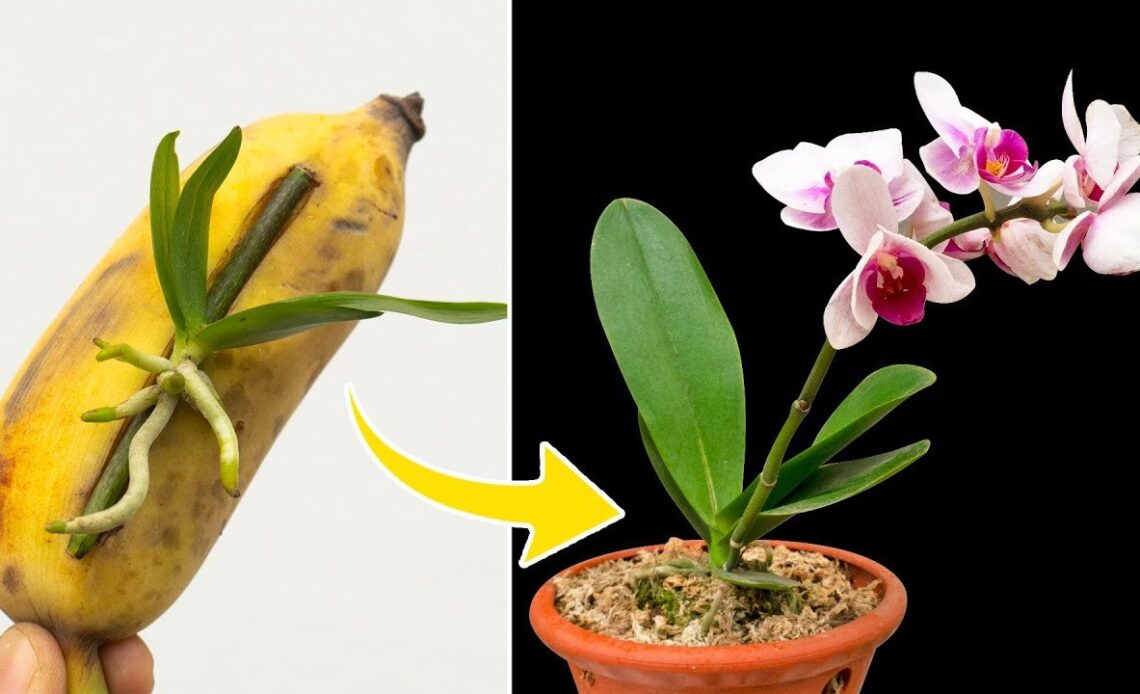
### 1. **Propagation Through Keiki (Offshoots)**
One of the most natural and easiest ways to propagate your orchids is by using **keikis**. A keiki is a baby orchid plant that grows on the flower spike of the parent plant. It’s essentially a clone of the original plant and can be separated once it has developed roots of its own.
#### How to Propagate via Keiki:
– **Step 1**: Look for a keiki growing along the flower spike of your orchid.
– **Step 2**: Wait until the keiki has developed roots that are at least 2 inches long.
– **Step 3**: Carefully cut the keiki from the parent plant using a sterile knife or scissors.
– **Step 4**: Pot the keiki in a suitable orchid medium (like bark or sphagnum moss) and provide it with proper care.
This method is a natural process for many types of orchids, especially **Phalaenopsis** orchids. With patience, your keiki will grow into a mature plant
### 2. **Division Method (For Sympodial Orchids)**
If you have a **sympodial orchid** like **Cattleya**, **Oncidium**, or **Dendrobium**, you can propagate by dividing the plant. Sympodial orchids grow in a clump-like structure, and you can carefully divide the plant into multiple sections, each with its own roots and pseudobulbs.
#### How to Propagate via Division:
– **Step 1**: Remove the orchid from its pot and gently separate the roots.
– **Step 2**: Look for sections of the plant with at least one healthy pseudobulb and a good root system.
– **Step 3**: Use a sterile knife or scissors to divide the plant into smaller sections.
– **Step 4**: Pot each section separately in fresh orchid mix and water thoroughly.
With this method, each new section will develop into an independent orchid, creating multiple plants from one original orchid.
### 3. **Stem Cutting Method (For Monopodial Orchids)**
Monopodial orchids, such as **Phalaenopsis** or **Vanda**, can be propagated using a **stem cutting**. This technique involves cutting a healthy portion of the stem and encouraging it to grow new roots and shoots.
#### How to Propagate via Stem Cutting:
– **Step 1**: Take a healthy stem with at least one or two nodes (the small bumps along the stem).
– **Step 2**: Cut the stem just below a node using a sharp, sterile knife or scissors.
– **Step 3**: Dip the cutting in rooting hormone to encourage root development.
– **Step 4**: Place the cutting in a humid environment, such as a greenhouse or a clear plastic bag, to retain moisture.
– **Step 5**: Wait for roots to develop and then pot the cutting in orchid medium.
Stem cutting is a great way to propagate **Phalaenopsis orchids** and other monopodial varieties. It requires patience, but the results can be rewarding
### 4. **Back Bulb Method (For Dendrobium Orchids)**
The **back bulb** method is another great way to propagate orchids, especially those in the **Dendrobium** family. A back bulb is an older pseudobulb that can sometimes develop new growth and roots when removed from the parent plant.
#### How to Propagate via Back Bulb:
– **Step 1**: Locate an old pseudobulb at the base of the plant (usually near the bottom).
– **Step 2**: Carefully remove the back bulb from the plant using a sterile knife.
– **Step 3**: Pot the back bulb in a suitable orchid mix.
– **Step 4**: Keep the bulb in a warm, humid environment to encourage growth.
– **Step 5**: Water sparingly until you see new growth emerging from the bulb.
This method works well for orchids like **Dendrobium** and is a great way to rejuvenate old orchids and get new plants without much effort.
### 5. **Tissue Culture Propagation (Advanced Method)**
For experienced orchid growers, **tissue culture** is an advanced propagation method that involves growing orchids from tiny tissue samples in a lab setting. This method can create a large number of clones from a single plant in a relatively short period of time.
#### How Tissue Culture Works:
– **Step 1**: A small piece of tissue (often from the leaf, stem, or flower) is sterilized and placed in a growth medium that promotes cell division.
– **Step 2**: The tissue is kept in a controlled environment with the right temperature, humidity, and light to encourage the growth of shoots and roots.
– **Step 3**: Once the tissue has developed into a small plant, it is transferred to a pot and grown like a normal orchid.
Tissue culture is commonly used in commercial orchid propagation but requires special equipment and knowledge. It’s a highly effective way to produce large quantities of identical orchids.
With these 5 genius propagation methods, you can **multiply your orchid collection** and enjoy vibrant, thriving orchids all year long. Whether you’re using the natural keiki method, dividing sympodial orchids, or experimenting with advanced tissue culture techniques, you’ll find that propagating orchids can be a rewarding and fun experience. By mastering these techniques, you’ll ensure that your orchids continue to flourish and bloom for many seasons to come.
So go ahead and get creative in your orchid garden Which method will you try first? Happy propagating 🌱🌸