
Do you love your plants but dread the task of watering them constantly, especially during hot months or when you’re away on vacation? What if we told you there’s a way to keep your plants watered for a month without spending a single penny? Yes, you read that right By using a simple, natural method, you can ensure your plants stay hydrated without needing to purchase any expensive irrigation systems or rely on daily watering.
In this guide, we’ll show you how to create an incredibly effective self-watering system using a water bottle with holes that will keep your plants thriving for an entire month
### **Why Should You Water Plants Using This Method?**
Before diving into the “how-to,” let’s understand why this technique is so effective:
– **Sustainability**: It’s an eco-friendly solution that reduces water waste and eliminates the need for store-bought watering systems.
– **Cost-Free**: No need for expensive watering devices or complicated irrigation systems. You only need a few basic materials.
– **Convenience**: If you’re going on vacation, this method ensures that your plants will be taken care of without any effort on your part.
### **What You Need:**
– An empty plastic water bottle (1-2 liters)
– A sharp object (like a nail or small drill)
– A pair of scissors
– A small shovel or gardening trowel
### **Step-by-Step Guide: How to Create Your Own Self-Watering System**
Follow these simple steps to set up a water bottle irrigation system for your plants:
#### **Step 1: Prepare the Water Bottle**
First, you need to prepare the water bottle. Take a plastic bottle and thoroughly clean it to remove any remaining labels or adhesive. This will help avoid any chemicals or glue getting into the soil.
#### **Step 2: Create Holes in the Bottle**
Using a sharp object like a nail, small drill, or scissors, create several small holes in the bottom of the bottle. The more holes you make, the faster the water will be dispensed into the soil. However, make sure the holes are not too large; you want the water to drip slowly over time, not flood the soil.
#### **Step 3: Fill the Bottle with Water**
Fill the bottle with clean, fresh water. You can also add a diluted liquid fertilizer at this stage, but it’s optional. The water bottle is now ready to release water to your plants gradually.
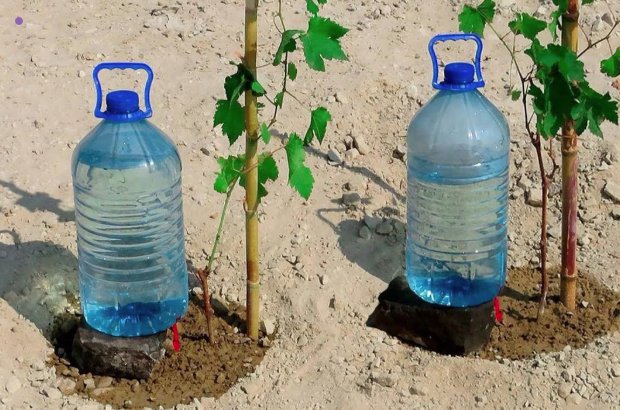
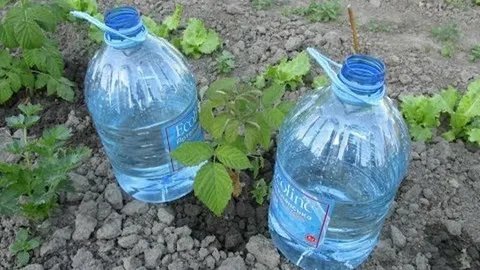
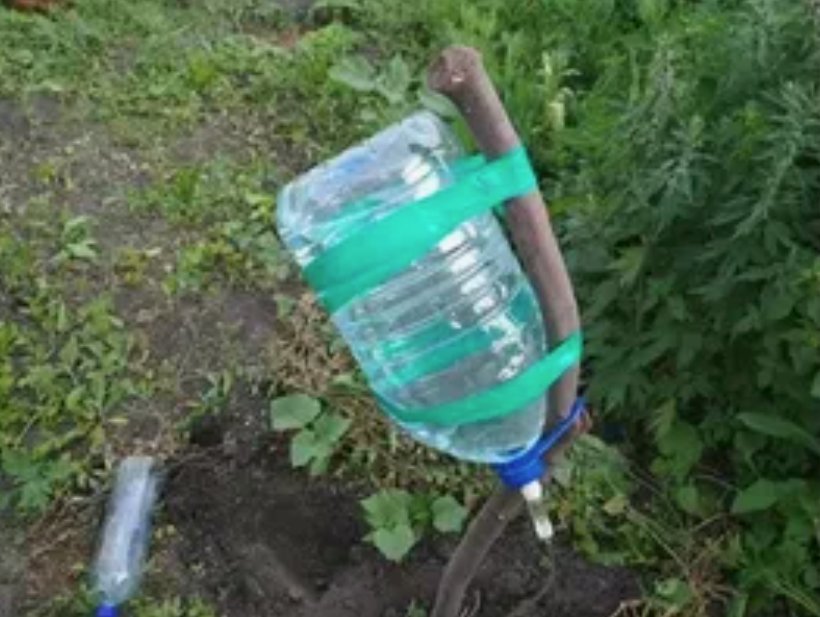
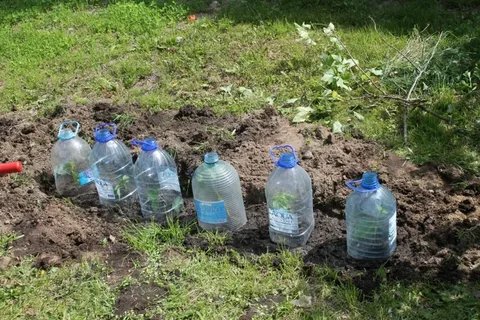
#### **Step 4: Bury the Bottle in the Soil**
Now, dig a small hole in the soil near the base of the plant. Place the water bottle upside down with the holes facing downwards. Bury the bottle so that only the top of the bottle is visible above the soil. Make sure the bottle is positioned vertically in the soil and is stable.
#### **Step 5: Monitor the Watering System**
The water will gradually seep out of the holes in the bottle and slowly water your plant’s roots. Over time, the water will release based on the moisture level in the surrounding soil, ensuring your plant gets the right amount of water.
### **How Does This Work?**
The key to this method is the principle of **capillary action**. When the soil around the bottle dries out, it creates a suction effect that draws water from the bottle, ensuring your plant receives a constant supply of hydration without over-watering. The self-watering system is particularly useful for longer periods, such as when you’re away on vacation, or for those who are forgetful about regular watering schedules.
### **Benefits of This Watering Technique**
1. **Low Maintenance**: Once set up, your plants will continue to be watered automatically without requiring daily attention.
2. **Water Conservation**: This method uses only the amount of water that your plant needs, helping conserve water and avoid waste.
3. **Prevents Overwatering**: Since the water bottle slowly releases water, it prevents over-watering, a common mistake for new gardeners.
4. **Long-Term Solution**: It’s a great option for vacations, weekend trips, or simply for those times you can’t get to your plants every day.
### **Additional Tips for Success**
– **Plant Type**: This method works best for small to medium-sized plants in pots or containers. For larger plants or garden beds, you may need to use multiple water bottles.
– **Watering Frequency**: Depending on the size of the bottle and the plant, it may take anywhere from a few days to a month for the water to be used up completely. Monitor your plants regularly to ensure they’re getting enough moisture.
– **Placement**: Be sure to position the water bottle in a location where it won’t be disturbed by pets, wind, or heavy rain.
By using a simple water bottle with holes buried in the soil, you can create a self-watering system that ensures your plants get the hydration they need without any cost or hassle. This eco-friendly, low-maintenance solution is perfect for busy gardeners, travelers, or anyone who wants to make sure their plants stay healthy with minimal effort.
Ready to give this innovative method a try? Take action now and watch your plants thrive without spending a dime 🌱💧
**Full guide in the first comment 💬👀**