Looking for an eco-friendly way to recycle your kitchen scraps while boosting your garden’s health? The solution lies beneath the soil—literally Vermicomposting, or composting with worms, is one of the most efficient and sustainable methods for turning organic waste into nutrient-rich compost that will revolutionize your garden. In this guide, we’ll show you how to create your very own DIY vermicomposter using the power of worms to recycle kitchen scraps and create “garden gold” 🌿

### What Is Vermicomposting?
Vermicomposting is the process of using worms—typically red wigglers (Eisenia fetida)—to break down organic waste like kitchen scraps into rich, fertile compost. These worms are natural decomposers and can process food scraps such as fruit and vegetable peels, coffee grounds, and even egg shells. The result is nutrient-dense “worm castings” that are packed with beneficial microbes and minerals, which can dramatically improve the health of your garden soil.
### Benefits of Vermicomposting
Before we dive into the DIY steps, let’s take a look at why vermicomposting is so beneficial:
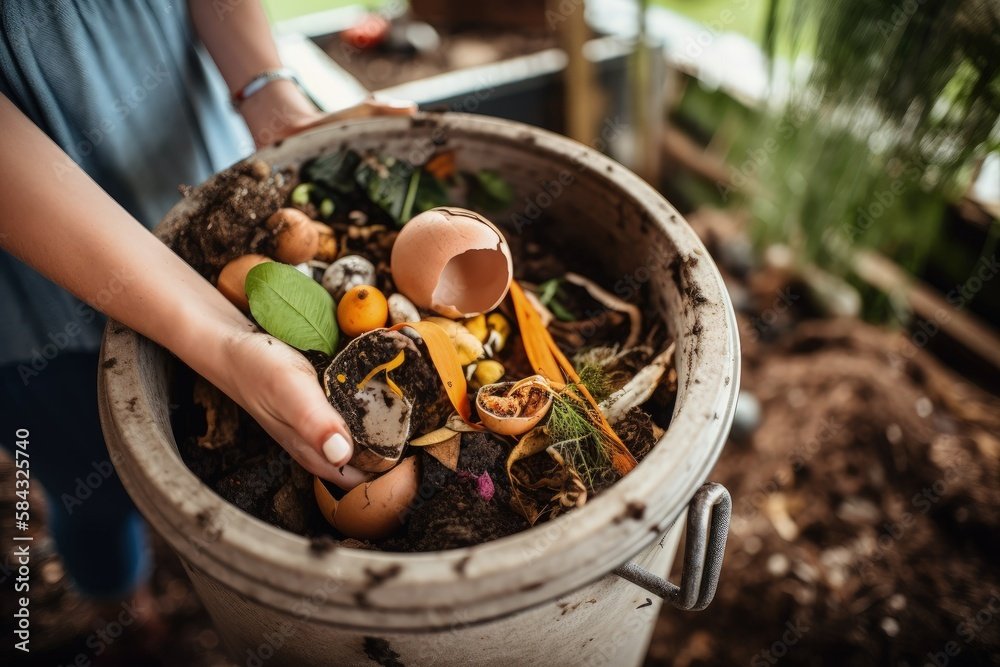
1. **Reduces Waste**: Instead of sending food scraps to the landfill, vermicomposting recycles organic waste and reduces your environmental footprint.
2. **Nutrient-Rich Soil**: Worm castings are considered one of the best natural fertilizers, providing essential nutrients like nitrogen, phosphorus, and potassium for your plants.
3. **Improves Soil Structure**: Worms help improve soil structure by increasing aeration, promoting healthy root growth, and improving drainage.
4. **Easy and Low-Maintenance**: Once your vermicomposter is set up, it requires minimal maintenance and can be kept indoors or outdoors, depending on your space.
### How to Build Your Own DIY Vermicomposter
Creating your own vermicomposter is easier than you might think Here’s how you can make one step-by-step.
#### Materials You’ll Need:
– **A plastic or wooden bin** (preferably 10-20 gallons in size)
– **A lid** for the bin (this can be a plastic lid or something breathable like mesh)
– **Red wiggler worms** (Eisenia fetida)
– **Shredded newspaper or cardboard** (for bedding)
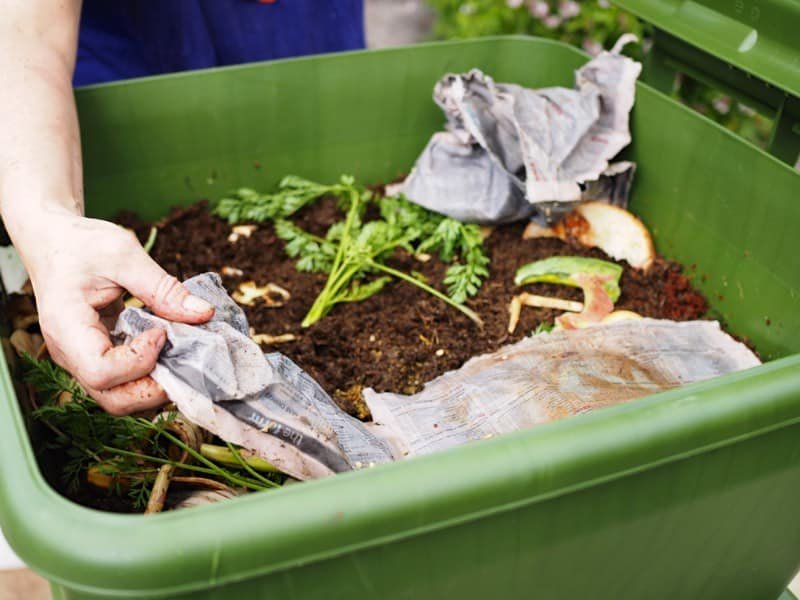
– **Kitchen scraps** (fruit and vegetable peels, coffee grounds, eggshells, etc.)
– **Water** (to moisten the bedding)
– **Drill with a small bit** (for ventilation holes)
#### Step 1: Preparing the Bin
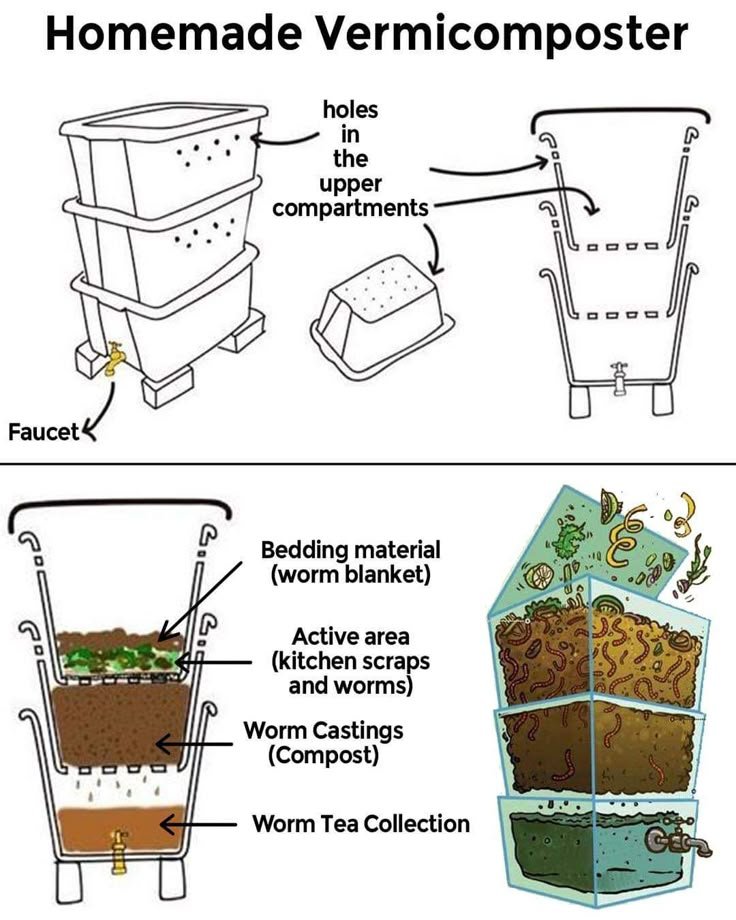
Choose a container for your vermicomposter that is large enough to house the worms and hold all of your kitchen scraps. A plastic storage bin is perfect for this job. Once you have your bin, it’s important to drill holes in it to allow for ventilation. Drill small holes in the top, sides, and bottom of the container to keep the worms oxygenated. Proper airflow will help prevent the compost from becoming too wet and smelly.
#### Step 2: Preparing the Bedding
The worms need bedding material to live in. Shredded newspaper, cardboard, and even leaves can be used for this purpose. Soak the bedding in water until it’s moist but not dripping wet. The bedding should be soft, loose, and allow for airflow around the worms.
Once the bedding is ready, fill the bottom of the bin with about 4–6 inches of moist bedding.
#### Step 3: Add the Worms
Now it’s time to add the worms Red wiggler worms are the ideal choice for vermicomposting because they thrive in organic material. You can purchase these worms online or from a local garden center. Add them to the bedding and gently spread them out. Typically, 1 lb. of worms (about 1,000 worms) is enough for a small to medium-sized composting bin.
#### Step 4: Adding Kitchen Scraps
Once your worms are settled in, it’s time to add your kitchen scraps. Start with small amounts of fruit and vegetable scraps, coffee grounds, and eggshells. Avoid adding meat, dairy, and oily foods as these can attract pests and cause odors. Chop or crush the scraps into smaller pieces to make it easier for the worms to digest. Bury the scraps under the bedding to keep the bin smelling fresh and prevent flies.
#### Step 5: Maintain Your Vermicomposter
Vermicomposting requires minimal maintenance, but it’s important to monitor the bin regularly:
– **Moisture**: Ensure that the bedding remains moist. If it gets too dry, sprinkle some water over it. If it’s too wet, add more dry bedding to absorb the excess moisture.
– **Temperature**: Keep the bin in a cool, dark location (ideally between 55–77°F or 13–25°C). Too much heat can harm the worms.
– **Feeding**: Add kitchen scraps in small amounts. Overfeeding can lead to unpleasant odors, so make sure you’re only adding as much as the worms can consume.
– **Harvesting the Compost**: After a few months, you’ll start to see dark, crumbly worm castings at the bottom of the bin. To harvest the compost, move the bedding to one side of the bin, then add fresh bedding to the empty side. The worms will migrate to the new bedding, leaving the compost behind for you to collect.
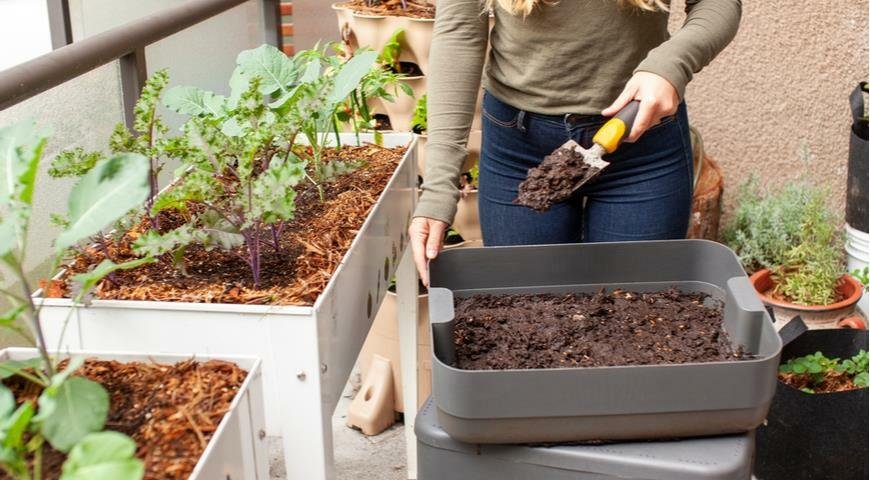
#### Step 6: Use the Worm Castings in Your Garden
Worm castings are a gardener’s gold. To use the compost, simply sprinkle it around the base of your plants or mix it into your garden soil. The nutrients will help your plants grow stronger, healthier, and more vibrant.
### Tips for Success:
– **Don’t Overcrowd the Bin**: Start with a small number of worms and gradually increase the scraps you add to the bin as the worms multiply.
– **Avoid Strong Odors**: If your bin starts to smell, it’s a sign that there’s too much food waste or that the bin is too wet. Add more bedding and allow the worms to catch up.
– **Keep It Dark**: Worms are light-sensitive, so make sure your vermicomposter is kept in a dark place to keep them happy.
Vermicomposting is an easy, sustainable, and highly effective way to recycle your kitchen scraps while enriching your garden soil. By harnessing the power of worms, you can create a thriving composting system that benefits both the environment and your garden. Follow this simple guide to build your own DIY vermicomposter, and watch as your kitchen waste is transformed into garden gold 🌿🐛
Happy composting, and enjoy the rewards of your hard work in the garden