Building a homemade egg incubator using a simple water bottle is an innovative and cost-effective way to hatch eggs at home. Whether you are a backyard farmer, a poultry enthusiast, or simply curious about the hatching process, this DIY project will allow you to witness the miracle of life while saving money. By following these steps carefully, you can create a functional incubator that provides optimal conditions for successful egg incubation.
### Materials Needed
Before you begin constructing your homemade incubator, gather the necessary materials:
– A 5-liter or larger plastic bottle
– Small light bulbs or heat lamps
– A thermometer and hygrometer
– An egg carton or foam padding
– Tools for cutting and making holes (scissors, a knife, or a drill)
### Step-by-Step Guide to Building Your Incubator
#### 1. Preparing the Bottle
Start by selecting a plastic bottle that is large enough to accommodate the eggs. A 5-liter bottle is ideal, but you can use a bigger one if necessary. Follow these steps to prepare it:
– Wash and dry the bottle thoroughly to remove any residue or contaminants.
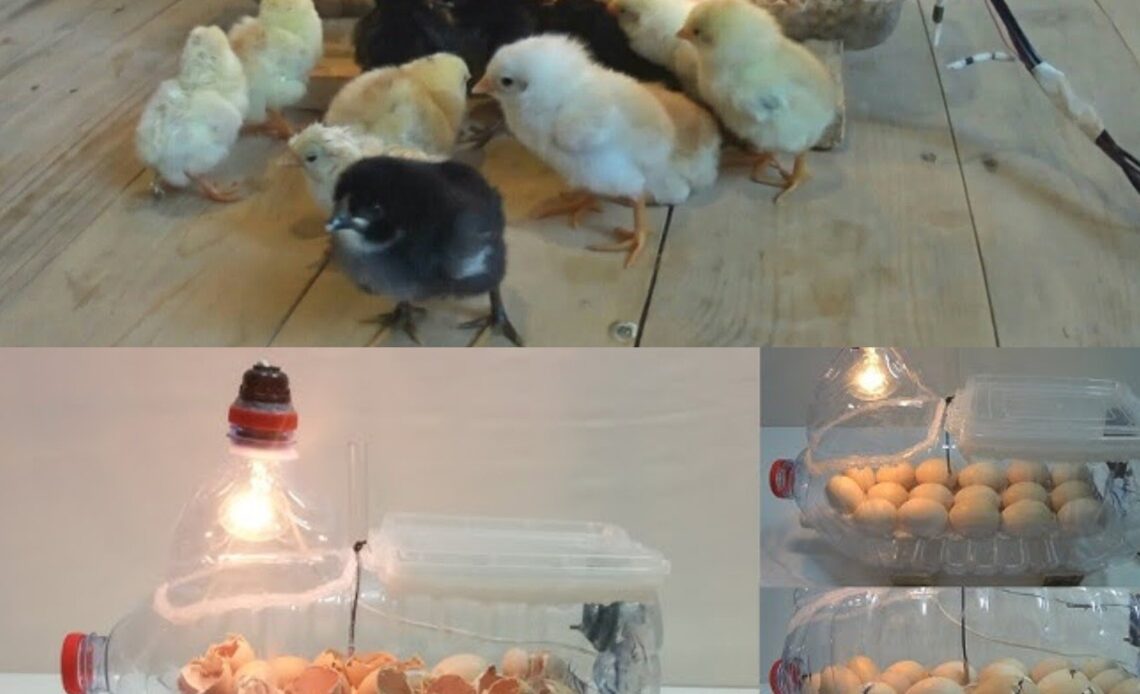
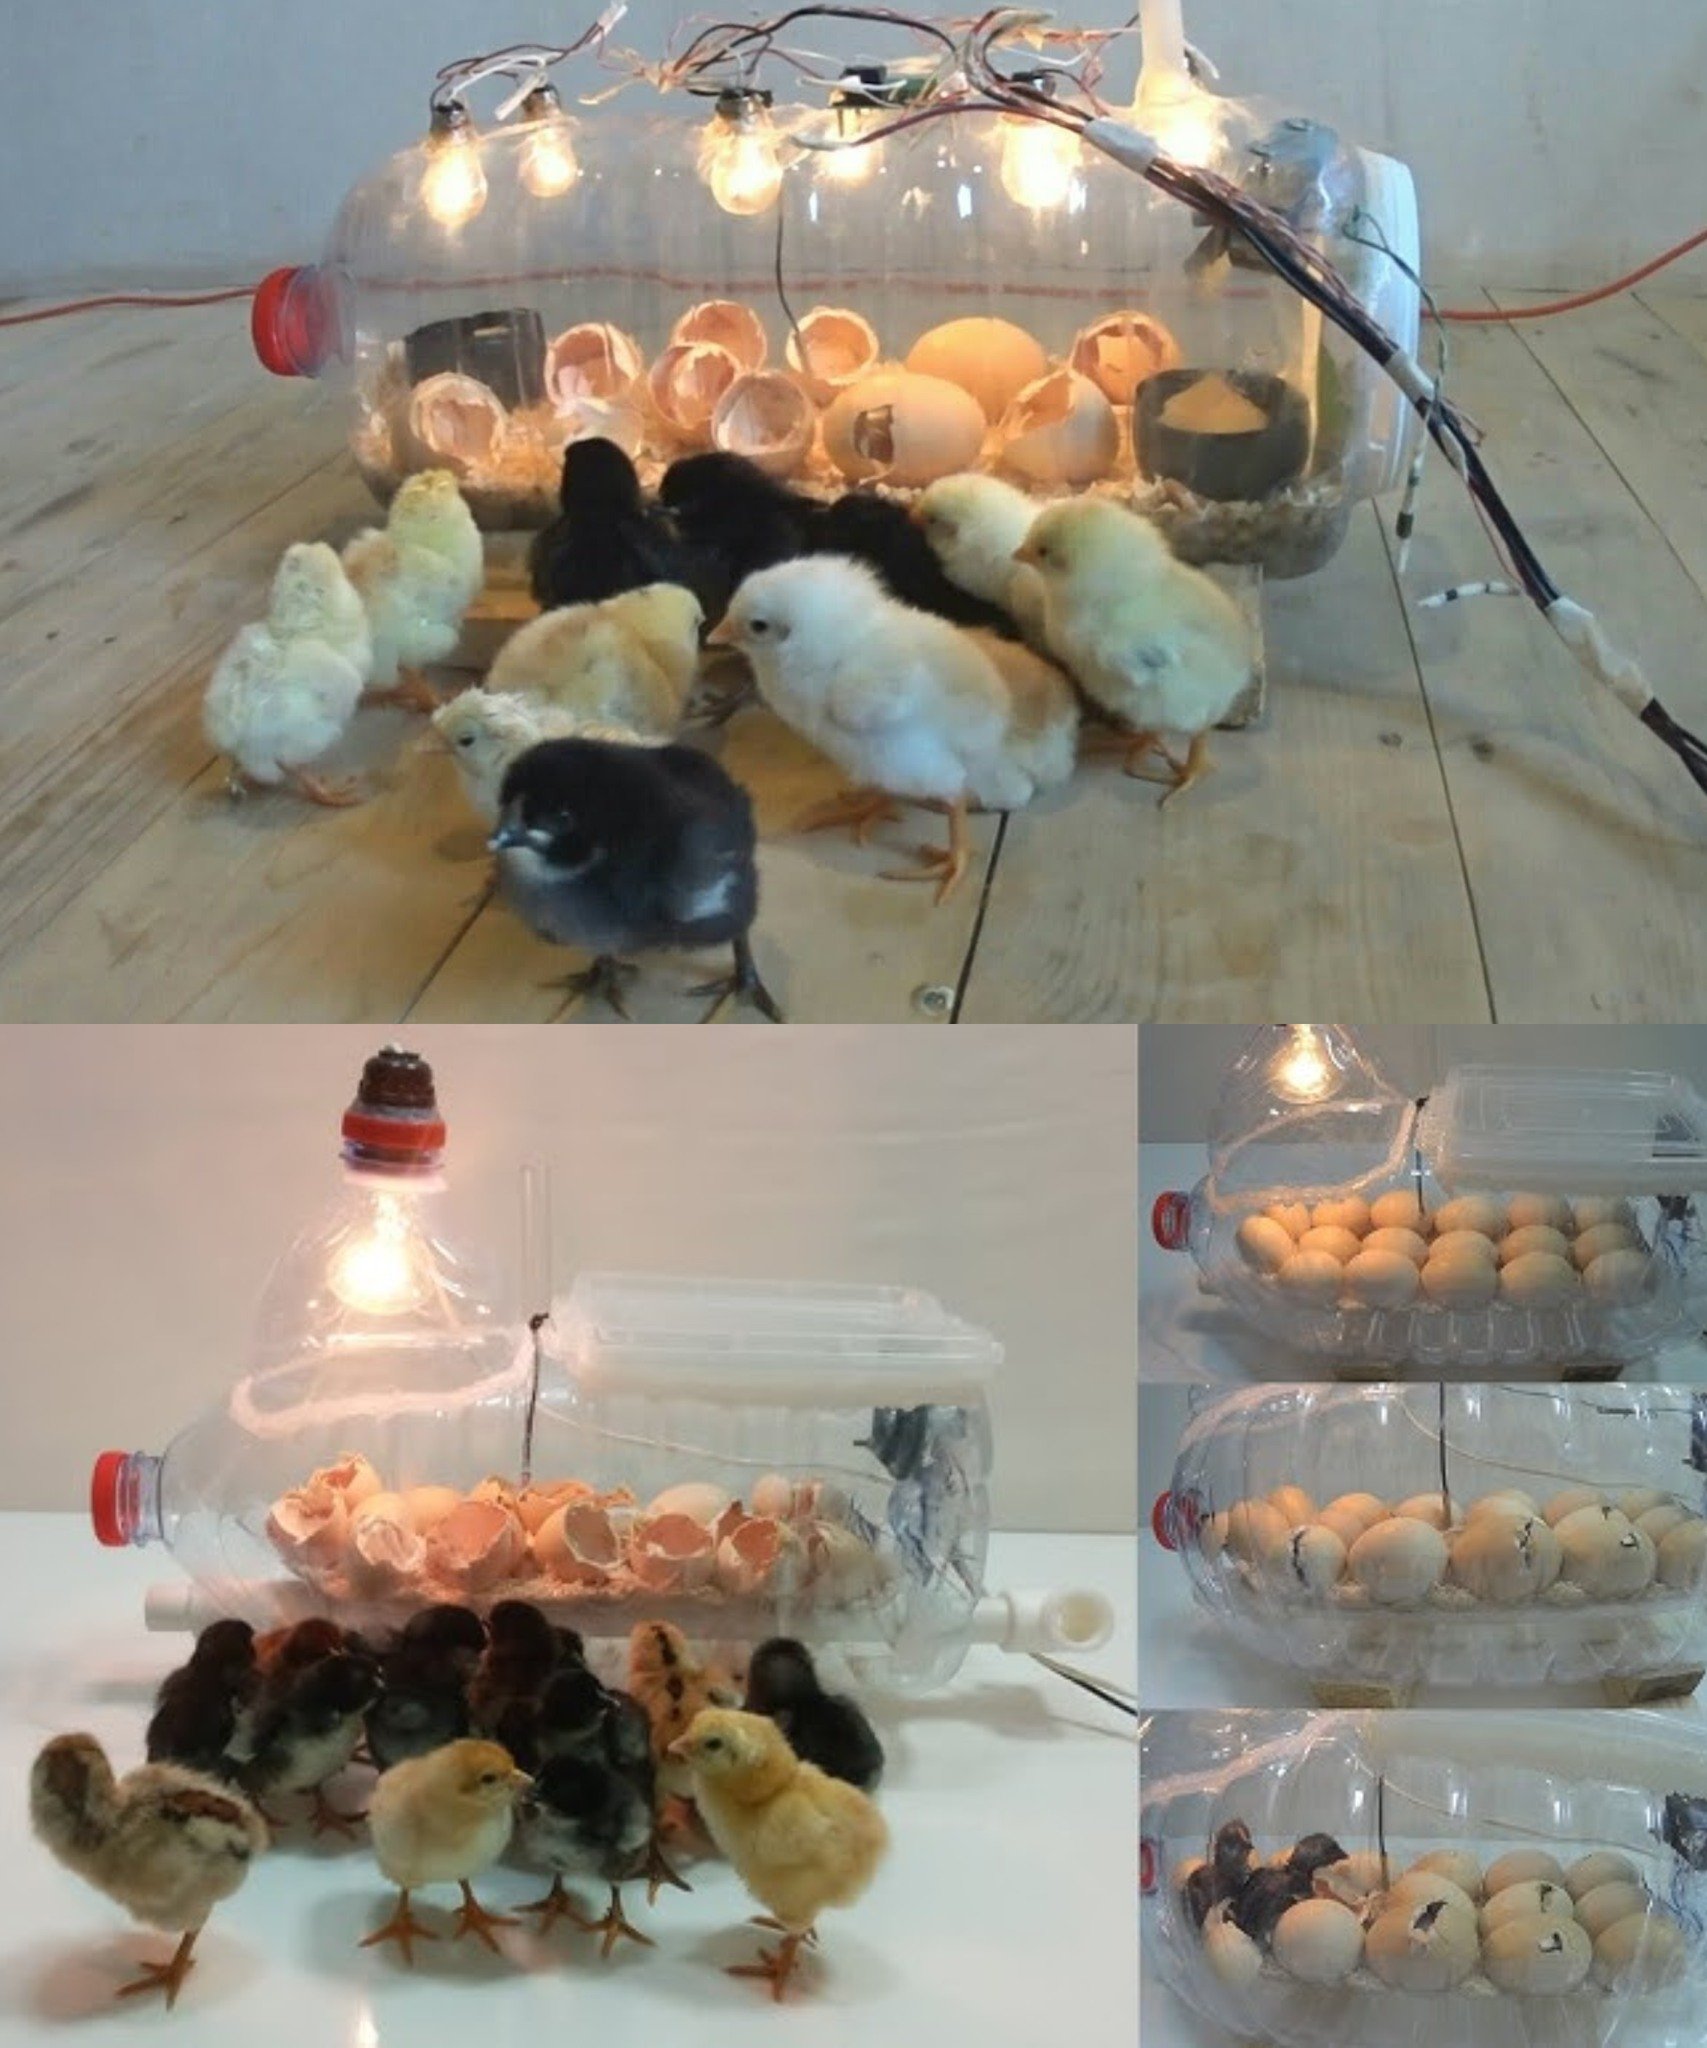
– Lay the bottle on its side and cut a large rectangular opening along the narrower side. This will serve as the incubator door, allowing you to place and remove eggs easily.
#### 2. Installing the Heat Source
Eggs require a stable temperature to develop properly. To provide consistent heat inside the incubator:
– Attach small light bulbs or heat lamps inside the bottle, ensuring they are positioned in a way that distributes heat evenly.
– Maintain an internal temperature of around 99.5°F (37.5°C). A slight fluctuation of 1-2 degrees is acceptable, but drastic changes should be avoided.
– Use a reliable thermometer to monitor the temperature continuously.
#### 3. Ensuring Egg Stability
Eggs should be kept stable to prevent unnecessary movement, which can affect their development. To achieve this:
– Place a layer of foam or an egg carton inside the bottle to hold the eggs securely.
– Make sure the eggs do not roll around, as this could damage the developing embryos.
#### 4. Monitoring Temperature and Humidity
The correct humidity levels are crucial for successful egg incubation. Too much moisture can cause bacterial growth, while too little can result in eggs drying out. To regulate humidity:
– Install a hygrometer inside the incubator to track humidity levels.
– Maintain humidity between 45-55% during incubation and increase it to 65-75% in the last three days before hatching.
– Place a small container of water inside the bottle to help maintain the required humidity levels.
#### 5. Providing Proper Ventilation
Good airflow is necessary to ensure a steady supply of oxygen for the developing embryos. Here’s how to introduce proper ventilation:
– Make small holes in the plastic bottle to allow fresh air to circulate inside.
– Avoid making too many holes, as excessive airflow can cause heat loss and fluctuations in humidity.
#### 6. Manually Turning the Eggs
Eggs need to be turned regularly to ensure even heat distribution and prevent the embryos from sticking to the shell. Since this is a manual incubator, you will need to:
– Gently turn the eggs at least three times a day.
– Mark each egg with a small “X” on one side and an “O” on the other to track turning frequency.
– Stop turning the eggs three days before the expected hatch date to allow the embryos to settle for hatching.
### Safety Tips
Operating a homemade incubator requires caution. Follow these safety guidelines:
– Keep the incubator in a safe place away from children and pets.
– Monitor the heat source continuously to prevent overheating or fire hazards.
– Regularly check the humidity and temperature to ensure optimal conditions.
### The Hatching Process
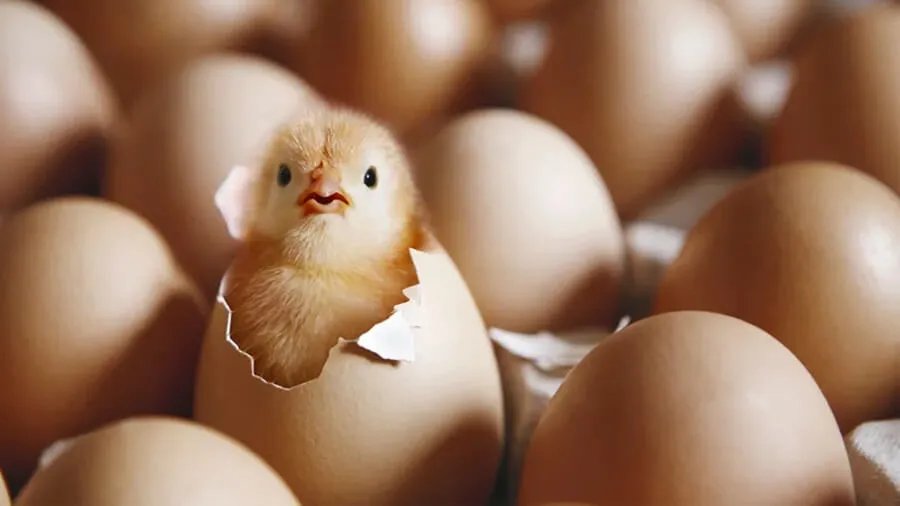
After following these steps, the eggs should hatch within 21 days, depending on the type of bird. Signs that hatching is approaching include:
– Increased movement inside the eggs.
– Peeping sounds from the developing chicks.
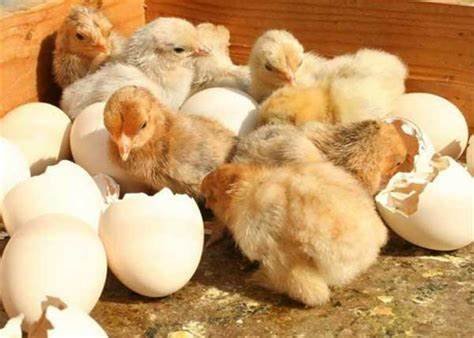
– Cracks appearing on the eggshells as the chicks start to break free.
Once the chicks hatch, allow them to dry completely inside the incubator before transferring them to a brooder with appropriate warmth and food.
### Conclusion
Creating a homemade egg incubator using a water bottle is a simple yet effective way to hatch eggs with minimal expense. By carefully maintaining the right temperature, humidity, and ventilation, you can successfully experience the joys of incubation and hatching. This project is not only rewarding but also a great way to learn more about poultry development and self-sufficiency in farming. Happy hatching