
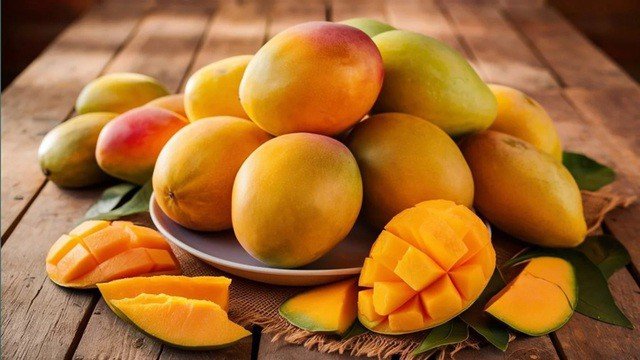
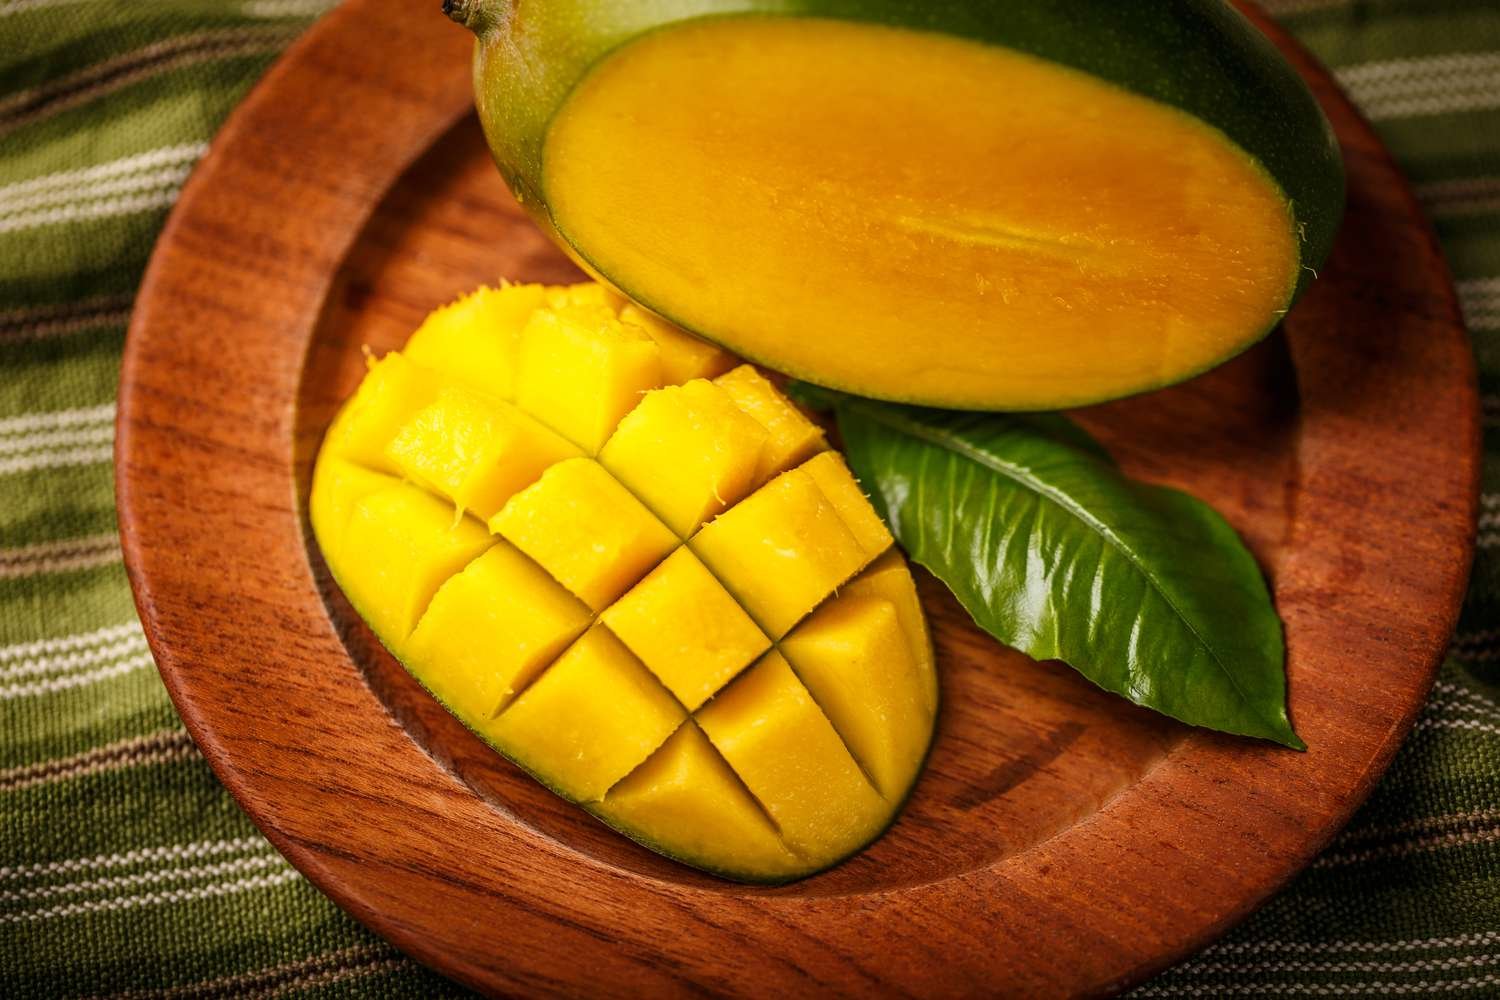
Mangoes are often called the “king of fruits” due to their delicious flavor, rich texture, and numerous health benefits. While growing a mango tree from seed can be a rewarding experience, it requires patience—seed-grown trees may take five to eight years to bear fruit. However, with a simple yet effective method, you can significantly speed up the process and enjoy homegrown mangoes much sooner.
The secret? Grafting—a time-tested horticultural technique that allows you to cultivate high-quality mango trees that bear fruit in just two to three years. This method ensures a stronger, more productive tree that produces the same fruit quality as its parent tree. If you’re eager to grow mangoes faster and more efficiently, keep reading to learn the step-by-step process of mango grafting.
## Why Grafting is the Best Way to Grow Mangoes Faster
Grafting is a process where a branch (scion) from a mature, fruit-bearing mango tree is attached to a young, healthy rootstock. This technique combines the best characteristics of both plants: the disease resistance and strong root system of the rootstock with the high-yielding, delicious fruit of the scion.
### **Benefits of Grafting Mango Trees**
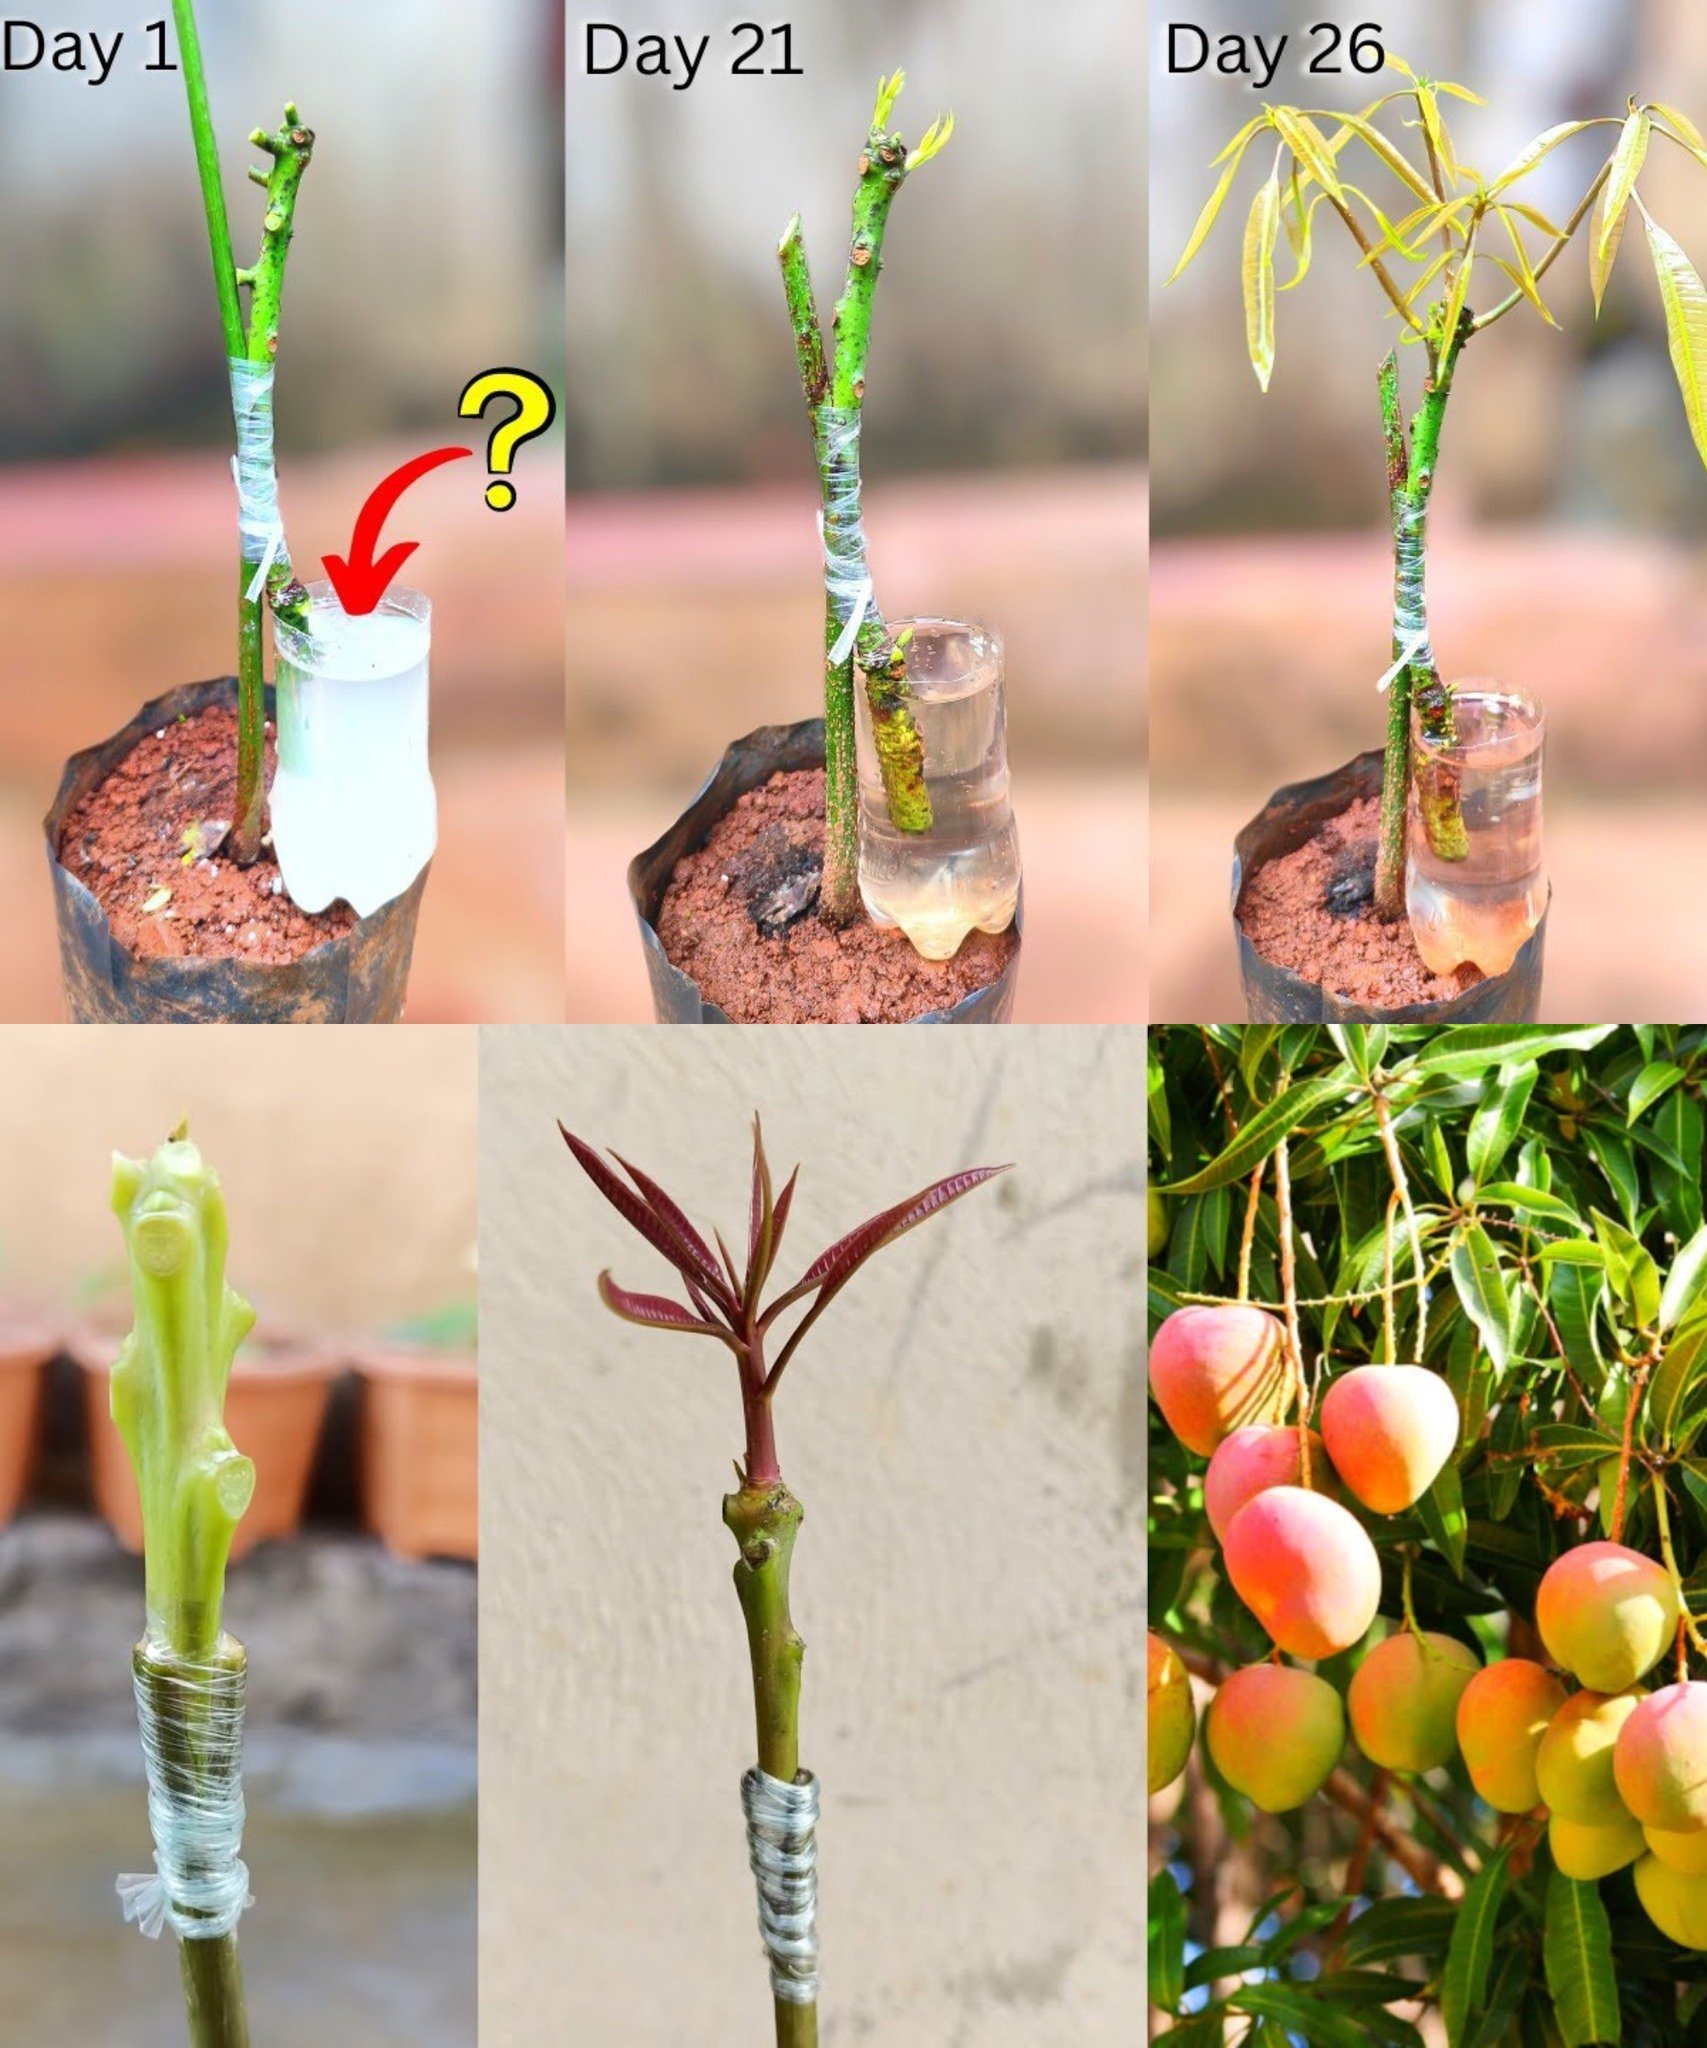
✔ **Faster Fruiting** – Grafted mango trees start producing fruit in just two to three years, unlike seed-grown trees that take much longer.
✔ **Consistent Fruit Quality** – Since grafted trees inherit their fruiting characteristics from the parent tree, they produce the same delicious mangoes every season.
✔ **Stronger Trees** – Grafted mangoes tend to be more resistant to diseases, pests, and environmental stress.
✔ **Compact Growth** – Some grafted mango trees are smaller in size, making them ideal for home gardens and even container planting.
If you’re ready to unlock the secret to growing mangoes faster, follow this step-by-step guide to successfully graft your mango tree at home.
## **Step-by-Step Guide to Grafting a Mango Tree**
### **1. Gather the Necessary Materials**
Before you begin, make sure you have the following tools and materials:
– **Rootstock** – A young, healthy mango tree (around one year old) with a sturdy stem.
– **Scion** – A branch from a mature mango tree that produces high-quality fruit.
– **Sharp knife or grafting tool** – To make precise cuts.
– **Grafting tape or plastic wrap** – To secure the graft and protect it from drying out.
– **Pruning shears** – For cutting the scion and rootstock cleanly.
### **2. Preparing the Rootstock and Scion**
The success of your grafting process depends largely on choosing the right rootstock and scion.
✔ **Selecting the Rootstock** – Choose a young mango tree with a thick, healthy stem, free from diseases or pests. The stronger the rootstock, the better the chances of successful grafting.
✔ **Selecting the Scion** – The scion should come from a mature tree that produces high-quality mangoes. Pick a branch that is about 6–8 inches long, with at least two to three healthy buds.
✔ **Preparing the Cuts** – Cut the top of the rootstock about 5–6 inches from the base to create a flat surface. Then, cut the bottom of the scion into a **V-shape**, making sure the cut is smooth and even.
### **3. Attaching the Scion to the Rootstock**
Once both the rootstock and scion are prepared, follow these steps:
1️⃣ **Make a Slit** – Use a sharp knife to create a small slit (about one inch deep) in the center of the rootstock.
2️⃣ **Insert the Scion** – Carefully place the V-shaped cut of the scion into the slit on the rootstock, ensuring that the cambium layers (inner green tissue) of both pieces align.
3️⃣ **Secure the Graft** – Wrap the graft tightly with grafting tape or plastic wrap to keep the scion in place and prevent moisture loss.
### **4. Post-Grafting Care for a Healthy Tree**
After successfully grafting your mango tree, it’s crucial to provide the right care for optimal growth.
✔ **Keep in Partial Shade** – Place the grafted plant in a **shady area** for the first two to three weeks to reduce stress. Gradually introduce it to sunlight.
✔ **Water Regularly** – Keep the soil **moist but not soggy**. Overwatering can lead to root rot, so ensure proper drainage.
✔ **Remove New Shoots from the Rootstock** – If any new shoots start growing from the rootstock below the graft, remove them immediately. These shoots can divert energy away from the grafted scion.
✔ **Monitor for Growth** – After three to four weeks, look for signs of new leaf growth on the scion, which indicates successful grafting.
✔ **Unwrap the Graft** – After **six to eight weeks**, remove the grafting tape carefully to allow the graft to strengthen naturally.
## **Final Tips for Successful Mango Grafting**
To maximize your success, follow these additional tips:
✔ **Choose the Right Season** – Grafting works best during **warm months (spring or summer)** when plants are actively growing. Avoid cold or rainy seasons.
✔ **Use Healthy Plant Material** – Ensure that both the rootstock and scion are free from pests, diseases, or damage.
✔ **Be Patient** – Not all grafts will succeed on the first attempt. If a graft fails, try again with a fresh scion and rootstock.
✔ **Practice Makes Perfect** – The more you practice grafting, the better you’ll become at achieving successful results.
## **Enjoy the Rewards of Homegrown Mangoes**
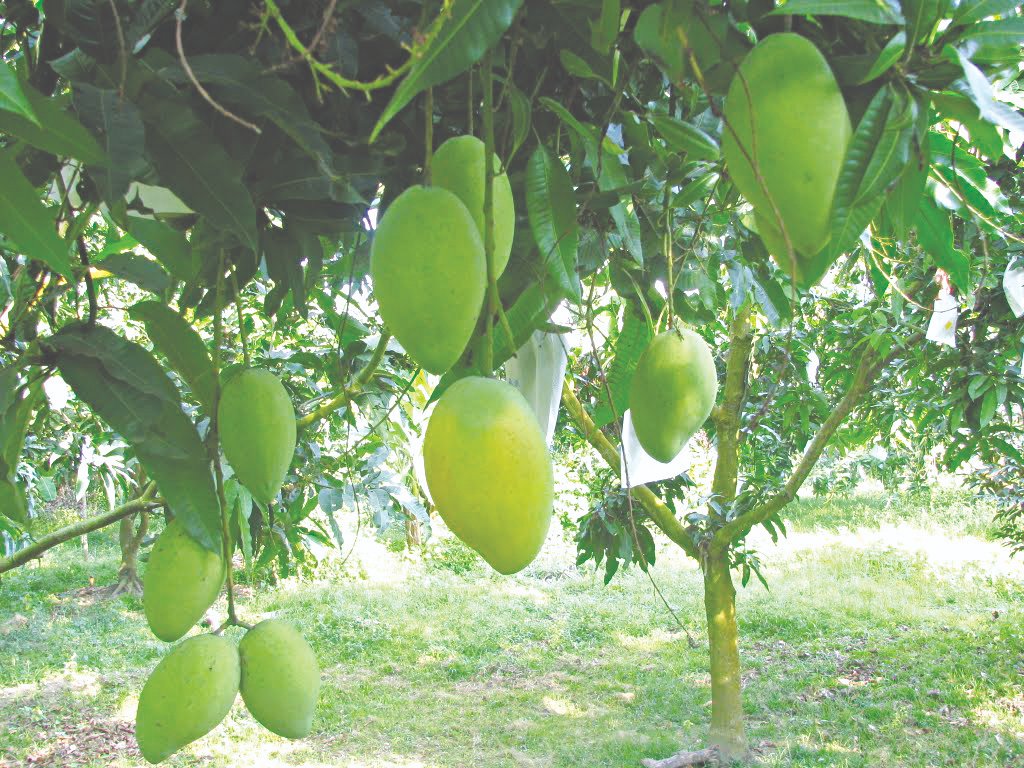
By using the grafting technique, you can dramatically reduce the waiting time for homegrown mangoes while ensuring a high-quality harvest. Imagine plucking sweet, juicy mangoes from a tree in your backyard, knowing that you successfully cultivated it with this simple yet effective method.
So why wait years for mangoes when you can grow them faster? Try grafting today, and in just a few short seasons, you’ll be enjoying the fruits of your labor—literally