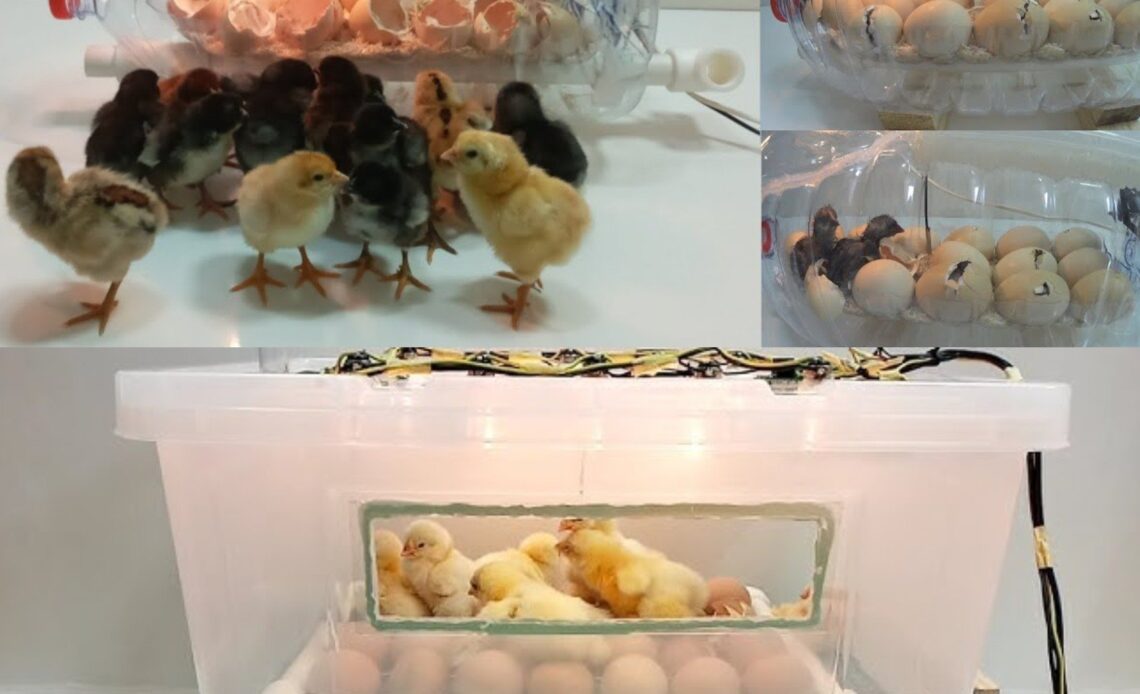
Hatching eggs at home can be a fascinating and rewarding experience, but professional incubators can be expensive. Fortunately, with a little creativity and some basic materials, you can build your own homemade egg incubator using a simple water bottle. This budget-friendly method provides a controlled environment for successful egg incubation, allowing you to witness the miracle of life right from your home.
In this guide, we will take you through the entire process of building an effective DIY egg incubator using a plastic water bottle, step by step.
## **Why Build a Homemade Egg Incubator?**
Building a homemade incubator offers several advantages, including:
– **Cost-Effectiveness:** Store-bought incubators can be pricey, while a DIY version costs just a fraction of the price.
– **Hands-On Learning:** This project is excellent for educational purposes, teaching children and beginners about embryonic development and animal care.
– **Customization:** You can modify the design to suit your specific needs, adjusting temperature and humidity levels as required.
– **Sustainability:** Repurposing plastic bottles reduces waste and promotes an eco-friendly approach to incubation.
Now, let’s dive into the process of creating your own incubator using easily accessible materials.
## **Materials Needed**
To create a simple yet functional incubator, gather the following items:
– A **5-liter or larger plastic bottle** (transparent bottles work best for easy monitoring)
– A **small light bulb or heat lamp** (15W–25W works well)
– A **thermometer** (for monitoring temperature)
– A **hygrometer** (to track humidity levels)
– **Foam padding or an egg carton** (to hold the eggs in place)
– **Small fan** (optional, for better air circulation)
– **Scissors, utility knife, or drill** (for cutting and making holes)
– **Tape or glue** (for securing the setup)
Once you have gathered the necessary materials, it’s time to start building your incubator.
## **Step-by-Step Guide to Building Your Egg Incubator**
### **1. Preparing the Plastic Bottle**
– Start by cleaning the plastic bottle thoroughly to remove any residues that might interfere with incubation.
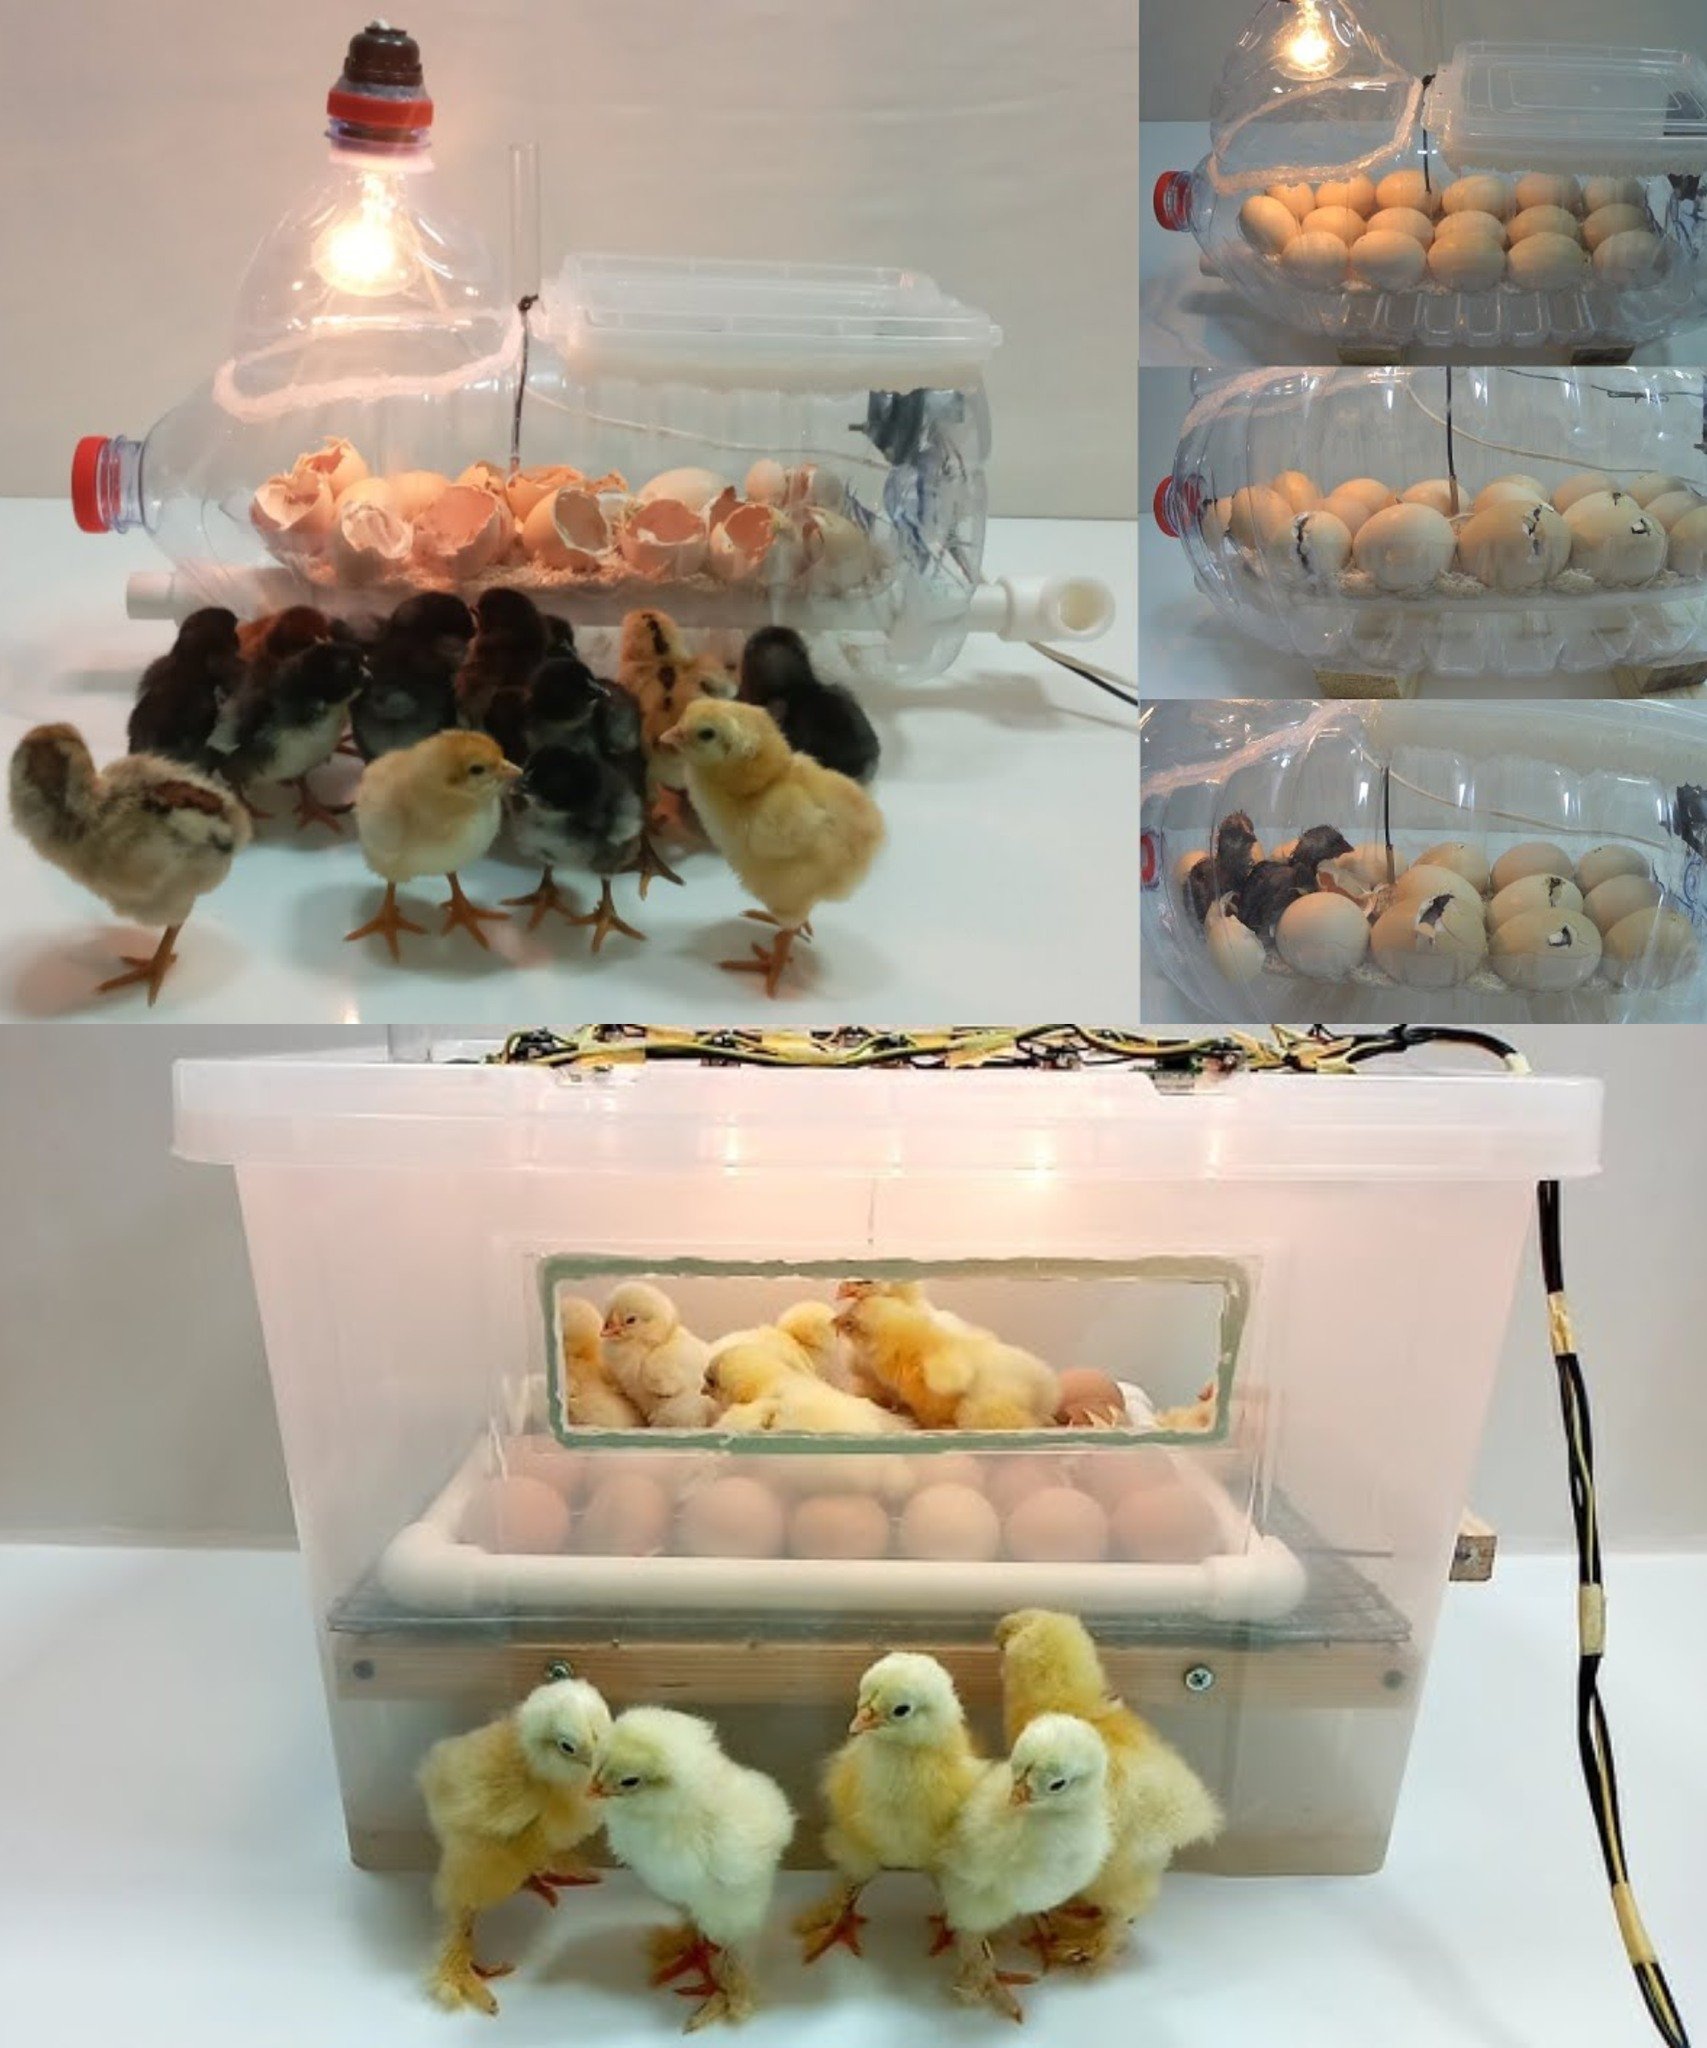
– Lay the bottle on its side and use a utility knife or scissors to cut an opening on one of the narrower sides. This will act as the incubator door, allowing easy access to the eggs.
### **2. Setting Up the Heat Source**
– The incubator must maintain a **constant temperature of around 99.5°F (37.5°C)** for successful hatching.
– Install a small **light bulb or heat lamp** inside the bottle, positioning it at one end to create a warm zone.
– Ensure that the heat source does not directly touch the eggs, as this may cause overheating.
– If using a small fan, place it at the opposite end of the bottle to distribute the heat evenly.
### **3. Stabilizing the Eggs**
– Place **foam padding** or an **egg carton** inside the bottle to keep the eggs stable and prevent them from rolling.
– The eggs should be arranged in a way that allows easy turning, as regular rotation is necessary for even development.
### **4. Monitoring Temperature and Humidity**
– Insert a **thermometer** and **hygrometer** inside the incubator to keep track of conditions.
– Ideally, humidity levels should be maintained between **45-55% during incubation** and **65-75% during the final three days before hatching**.
– If the humidity is too low, place a **small dish of water** inside the incubator. You can also add a sponge to increase surface area for better moisture retention.
### **5. Providing Proper Ventilation**
– Cut **small ventilation holes** around the bottle to allow fresh air to circulate. Oxygen is crucial for embryo development, and proper ventilation prevents excess moisture buildup.
– Avoid making too many holes, as this can cause heat loss.
### **6. Manually Turning the Eggs**
– In nature, mother birds turn their eggs regularly to ensure even heat distribution. In a homemade incubator, you must manually rotate the eggs **at least three times a day**.
– Mark one side of each egg with an **X** and the other side with an **O** to track their position.
– Stop turning the eggs three days before the expected hatching date.
## **Incubation Timeline: What to Expect**
Hatching time varies depending on the type of egg being incubated. Here’s a general guide for common poultry:
– **Chicken Eggs:** 21 days
– **Duck Eggs:** 28 days
– **Quail Eggs:** 16–18 days
– **Goose Eggs:** 28–35 days
Throughout the incubation process, consistently monitor temperature, humidity, and egg condition. Any sudden changes in environmental conditions can impact hatch rates.
## **Signs That Hatching is Near**
As the incubation period progresses, watch for these signs indicating the eggs are close to hatching:
– **Increased movement inside the egg** when candling with a flashlight.
– **Chirping sounds** coming from inside the egg.
– **Tiny cracks (pipping)** appearing as the chick starts breaking the shell.
## **Post-Hatching Care**
Once the chicks hatch, follow these steps to ensure their well-being:
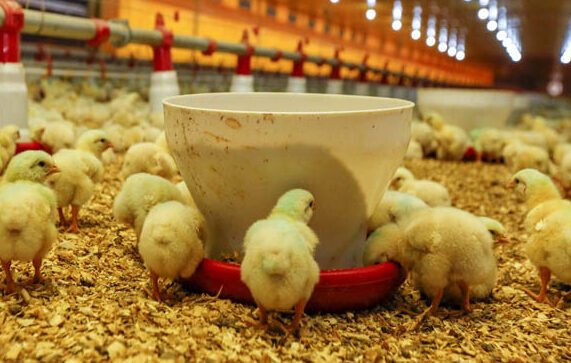
– Allow the chicks to fully dry inside the incubator before transferring them to a **brooder with controlled warmth**.
– Provide a **shallow water dish** and introduce them to food specially formulated for young birds.
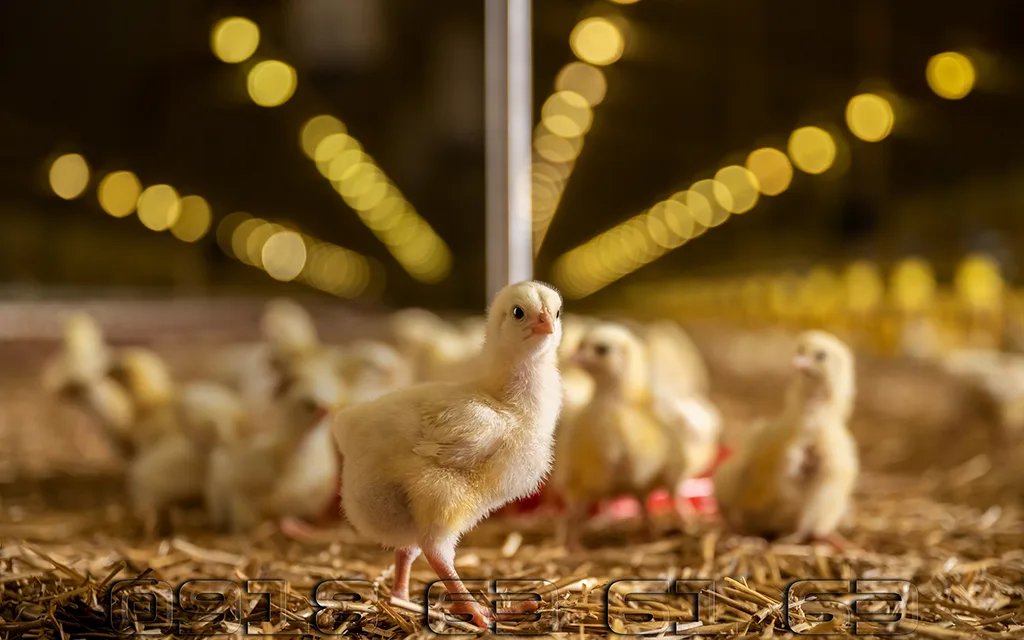
– Keep them in a **clean, safe, and warm environment** until they are strong enough to be moved outdoors.
## **Common Issues and Troubleshooting**
Despite careful preparation, incubation may not always go smoothly. Here are some common issues and solutions:
– **Eggs not developing:** Check if the eggs are fertile before incubation. Monitor temperature and humidity levels for any fluctuations.
– **Low hatch rate:** Ensure you are turning the eggs regularly and maintaining stable environmental conditions.
– **Weak or deformed chicks:** This may be due to insufficient humidity, improper turning, or genetic factors. Adjust conditions and select high-quality eggs in future attempts.
## **Final Thoughts**
Building a homemade egg incubator using a simple plastic water bottle is an innovative and affordable way to hatch eggs successfully. By following the steps outlined in this guide, you can create a functional incubator that provides the right conditions for embryo development.
This project is perfect for small-scale poultry keepers, educators, and hobbyists looking to explore the wonders of incubation without the cost of a commercial incubator. With patience and dedication, you can experience the joy of watching new life emerge—all from a simple DIY setup.
Are you ready to take on the challenge? Try this method and see the results for yourself