
In today’s world, where saving money and reducing waste are more important than ever, discovering simple yet effective life hacks can feel like striking gold. One such hack that has taken the internet by storm is the “boiling soap trick.” By placing a single bar of soap in boiling water, you can unlock multiple benefits that not only save you money but also help reduce environmental waste. If you’ve ever wondered how to stretch the lifespan of your soap or repurpose leftover scraps, this clever method is here to revolutionize your cleaning routine. Let’s dive into why this trick works so well and how it can transform the way you use soap forever.

### The Problem with Traditional Soap Usage
Most people buy bars of soap for their bathrooms, kitchens, or laundry rooms without giving much thought to how efficiently they’re used. Over time, small pieces of soap get tossed aside because they become too tiny or inconvenient to hold. Eventually, these remnants end up in the trash, contributing to unnecessary waste. Additionally, buying new bars of soap regularly adds up financially over time, especially when you consider how many households go through dozens of bars annually.
But what if there was a way to extend the life of every bar of soap you purchase? What if you could turn even the tiniest slivers into something useful again? That’s exactly what happens when you put a bar of soap in boiling water—it becomes a game-changer for efficiency, sustainability, and cost savings.
### How Does the Boiling Soap Trick Work?
The process is incredibly straightforward, requiring nothing more than a pot, water, and a bar of soap. Here’s how it works:
1. **Choose Your Soap** : Start with any type of bar soap—whether it’s a nearly finished bar or leftover scraps collected over time.
2. **Boil Water** : Fill a pot with enough water to submerge the soap completely. Bring the water to a boil.
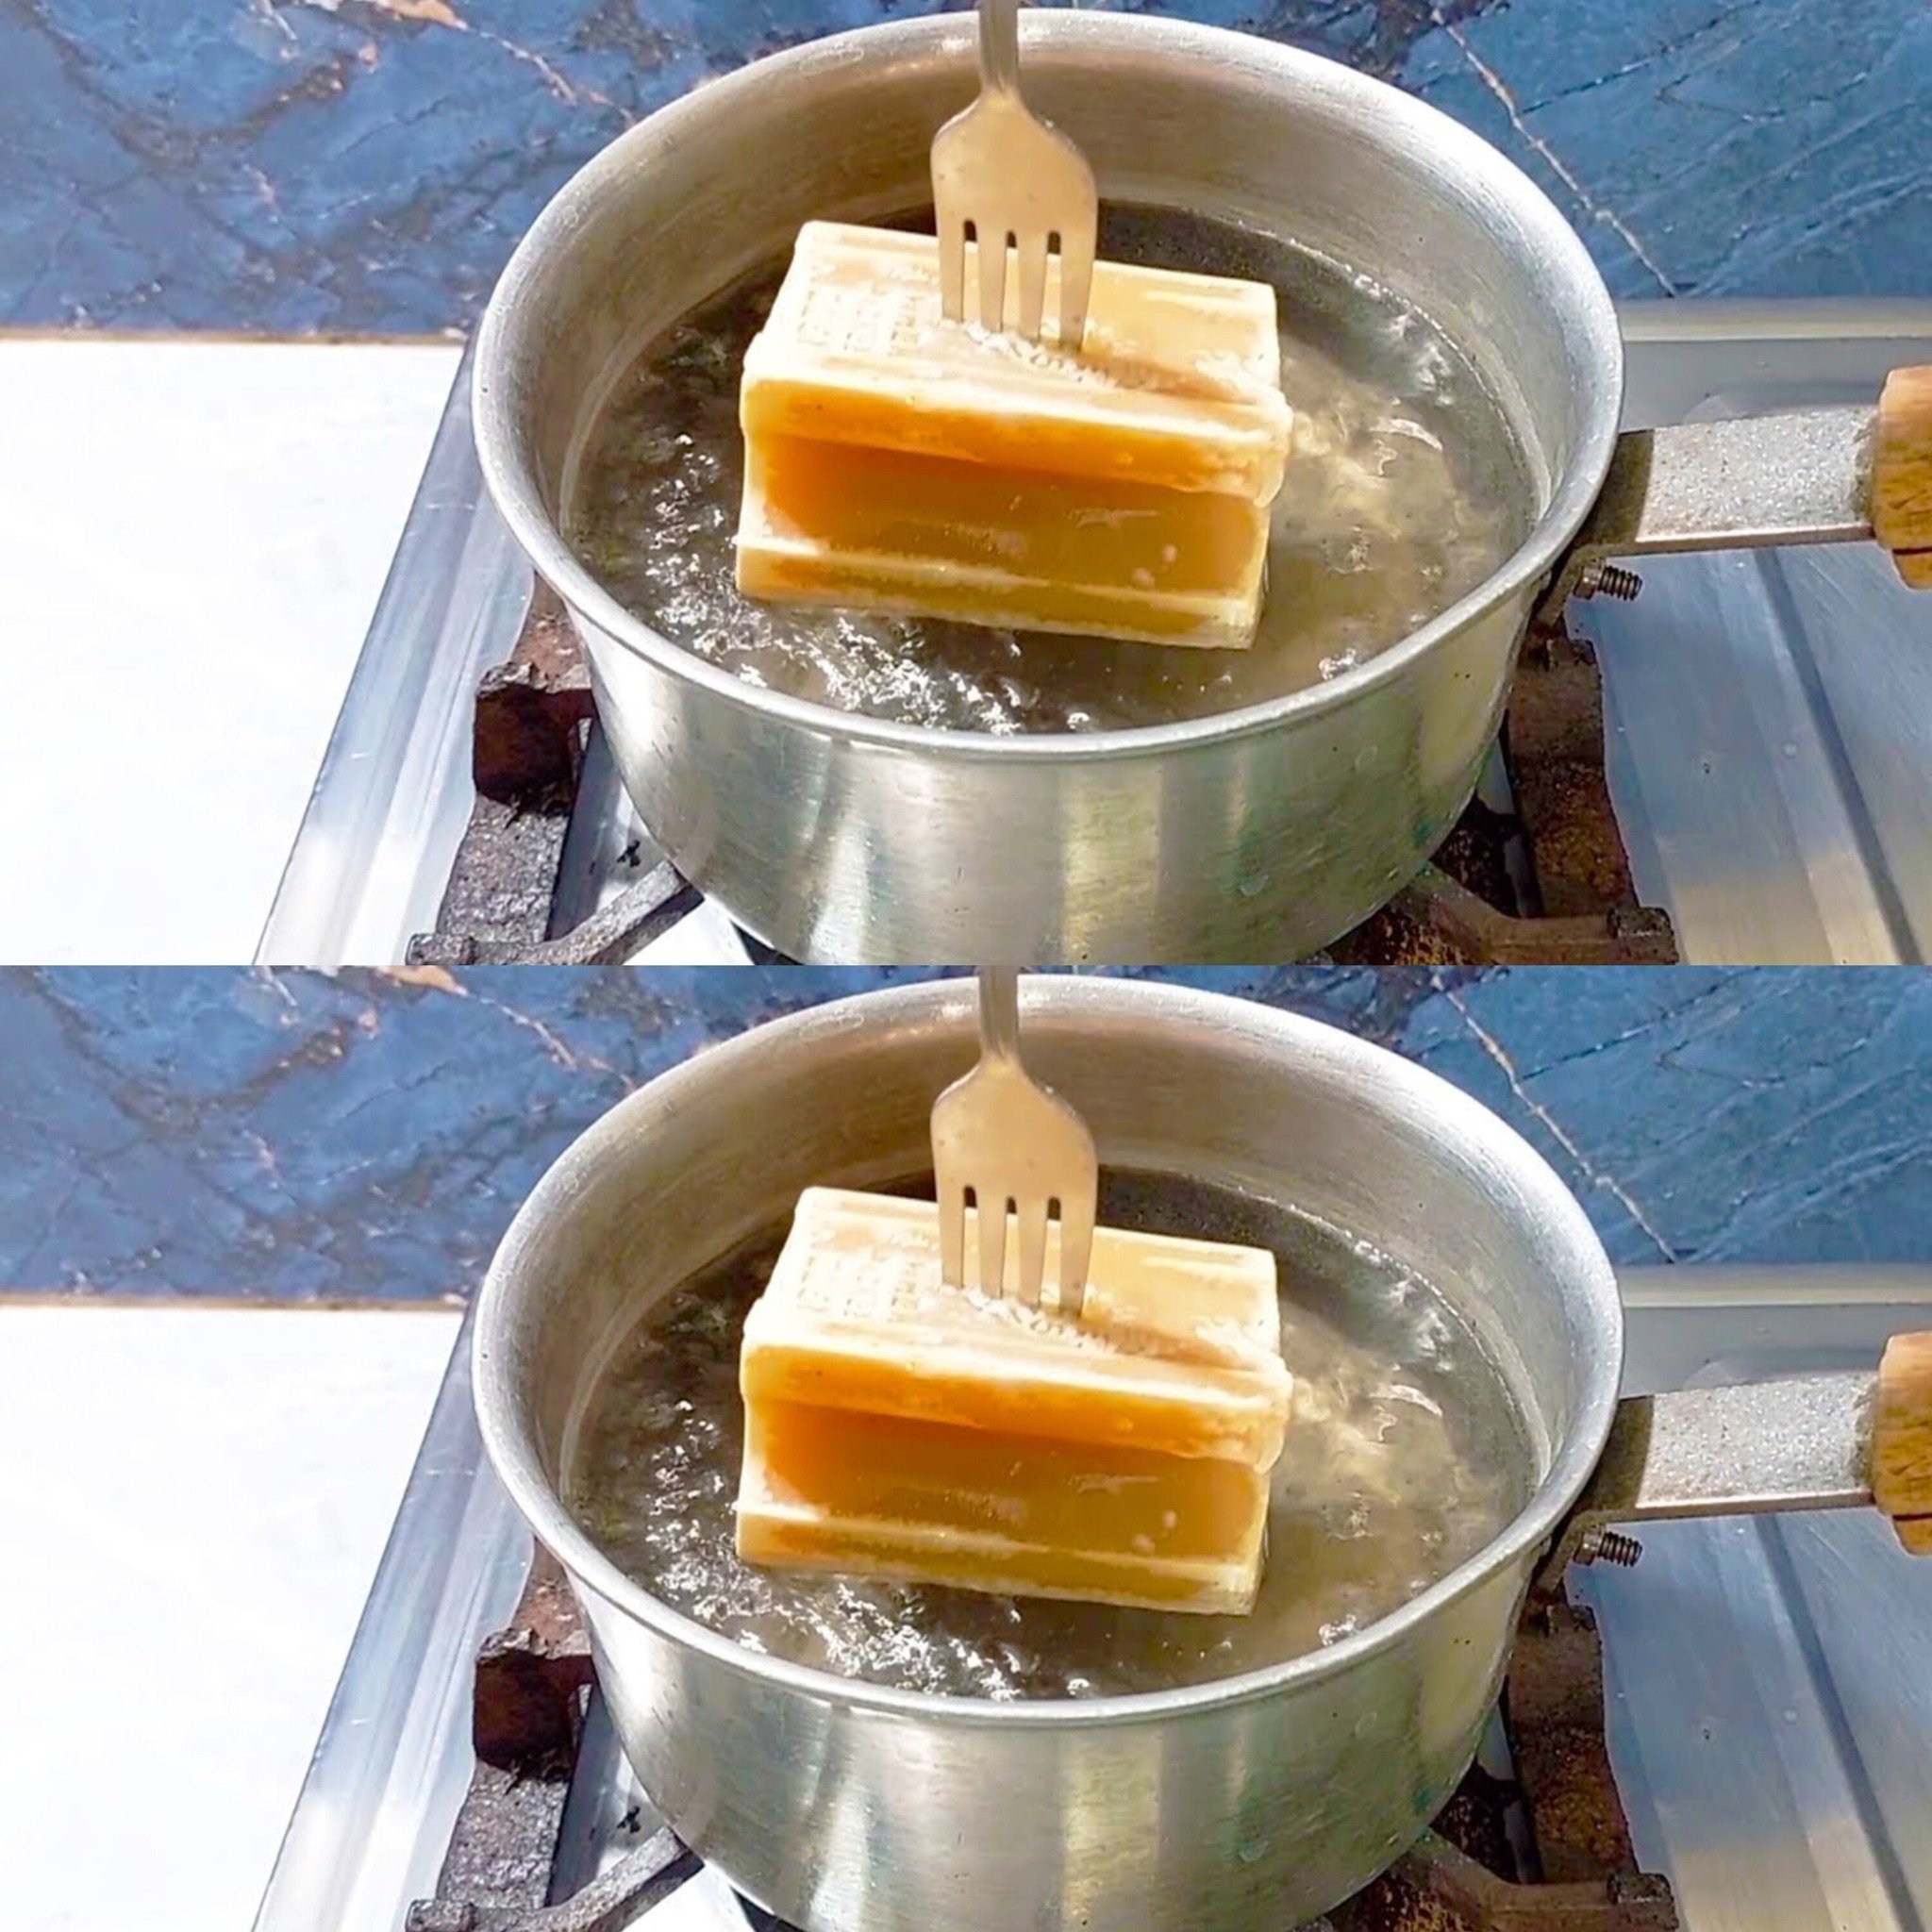
3. **Add the Soap** : Once the water reaches a rolling boil, carefully place the soap into the pot. Stir occasionally as the soap begins to dissolve.
4. **Let It Simmer** : Allow the mixture to simmer until the soap fully dissolves, creating a creamy liquid solution. This usually takes about 10–15 minutes.
5. **Cool and Store** : Remove the pot from heat and let the mixture cool slightly. Pour the liquid soap into clean containers (such as empty shampoo bottles, mason jars, or squeeze bottles) for easy storage and use.
This simple technique transforms solid soap into a versatile liquid form, which can be used for handwashing, dishwashing, bathing, or even mopping floors. The result? No more wasted soap—and no need to constantly buy replacements.
### Why Should You Try This Trick?

#### 1. **Saves Money**
One of the biggest advantages of this trick is its ability to stretch your budget. Instead of throwing away half-used bars of soap, you can recycle them into liquid form, effectively doubling their usability. A single bar of soap can yield several liters of liquid soap, depending on how diluted you prefer it. Considering that liquid soaps often cost significantly more than bar soaps, this method allows you to maximize value while minimizing expenses.
#### 2. **Reduces Waste**
Environmental concerns are at an all-time high, and reducing household waste is a critical step toward living sustainably. Every year, millions of tons of plastic packaging from liquid soaps end up in landfills and oceans. By making your own liquid soap using existing bar soap, you eliminate the need for additional plastic bottles. Plus, recycling soap scraps ensures that no part of the bar goes to waste, aligning perfectly with eco-friendly practices.
#### 3. **Customizable Fragrance and Consistency**
Another perk of this trick is the ability to customize your soap based on personal preferences. For instance, you can add essential oils like lavender, lemon, or peppermint to create a fragrant blend tailored to your liking. You can also adjust the consistency by adding more or less water, depending on whether you want a thicker gel-like texture or a lighter, runnier soap.
#### 4. **Versatile Uses**
Liquid soap made from boiled bars isn’t limited to just washing hands. Its applications are endless Use it as a body wash, floor cleaner, pet shampoo, or even laundry detergent. This versatility makes it a practical choice for anyone looking to simplify their household supplies while cutting costs.
### Step-by-Step Guide to Mastering the Boiling Soap Method
If you’re ready to give this trick a try, follow these detailed steps to ensure success:
1. **Gather Supplies** : You’ll need a large pot, water, a bar of soap (or soap scraps), stirring utensils, and storage containers.
2. **Prepare the Soap** : If using a full-sized bar, cut it into smaller chunks to speed up the melting process. If using scraps, gather them together.
3. **Boil the Water** : Add enough water to cover the soap entirely. Heat the water until it boils vigorously.
4. **Melt the Soap** : Place the soap pieces into the boiling water and stir continuously to prevent clumping. As the soap melts, it will begin to thicken the water, creating a milky consistency.
5. **Dilute (Optional)** : After the soap has dissolved, you can add extra water to achieve your desired thickness. Keep in mind that overly thick soap may clog dispensers, so err on the side of caution.
6. **Cool and Transfer** : Allow the mixture to cool slightly before transferring it to your chosen containers. Label each container clearly to avoid confusion later.
7. **Use and Enjoy** : Your homemade liquid soap is now ready to use Shake well before each use, as natural separation may occur over time.
### Tips for Success
To ensure the best results, keep the following tips in mind:
– **Experiment with Ratios** : Finding the right balance between soap and water may take some trial and error. Start with equal parts soap and water, then adjust according to your needs.
– **Store Properly** : Liquid soap should be stored in airtight containers to maintain freshness and prevent contamination. Glass jars or BPA-free plastic bottles work best.
– **Combine Different Soaps** : Don’t hesitate to mix different types of soap for a unique scent or texture. Just ensure all ingredients are compatible and safe for your intended use.
– **Label Everything** : Whether you’re gifting your homemade soap or keeping it for personal use, labeling helps identify contents and prevents accidental misuse.
### Beyond Savings: The Environmental Impact
Beyond financial savings, adopting the boiling soap trick contributes positively to the environment. By reusing soap scraps and avoiding commercial liquid soaps packaged in single-use plastics, you actively reduce your carbon footprint. Furthermore, homemade soap solutions often contain fewer synthetic additives and harsh chemicals compared to store-bought alternatives, making them gentler on both your skin and the planet.
### Final Thoughts: Embrace Simplicity and Sustainability
The “boiling soap trick” proves that sometimes the simplest ideas have the greatest impact. Not only does it save you money and reduce waste, but it also empowers you to take control of your household supplies in a meaningful way. With minimal effort and resources, you can transform ordinary bar soap into a multipurpose liquid solution that meets all your cleaning needs.
So, the next time you find yourself staring at a pile of soap scraps or wondering how to cut down on expenses, remember this ingenious trick. Put one bar of soap in boiling water, and watch as you stop wasting money—and start embracing a smarter, greener lifestyle.