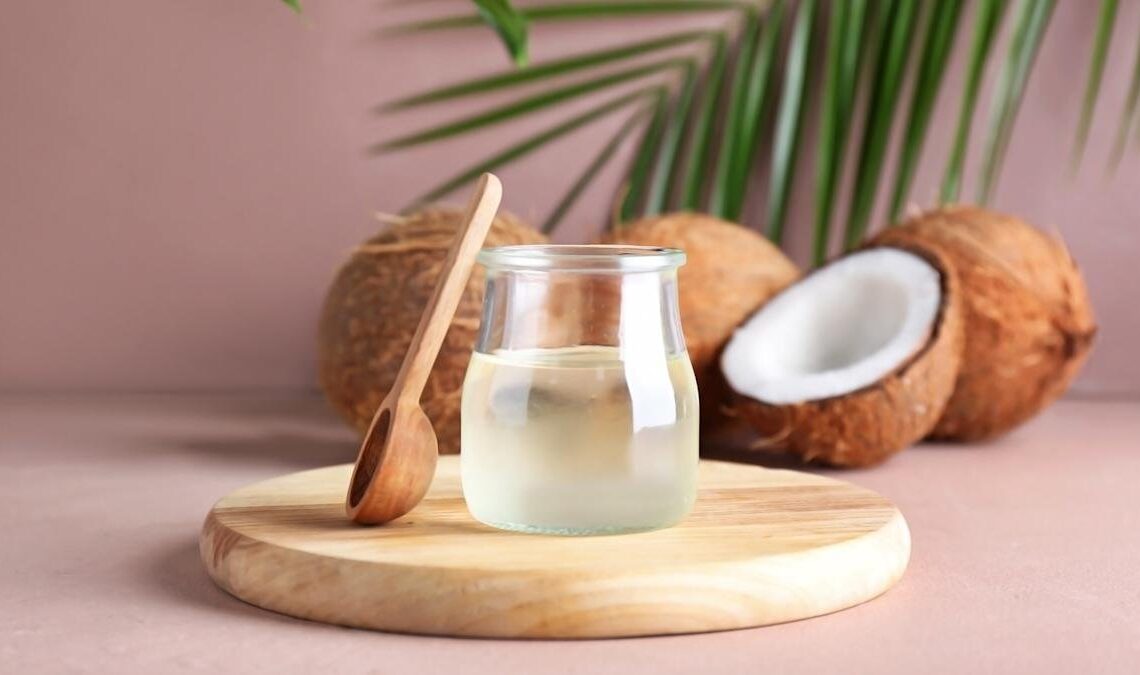
Coconut oil has taken the beauty and health world by storm, and for good reason. Packed with beneficial fats and antioxidants, it’s a natural remedy that can improve your skin, hair, and overall health. But did you know that you can make your very own high-quality coconut oil right at home with minimal effort? Yes, it’s true You don’t need to spend a fortune on store-bought coconut oil when you can make it fresh in your kitchen. In this article, we’ll show you the easiest way to make coconut oil at home – you won’t believe how simple it is
### Why Make Coconut Oil at Home?
Before we dive into the step-by-step process, let’s take a quick look at why you should consider making your own coconut oil.
1. **Purity**: Homemade coconut oil is free from additives, preservatives, and chemicals often found in store-bought versions. You’ll have complete control over the process and the ingredients.
2. **Cost-Effective**: While store-bought coconut oil can be expensive, making your own at home is incredibly budget-friendly. You can save a lot of money in the long run.
3. **Freshness**: Homemade coconut oil is fresher and more potent than commercial varieties, ensuring that you get the maximum benefit from its natural nutrients.
### What You Need to Make Coconut Oil at Home
Before we begin the process, here’s what you’ll need:
– **Fresh mature coconuts** (2-3 coconuts should be enough to make a decent amount of oil)
– A **grater** or food processor
– **Water**
– A **muslin cloth** or fine cheesecloth for straining
– A **pan** or heavy-duty skillet for cooking
– A **container** for storing your coconut oil
### Step-by-Step Guide: How to Make Coconut Oil at Home
#### 1. **Crack Open the Coconuts**

Start by cracking open your coconuts. This can be a bit tricky, but with a hammer or a strong knife, you can easily break the hard shell. Once cracked, carefully remove the **coconut water** into a bowl (you can drink it or use it for other recipes).
#### 2. **Remove the Coconut Meat**
Once you’ve drained the coconut water, use a knife to separate the **coconut meat** from the shell. The coconut meat should come out in large chunks. If you’re using a grater or food processor, it’s best to cut the meat into smaller pieces to make the process easier.
#### 3. **Grate the Coconut Meat**

Now it’s time to grate the coconut meat. You can use a **manual grater** or a **food processor** to turn the coconut meat into small, shredded pieces. This step is important because it will help release the coconut oil when you press it later.
#### 4. **Extract the Coconut Milk**
Place the grated coconut meat into a large bowl and add warm **water**. Using your hands or a spoon, mix the coconut and water thoroughly. Then, use a **muslin cloth** or cheesecloth to strain the mixture, pressing it down to extract the rich, creamy coconut milk. This liquid is what you will use to create the oil.
#### 5. **Let the Coconut Milk Separate**
After extracting the milk, leave it to sit for a few hours. The coconut milk will naturally separate into two layers: the cream (which will float on top) and the water (which will settle at the bottom). You can scoop out the cream and set it aside for use in various recipes or for applying to your skin and hair.
#### 6. **Cook the Coconut Milk to Extract the Oil**
Next, pour the remaining coconut milk into a pan or skillet over **medium heat**. Keep stirring the mixture continuously to avoid burning. As the water evaporates, you’ll start to see the oil separating from the milk. This can take anywhere from 30 minutes to an hour, depending on the amount of coconut milk you’re working with. Be patient – the more you cook, the more the oil will separate.
#### 7. **Collect the Oil**
Once most of the water has evaporated, and you’re left with a thick, golden oil, remove the pan from the heat. Allow the coconut oil to cool for a few minutes before pouring it into a **container** for storage.
#### 8. **Strain the Oil**
For an extra clear oil, you can strain the coconut oil through a fine mesh sieve or cheesecloth to remove any remaining bits of coconut. This step is optional but recommended if you prefer a smoother consistency.
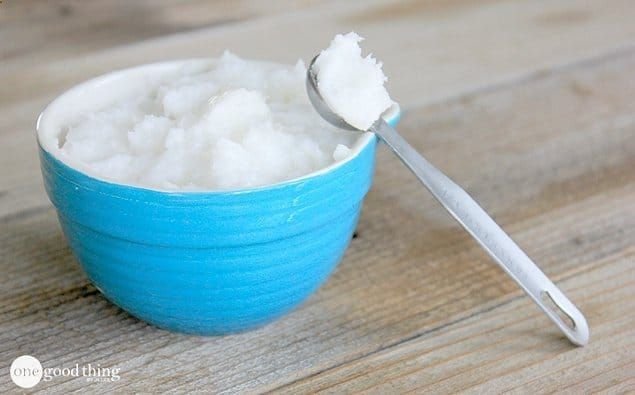
#### 9. **Store Your Coconut Oil**
Store your homemade coconut oil in a glass jar or any airtight container. It can be kept at room temperature or refrigerated, depending on your preference. The oil will solidify in cooler temperatures but can be easily melted by warming it up in your hands or in a bowl of hot water.
### How to Use Homemade Coconut Oil
Now that you’ve made your own coconut oil, you might be wondering how to use it. Here are some of the most popular ways to incorporate homemade coconut oil into your daily routine:
1. **For Skin Care**: Apply coconut oil directly to your skin as a moisturizer, especially for dry areas like elbows, knees, and heels. It’s also great for soothing sunburns and reducing stretch marks.
2. **For Hair Care**: Massage coconut oil into your scalp and hair to promote healthy hair growth, reduce dandruff, and add shine.
3. **For Cooking**: Use coconut oil in cooking or baking. It’s perfect for sautéing, frying, or even adding to smoothies for a healthy fat boost.
4. **For Oral Health**: Try oil pulling by swishing coconut oil around your mouth for 10-15 minutes to improve oral hygiene and freshen your breath.
### Final Thoughts: Homemade Coconut Oil – Simple, Pure, and Cost-Effective
Making your own coconut oil at home is incredibly easy, cost-effective, and rewarding. Not only will you get to enjoy fresh, high-quality coconut oil, but you’ll also avoid the chemicals and preservatives that are often present in store-bought versions. Whether you use it for skincare, hair care, cooking, or any other use, homemade coconut oil is a must-have in every home.
So, next time you see a coconut, don’t just admire its hard shell—unlock the natural goodness inside and make your own coconut oil with this simple, step-by-step guide