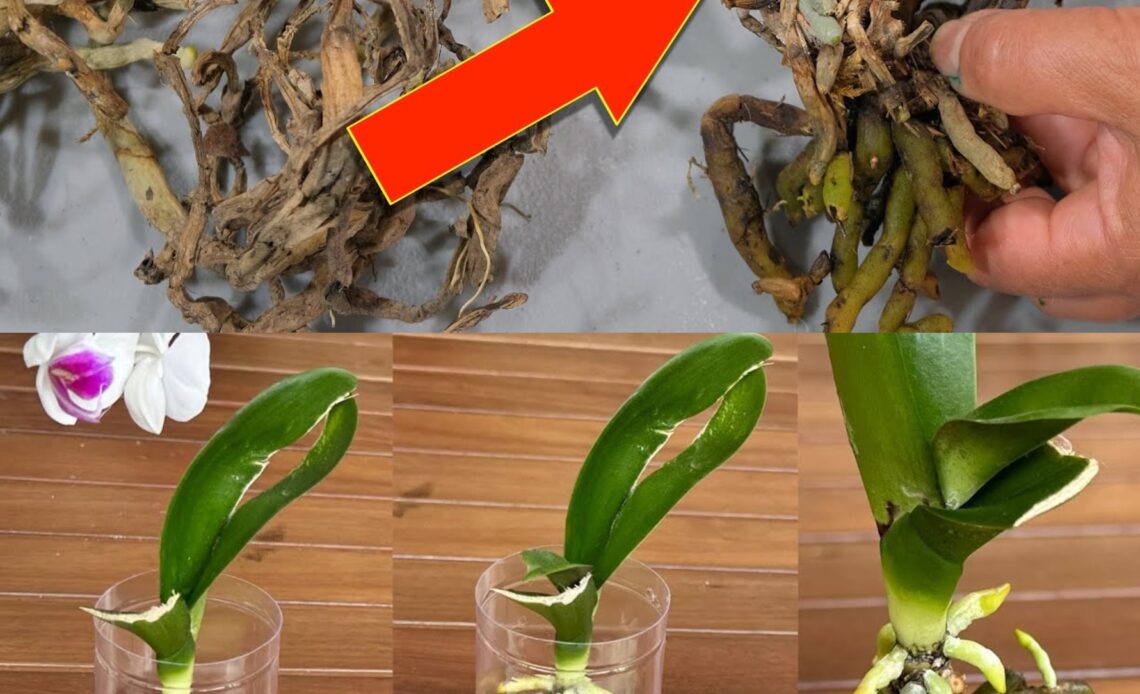
Do This And You Will Never Again Worry About Reviving Any Rootless Orchi – Explore
Decor

Do This And You Will Never Again Worry About Reviving Any Rootless Orchi

Say goodbye to worries about rootless orchids with this comprehensive guide that unveils the nurserymen’s method to revive your orchid. 
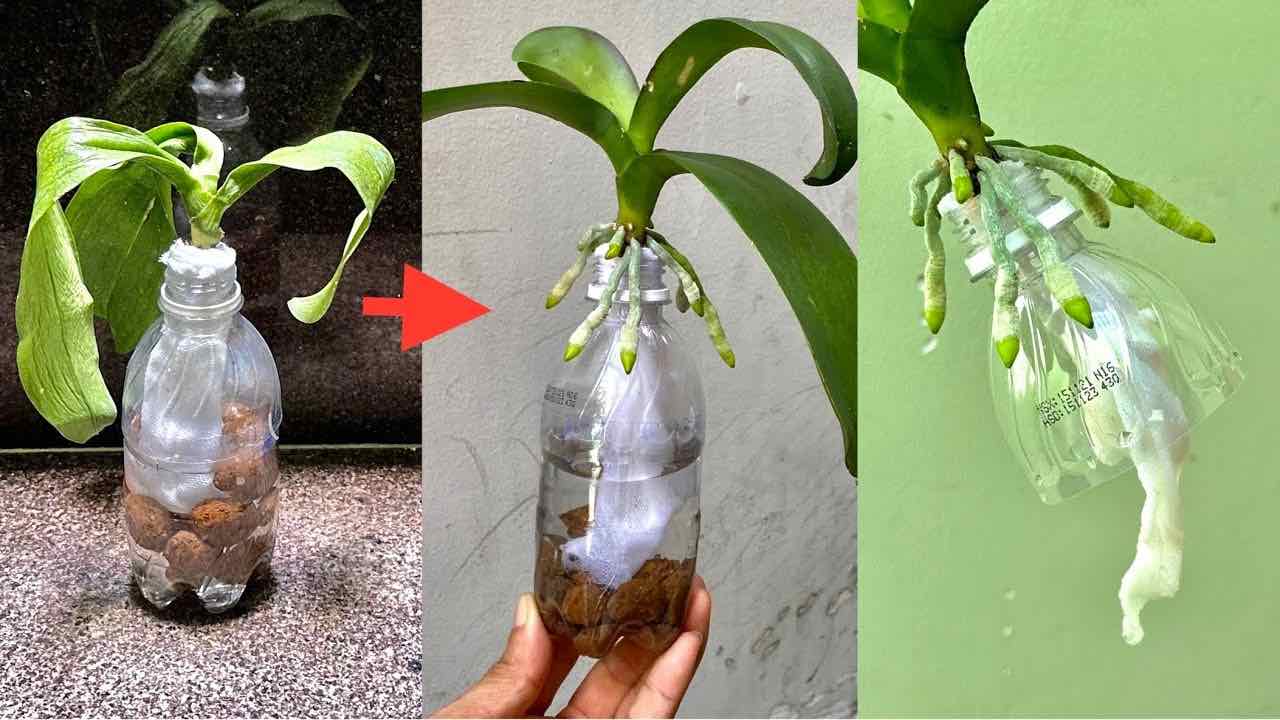
Orchid in a bottle

Whether you’re a seasoned gardener or a beginner, rescuing an orchid without roots is a manageable task. Follow these detailed steps, and you’ll have your orchid thriving again in no time.
 

orchid

Reviving an Orchid Without Roots: Step-by-Step Guide

The orchid, a resilient indoor plant suitable for even the less experienced gardeners, demands minimal care. To ensure year-round flowering, follow basic guidelines like choosing the right position with ample light but avoiding direct sunlight and drafty windows. Moderate watering and the application of suitable natural fertilizers contribute to its overall health.

Now, let’s address the challenge of reviving an orchid without roots. Follow these steps to rejuvenate your rootless orchid and enjoy its beauty once again.
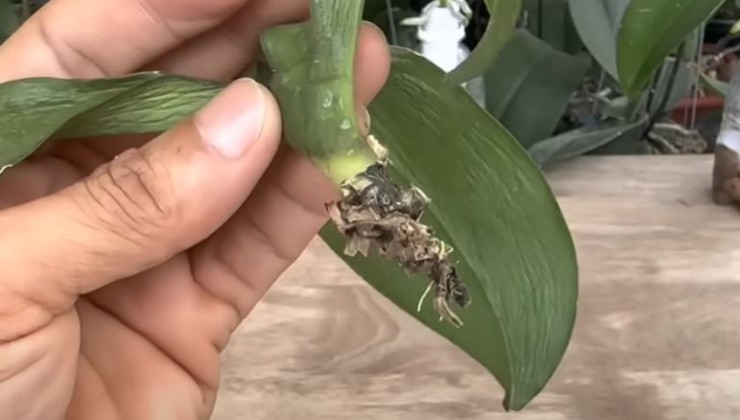
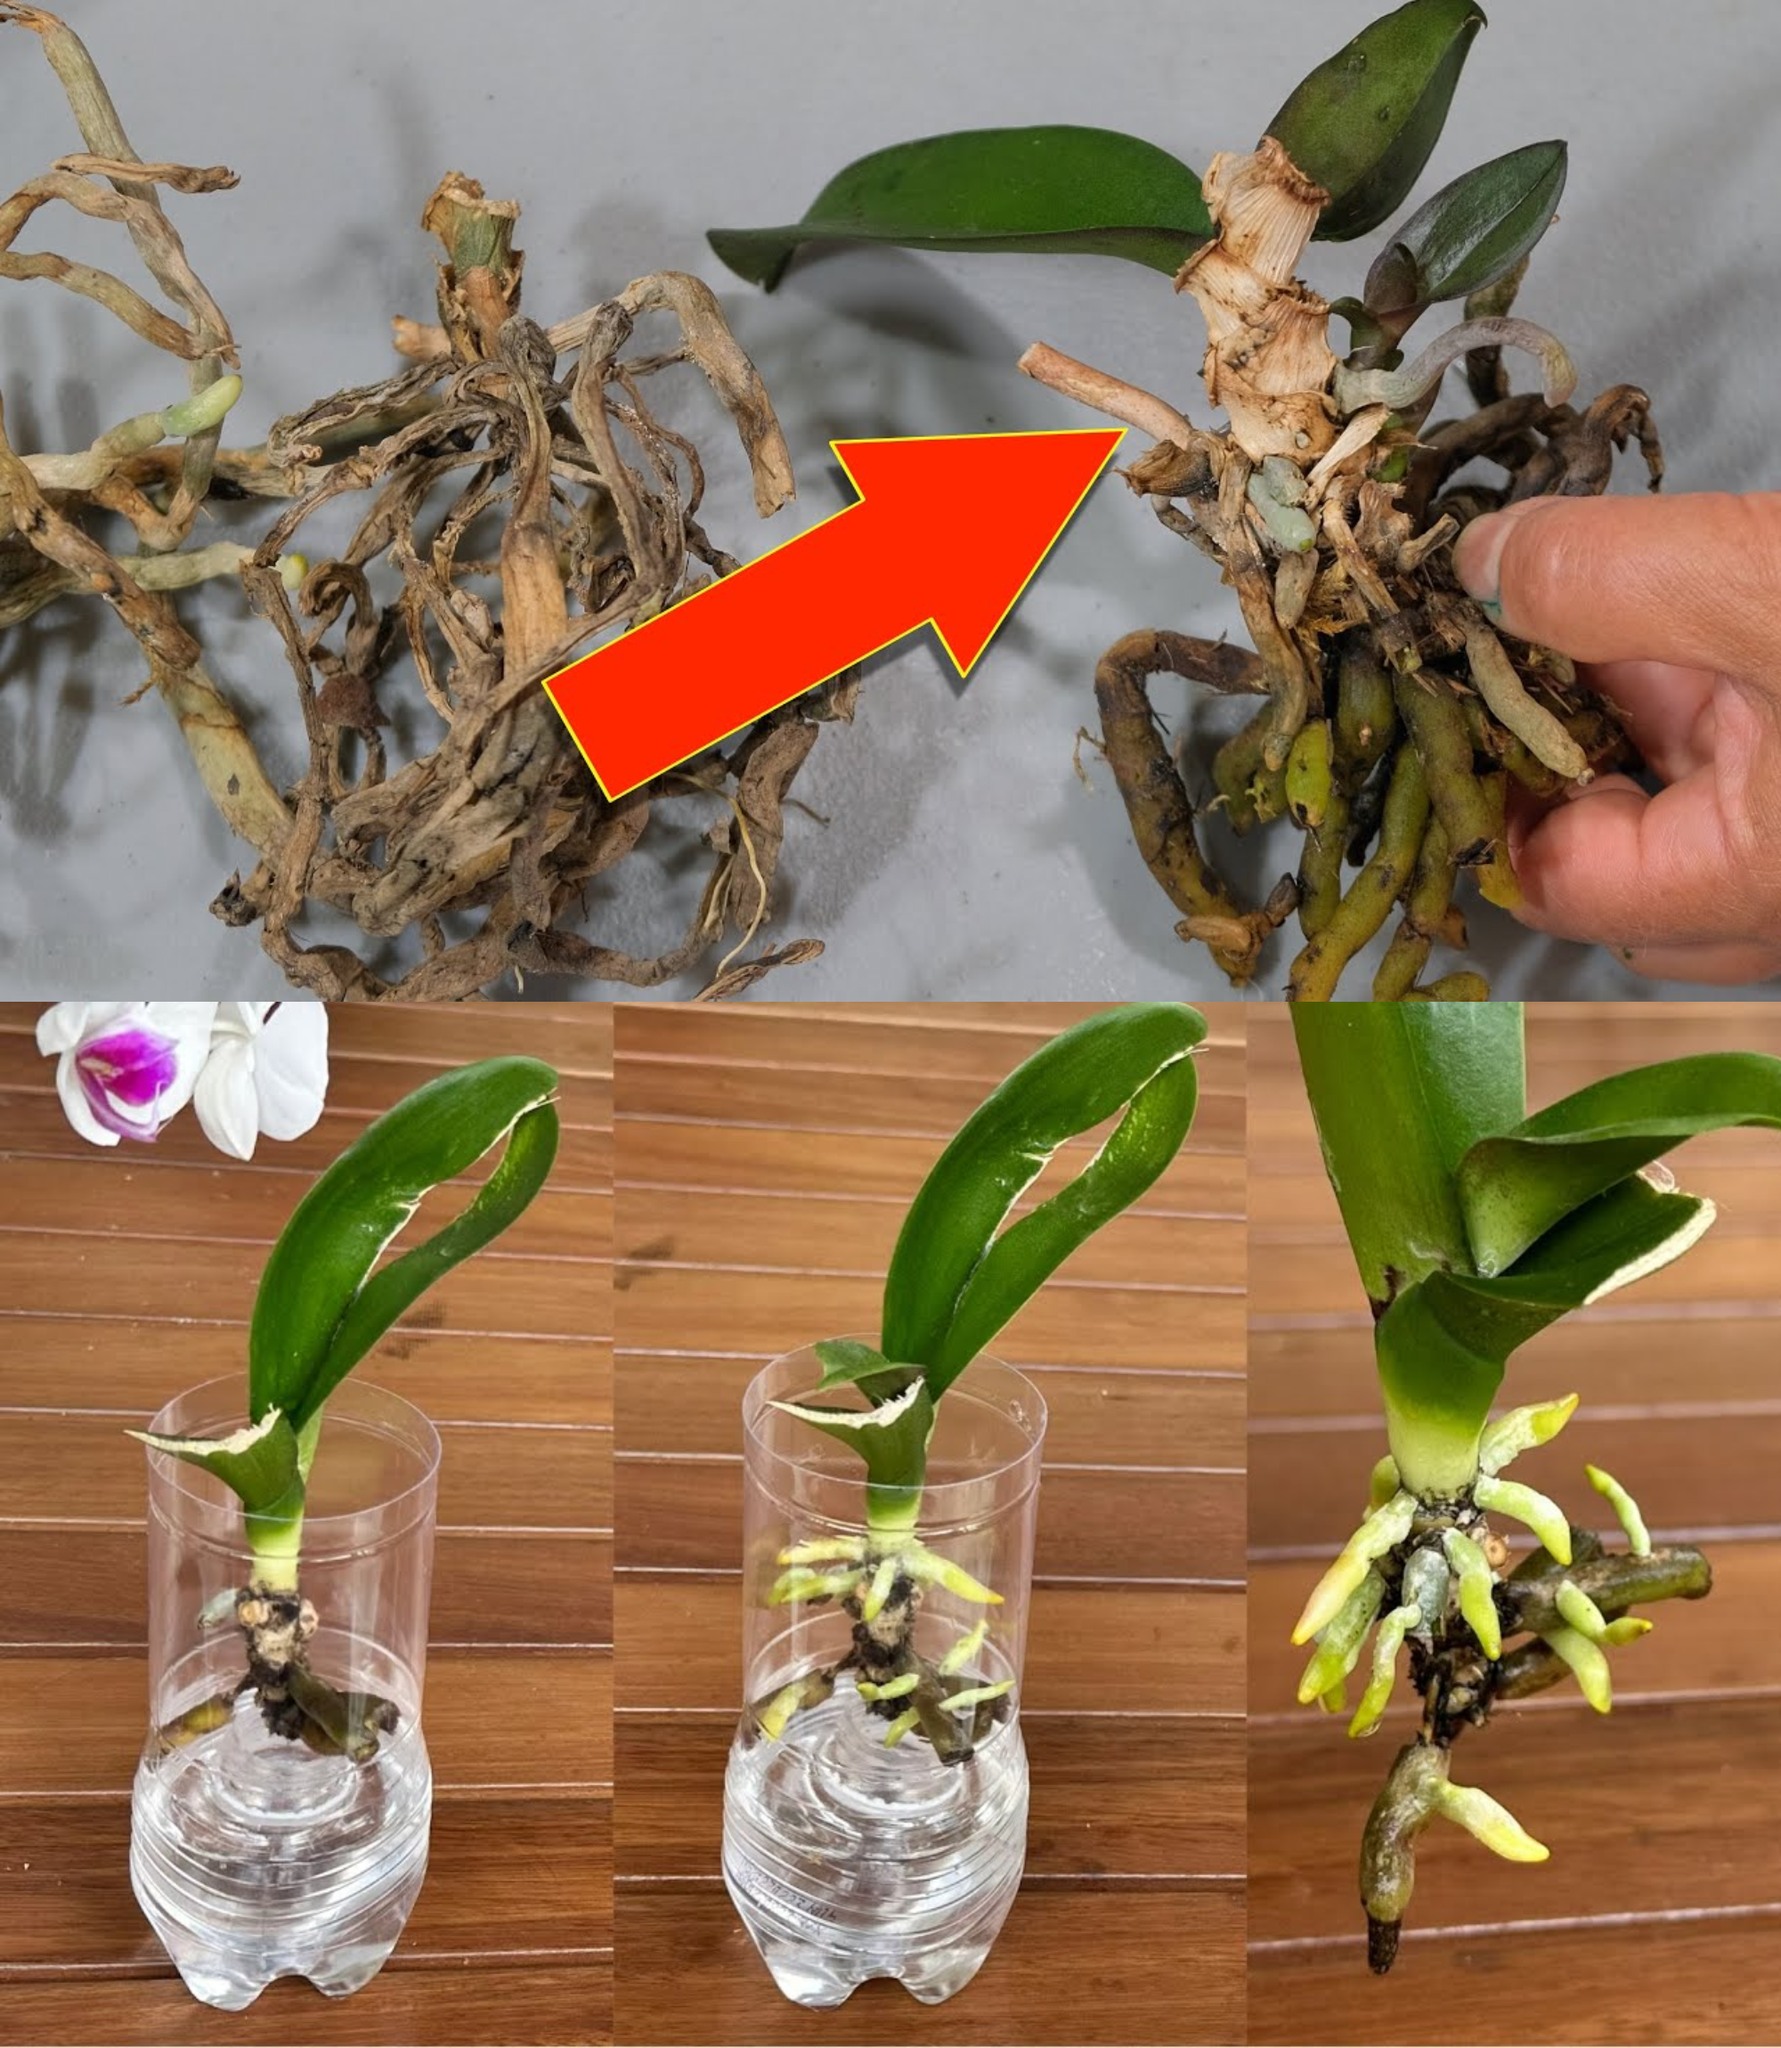
rootless orchid

Orchid Without Roots: Restoration Procedure

  1. Assess and Prepare:
    • Examine the orchid, and if you find dry roots, proceed with the restoration.
    • Trim completely black roots, retaining only those with a greenish-gray color.
  2. Cleaning the Base:
    • Thoroughly clean the base of the orchid, utilizing scissors for precision.
  3. Antibacterial Treatment with Garlic:
    • Take a clove of garlic and place it in a bowl.
    • Crush the garlic using a press or mortar to release its antibacterial properties.
    • Add half a liter of water to the crushed garlic, then filter the water to remove any residues.
    • Wet a cotton pad in the garlic-infused water and gently wipe all the leaves of the orchid.
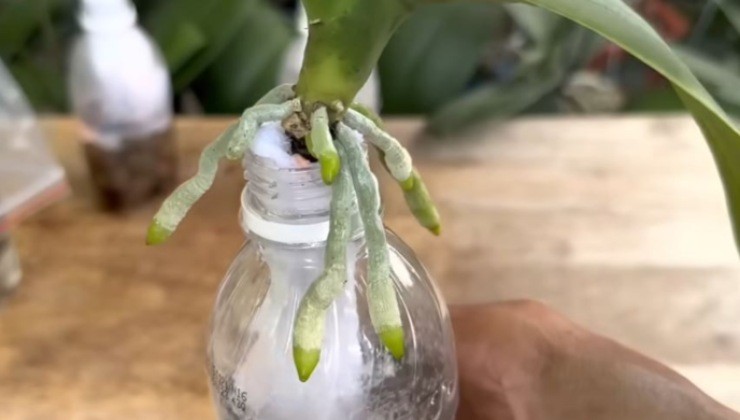
revive a rootless orchid

  1. Immersion in Garlic Water:
    • Place the orchid stem in a glass, ensuring it is fully submerged in the garlic water.
    • Allow the orchid to soak for approximately 30 minutes.
  2. Preparation of Terracotta Seeds and Cloth:
    • Pour the remaining garlic water into a container with terracotta seeds.
    • Place a soft, highly absorbent cloth (like gauze) on top of the seeds.
  3. Bottle Method: Moisture Retention:
    • Cut a bottle, keeping the neck (about 5 cm) and the bottom (about 10 cm).
    • Wring out the gauze and wrap it around the orchid stem.
    • Insert the gauze into the neck of the bottle, allowing the terracotta seeds to sit at the bottom.
    • Seal the bottle with the other part.
  4. Placement and Maintenance:
    • Position the bottle in a cool area for approximately 2 weeks.
    • Mist the orchid leaves every 2 days.
    • Change the water if it becomes dirty or depletes.
    • After 2 months, observe the regrowth of roots, and repot the orchid when roots reach 6/7 centimeters.

By following this method, you’ll witness positive results, and your once rootless orchid will be on its way to vibrant and robust growth.

,


Related posts
Decor

How To Make A Natural Anti Parasite: Try The Baking Soda Tric

Natural Pesticides: Safeguard Your Plants with DIY Solutions Cultivating a vibrant garden or…
Read more
Decor

1 Tablespoon Of This And The House Flowers Will Grow Without Stopping: Never Had Them Like Thi

Achieve Blooming Beauty: Cinnamon’s Magic for Your Home Plants For plant enthusiasts aiming to…
Read more
Decor

Tomato Macerate A Powerful Insecticide For Your Plants, Excellent Against Cabbage Moth

To defend your garden, numerous natural remedies can be adopted, and one effective option is tomato…
Read more