Watering your garden efficiently can be a challenge, especially during hot summers or when you have a busy schedule. Traditional irrigation systems can be costly, and manually watering plants every day requires time and effort. However, there’s a simple, eco-friendly, and cost-effective solution—using plastic bottles to create a DIY watering system.
This method not only helps in conserving water but also ensures that your plants receive a consistent moisture supply. Whether you have a vegetable garden, a flower bed, or a few potted plants, this technique will make your gardening experience much easier.
## Why Use Plastic Bottles for Irrigation?
Plastic bottles are widely available, and instead of throwing them away, they can be repurposed for a useful gardening hack. Here’s why this trick is so effective:
– **Cost-Effective**: No need to buy expensive irrigation tools. You can recycle bottles that you already have.
– **Water Conservation**: Delivers water slowly to plant roots, reducing waste.
– **Low Maintenance**: Once set up, the system requires minimal effort to keep plants hydrated.
– **Eco-Friendly**: Reduces plastic waste by giving bottles a second life.
– **Ideal for Busy Gardeners**: Ensures plants get water even when you’re away.
## How to Make a DIY Plastic Bottle Irrigation System

Setting up this watering system is simple and requires only a few basic materials. Here’s how you can do it:
### **Materials Needed**
– Empty plastic bottles (1- or 2-liter size works best)
– A sharp knife or drill
– Wooden or metal stakes (optional)
– String or wire (optional)
– A hose or watering can (for refilling)
### **Step-by-Step Guide**
#### **Method 1: Drip Irrigation with a Plastic Bottle**
1. **Clean and Prepare the Bottle**
– Wash the bottle thoroughly to remove any residue.
– Remove the label to allow better visibility of water levels.
2. **Make Small Holes in the Bottle**
– Use a drill or a heated needle to make small holes in the bottom and along the sides of the bottle.
– The number of holes will determine how quickly the water drips out—fewer holes mean slower watering.
3. **Bury the Bottle Near the Plant Roots**
– Dig a small hole next to the plant, deep enough to bury most of the bottle while leaving the top accessible.
– Place the bottle in the hole and cover it with soil, leaving the cap exposed.
4. **Fill the Bottle with Water**
– Pour water into the bottle through the opening at the top.
– Screw the cap on loosely to control the water release rate.
5. **Monitor and Refill as Needed**
– Check the bottle periodically and refill it when needed.
This method ensures that water is slowly released directly into the soil, keeping the roots hydrated without overwatering.
#### **Method 2: Hanging Bottle Irrigation System**
If you prefer an overhead irrigation method, you can set up a hanging bottle system.
1. **Prepare the Bottle**
– Similar to the drip irrigation method, clean the bottle and make small holes in the bottom.
– Drill two holes near the bottle’s top to attach string or wire.
2. **Hang the Bottle Above the Plants**
– Use a wooden stake, metal rod, or fence to secure the bottle above the plants.
– Make sure it is slightly tilted so water drips evenly.
3. **Fill the Bottle with Water**
– Slowly pour water into the bottle, and let it trickle down onto the plants.
– Adjust the height for better water distribution.
This method works well for raised beds and potted plants.
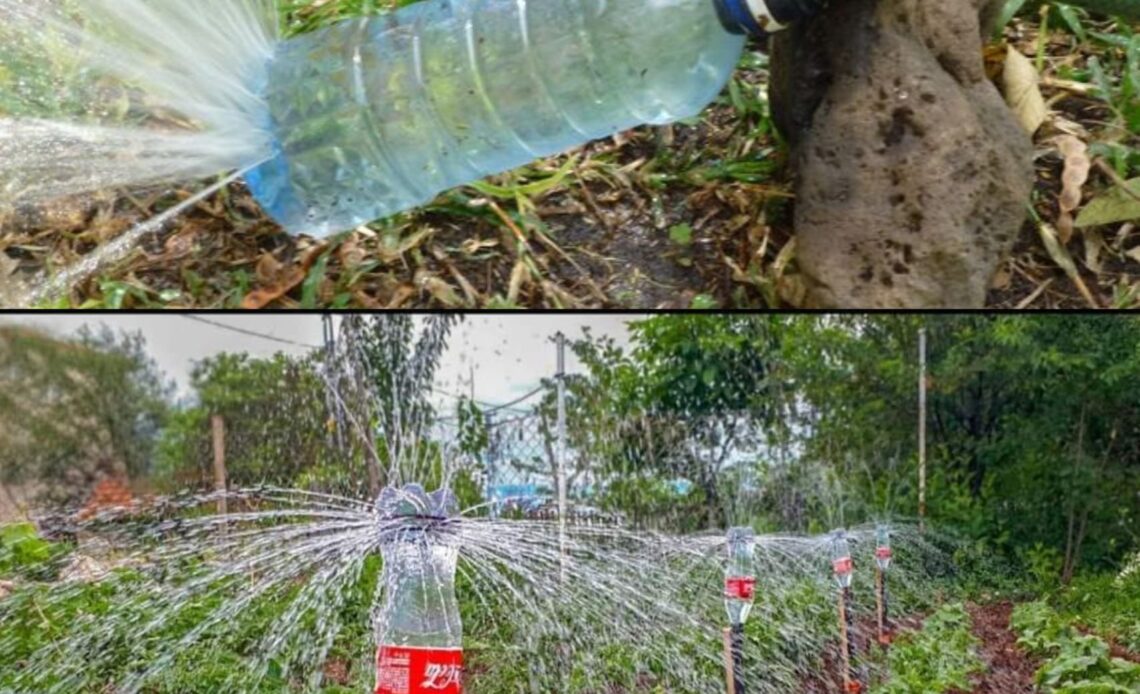
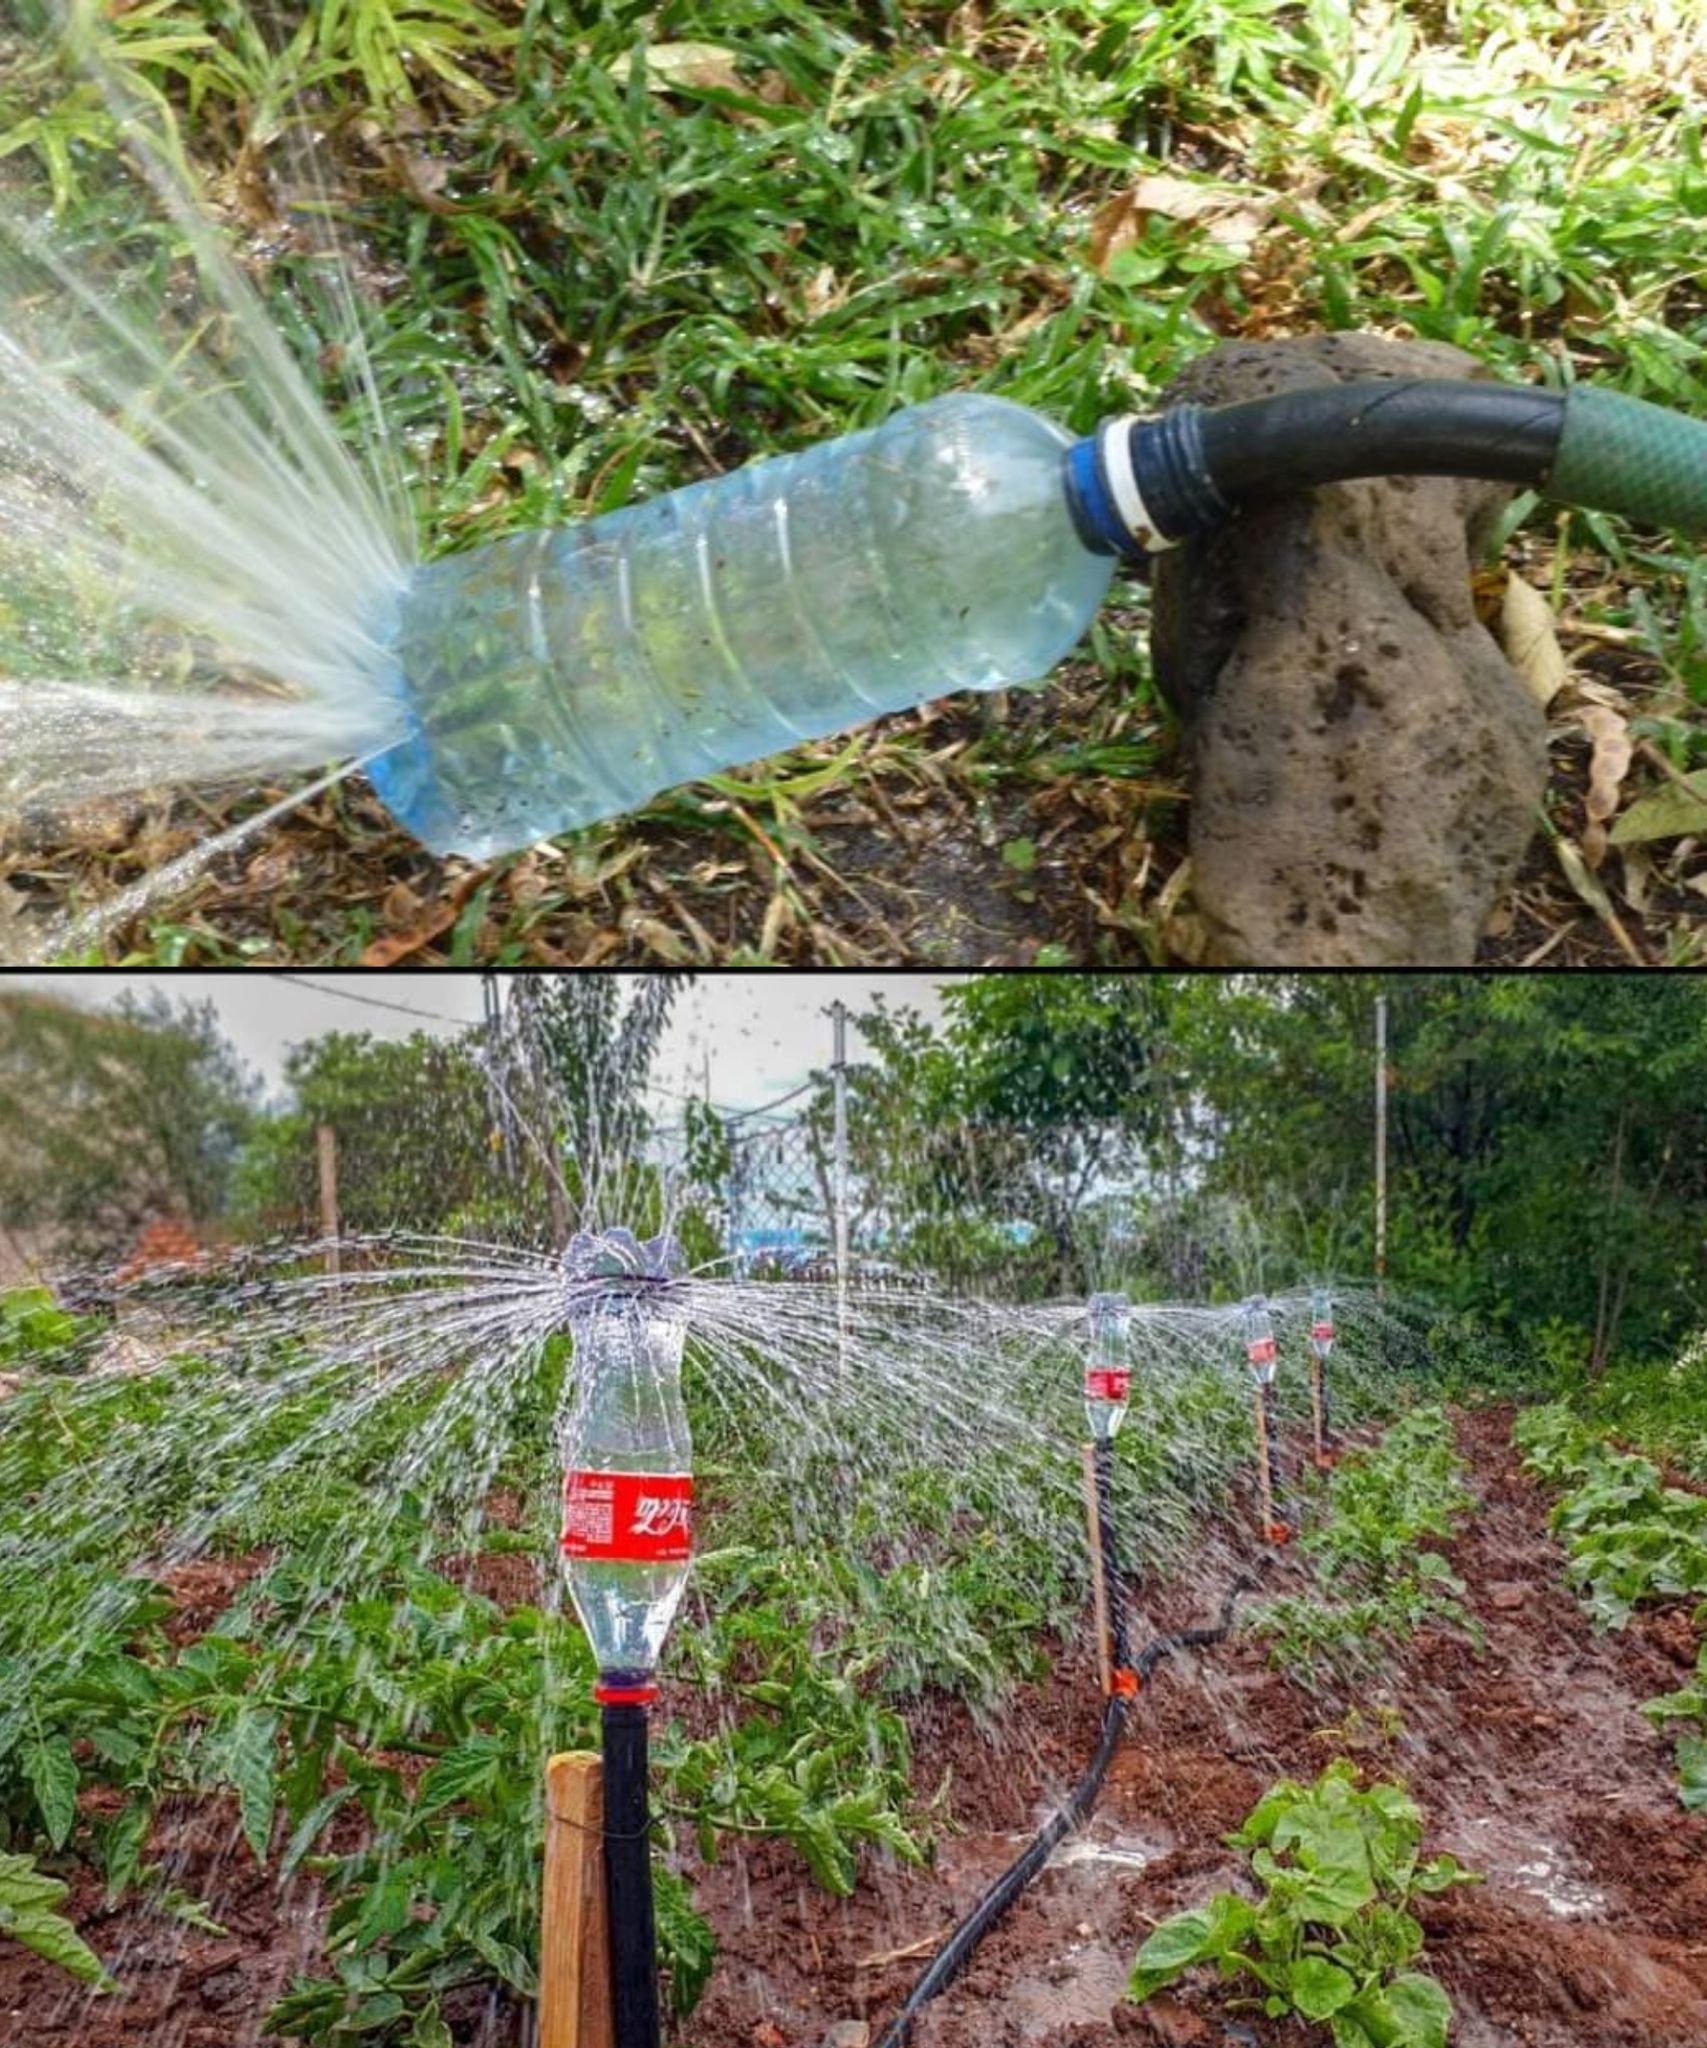
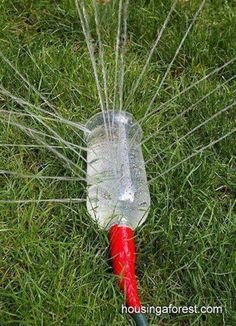
#### **Method 3: Rotating Irrigation System**
For a more advanced DIY approach, you can create a rotating irrigation system using multiple bottles.
1. **Use a Thin PVC Pipe or Metal Rod**
– Drill a hole in the bottle cap and insert a small PVC pipe or metal rod.
– Secure the rod to a wooden stake, allowing the bottle to rotate when water flows.
2. **Connect to a Hose or Water Source**
– Attach a small tube to the bottle and connect it to a hose.
– Turn on the water, and as pressure builds, the bottle will rotate, distributing water evenly.
3. **Test and Adjust Flow**
– If the rotation is too fast or slow, modify the hole size to balance the water release.
This system is great for covering larger garden areas efficiently.
## **Tips for Better Watering Efficiency**
– **Use Different Bottle Sizes**: Larger bottles work best for bigger plants that need more water, while smaller bottles are suitable for seedlings and herbs.
– **Adjust the Hole Size**: If the soil drains too quickly, use smaller holes to slow down the water release.
– **Combine with Mulching**: Adding mulch around the plants helps retain moisture and reduces evaporation.
– **Test Before Full Setup**: Try different hole placements and observe how fast the water drains before setting up multiple bottles.
## **Benefits of This DIY Irrigation System**
### ✅ **Saves Water**
Since the water is delivered directly to the roots, there’s less evaporation and runoff.
### ✅ **Reduces the Need for Frequent Watering**
Perfect for those who travel often or have busy schedules.
### ✅ **Prevents Overwatering**
Keeps the soil consistently moist without flooding the plants.
### ✅ **Encourages Deeper Root Growth**
Slow watering helps roots grow deeper, making plants stronger and more drought-resistant.
### ✅ **Helps Maintain Consistent Soil Moisture**
This method prevents sudden drying out or excessive moisture fluctuations.
## **Which Plants Benefit the Most?**
This plastic bottle watering system works best for:
🌿 **Vegetables**: Tomatoes, peppers, cucumbers, carrots, and lettuce.
🌸 **Flowers**: Roses, lilies, and hydrangeas.
🌳 **Small Fruit Trees**: Lemon, orange, and fig trees.
🌱 **Herbs**: Basil, mint, and oregano.
It’s also useful for **indoor plants** and **hanging baskets**, ensuring they receive a steady water supply.
## **Final Thoughts**
Using plastic bottles for irrigation is a simple yet effective way to keep your garden hydrated while reducing plastic waste. Whether you opt for the drip irrigation method, a hanging system, or a rotating setup, this trick will help you save time, conserve water, and improve your plant’s health.
Start implementing this eco-friendly watering solution today and enjoy a greener, more sustainable garden