
Hatching eggs at home can be an exciting and rewarding experience, whether you’re raising chickens, quails, or even ducks. While professional incubators can be costly, there’s an affordable and creative alternative that you can easily make using materials you likely already have around the house. One of the most surprising DIY solutions is using a simple plastic water bottle to create your own egg incubator. In this article, we’ll walk you through how to build a homemade incubator using a 5-liter plastic bottle, light bulbs, and a few other basic materials. If you’re interested in sustainable practices, this is a great project to try at home
### Why Use a DIY Egg Incubator?
Incubating eggs is an essential part of hatching chicks or other poultry. A reliable incubator creates the ideal conditions for eggs to develop, including maintaining the right temperature, humidity, and ventilation. While purchasing a ready-made incubator might seem like an easier solution, building one yourself allows you to save money, personalize the design to your needs, and learn a useful skill. Additionally, DIY projects are an excellent way to teach kids about science, biology, and sustainability.
When using a DIY incubator, the key factors to control are:
– **Temperature**: The ideal temperature for incubating eggs is around 99.5°F (37.5°C), though it can vary slightly depending on the species.
– **Humidity**: Eggs need a certain level of humidity to develop properly. Generally, you need 45-55% humidity during the majority of the incubation period and 65-75% during the last three days before hatching.
– **Ventilation**: Proper airflow is essential for eggs to get enough oxygen. Without ventilation, the developing embryos might suffocate.
A plastic water bottle incubator can fulfill all these requirements and can be easily customized to fit your egg-hatching needs. Now, let’s dive into how to make your very own egg incubator using just a few simple materials.
### Materials You’ll Need
To build a homemade egg incubator using a plastic bottle, you’ll need to gather the following materials:
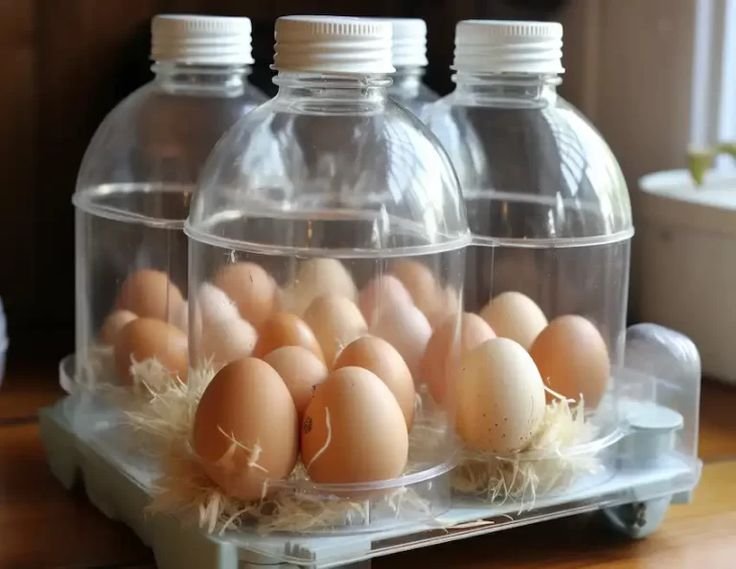
– **5-Liter or Larger Plastic Bottle**: A large plastic bottle provides enough space for several eggs and is easy to work with. Make sure the bottle is thoroughly cleaned before starting.
– **Small Light Bulbs or Heat Lamps**: These will act as the heat source to keep the eggs at the required temperature. You’ll need a bulb with a wattage appropriate for your bottle’s size.
– **Thermometer and Hygrometer**: To measure the internal temperature and humidity levels. It’s important to monitor these readings throughout the incubation period.
– **Egg Carton or Foam**: This will help keep the eggs stable and prevent them from rolling inside the bottle. The foam can also provide additional insulation.
– **Tools for Cutting and Making Holes**: Scissors, a sharp knife, or a drill will help you create holes for ventilation and cut open the bottle.
– **Grafting Tape or Plastic Wrap** (optional): If you need to seal any gaps or reinforce parts of your incubator, you can use this.
Once you have gathered all your materials, it’s time to start assembling your incubator.
### Step-by-Step Guide to Building a DIY Egg Incubator
#### Step 1: Preparing the Plastic Bottle
The first step in creating your incubator is to clean the plastic bottle thoroughly. You want to remove any residue or labels that might interfere with airflow or contamination. Once the bottle is clean and dry, you’ll need to lay it on its side.
Next, cut a large opening on one of the narrower sides of the bottle. This will act as the “door” to your incubator, providing easy access for placing and removing eggs. Make sure the opening is big enough for you to comfortably insert the eggs without damaging them.
#### Step 2: Setting Up the Heat Source
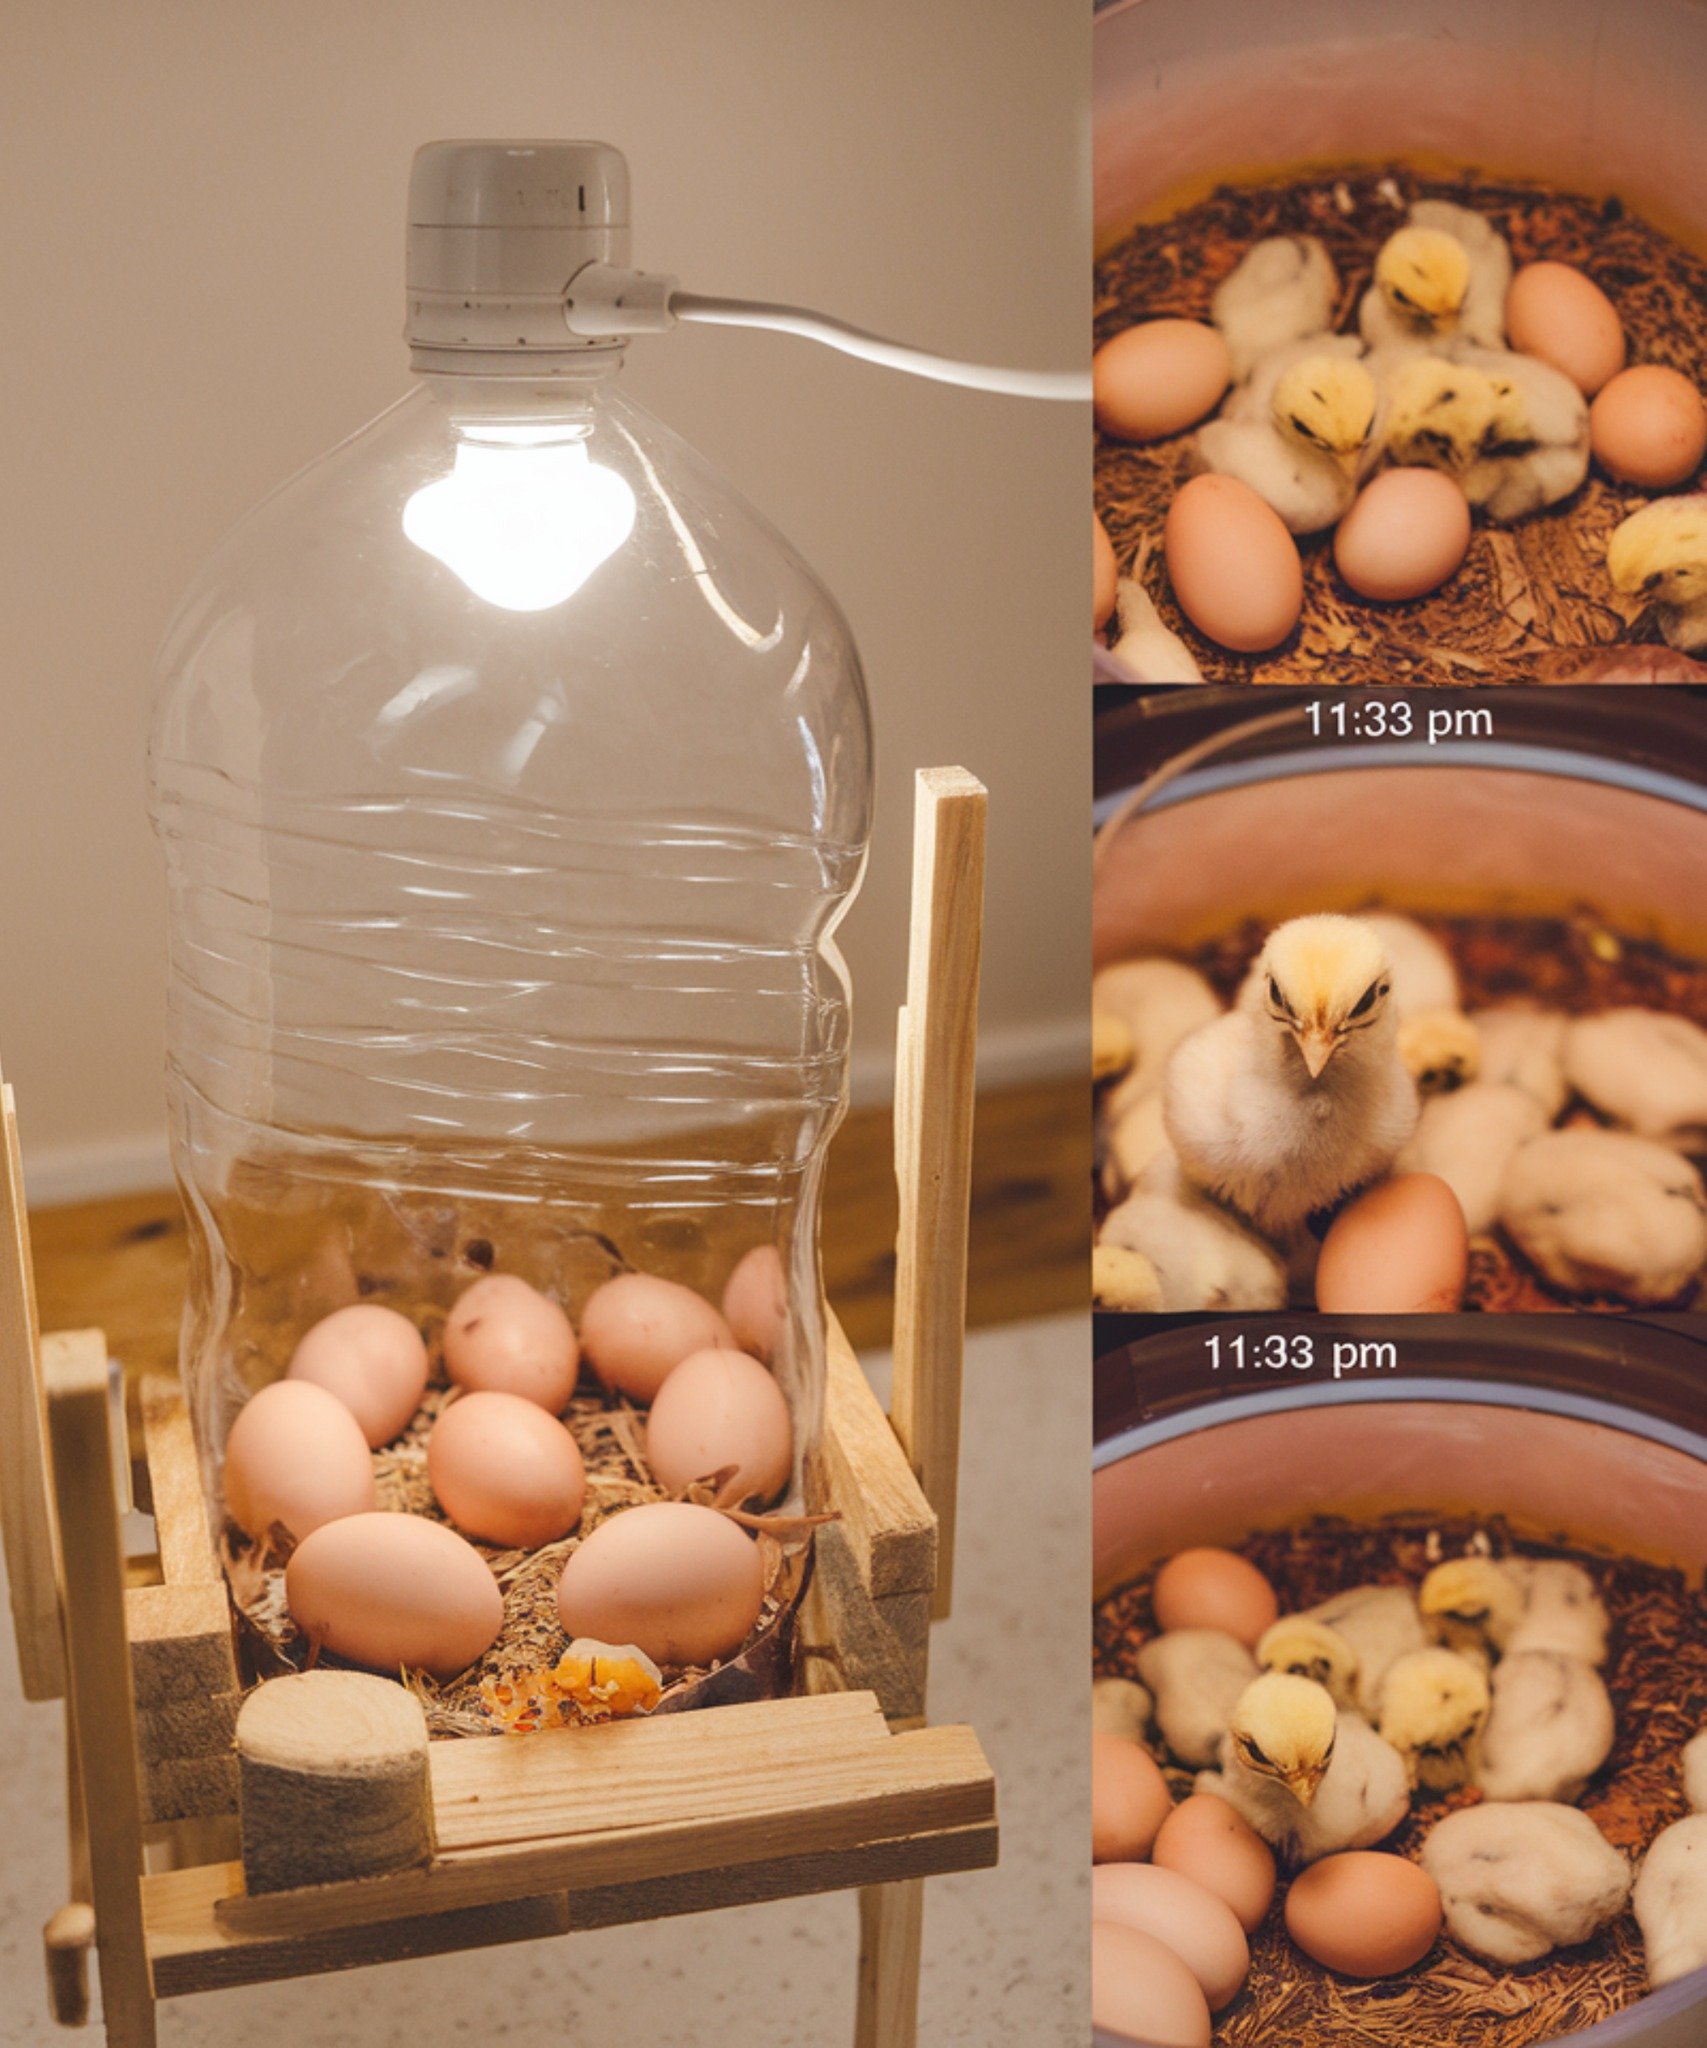
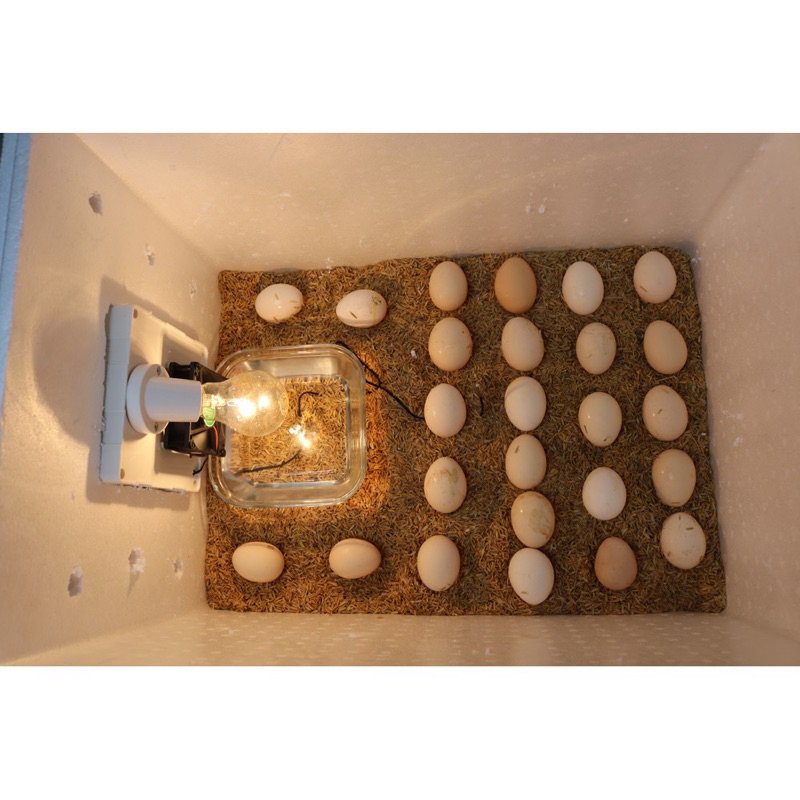
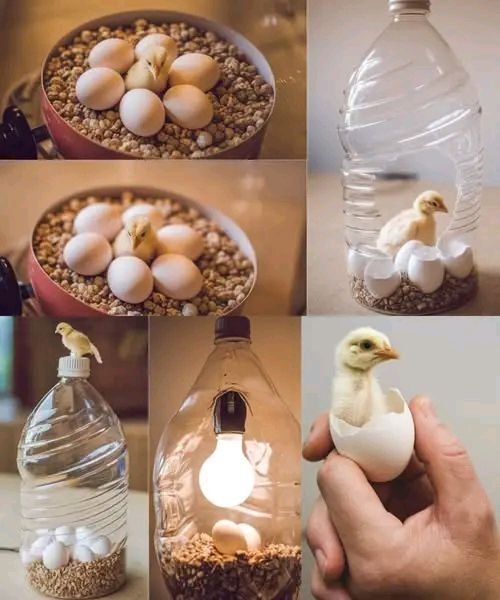
After preparing the bottle, the next step is to set up a heat source. Small light bulbs or heat lamps are ideal for this purpose. You’ll want to install them either on top of or along the sides of the bottle. The goal is to provide consistent heat that mimics the warmth a mother hen would provide.
Position the light bulbs so that they do not overheat one area of the incubator while leaving the rest too cool. Ideally, the heat should spread evenly throughout the interior of the bottle. For best results, maintain a temperature of around 99.5°F (37.5°C). This can be easily checked using a thermometer, which will give you real-time data about your incubator’s performance.
#### Step 3: Ensuring Egg Stability
Stability is crucial for egg development. You don’t want the eggs rolling around in the incubator, as this can affect the embryo’s development. To prevent this, place an egg carton or a foam insert inside the bottle. The foam will help cushion the eggs, keeping them stable while still allowing air circulation.
You can use a small egg carton that fits inside the bottle. Cut the carton to size if needed, ensuring the eggs fit snugly in the indentations. Alternatively, foam can be used to hold the eggs securely in place.
#### Step 4: Temperature and Humidity Monitoring
Maintaining the right temperature and humidity levels inside the incubator is vital for the eggs to develop successfully. Install a thermometer and hygrometer inside the incubator, ideally at the point where the eggs will be resting. The thermometer will measure the temperature, and the hygrometer will measure the humidity.
– **Temperature**: You want to keep the temperature at 99.5°F (37.5°C). You can adjust your heat source to keep the temperature within this range.
– **Humidity**: During the incubation period, the humidity should be between 45-55%. During the last 3 days before hatching, increase the humidity to around 65-75%. This higher humidity helps soften the eggshells and makes hatching easier.
#### Step 5: Ventilation
Proper ventilation is essential for maintaining the right balance of air circulation and humidity. Without ventilation, carbon dioxide will accumulate inside the incubator, which can lead to poor egg development. Make small holes along the sides or top of the plastic bottle to allow fresh air to circulate. These holes should be small enough to avoid significant temperature fluctuations but large enough to provide a consistent flow of air.
It’s important to monitor the airflow regularly to ensure the incubator does not become too dry or too stuffy.
#### Step 6: Turning the Eggs
Turning the eggs is a critical part of the incubation process. If you don’t turn the eggs, the embryos may stick to the inside of the shell, which could affect their development. To prevent this, turn the eggs at least three times a day. You can simply rotate the eggs 180 degrees or move them from one side of the incubator to the other.
Be sure to handle the eggs gently to avoid damaging them. Turning the eggs helps ensure that they are evenly heated and that the embryo develops properly.
### Safety Tips for Your DIY Egg Incubator
While creating your own incubator is an exciting project, it’s important to keep safety in mind throughout the process. Here are a few tips to ensure your DIY incubator operates safely:
1. **Constantly Monitor Heat Sources**: Light bulbs and heat lamps can get very hot, so it’s essential to check them regularly to avoid overheating. Keep the incubator away from flammable materials.
2. **Keep the Incubator Out of Reach of Children and Pets**: The incubator should be placed in a secure location where children and pets can’t accidentally disturb it.
3. **Regularly Check Temperature and Humidity**: Make sure the temperature and humidity levels remain within the ideal ranges throughout the incubation period.
### Conclusion: Enjoy the Egg Hatching Experience
Building your own DIY egg incubator using a plastic water bottle is an affordable and fun way to incubate eggs at home. With a little patience and some basic materials, you can create an efficient incubator that provides the perfect conditions for your eggs to hatch.
Not only will you save money on store-bought incubators, but you’ll also gain hands-on experience in egg incubation and learn about the fascinating process of chick development. Whether you’re raising chickens, quails, or other poultry, this DIY project is a great way to connect with nature and experience the joy of watching eggs hatch.
Now that you know how to make your own egg incubator, why not give it a try and enjoy the excitement of hatching eggs at home? With a few simple materials and a little creativity, you can embark on this rewarding journey. Happy hatching