Ginger is a versatile and flavorful ingredient used in cooking, teas, and even natural medicine. Growing your own ginger at home is easier than you might think, and you don’t need a garden or expensive equipment to do it. With just a few old bags, some soil, and ginger rhizomes, you can start growing fresh ginger in a sustainable and space-saving way.
Recycling old bags to grow ginger is not only an eco-friendly gardening method but also a practical solution for urban gardeners or anyone with limited space. This guide will walk you through everything you need to know to turn discarded bags into a thriving ginger harvest.
## Why Grow Ginger at Home?
Ginger is one of the easiest plants to grow, especially when cultivated in containers or bags. Here’s why growing ginger at home is a great idea:
– **Cost-Effective** – Store-bought ginger can be expensive, but growing your own saves money.
– **Chemical-Free** – Homegrown ginger is free from pesticides and artificial chemicals.
– **Sustainable Gardening** – Using recycled bags helps reduce waste while providing an ideal growing environment.
– **Low Maintenance** – Ginger requires minimal care and thrives in partial sunlight.
Now, let’s dive into the step-by-step process of growing ginger in old bags.
## Materials Needed
Before you start, gather these essential materials:
– **Old bags** – Reusable shopping bags, burlap sacks, or old grow bags work well. Make sure they are sturdy and have drainage holes.
– **Ginger rhizomes** – Choose fresh, plump ginger pieces with visible “eyes” (growth buds).
– **Potting soil** – Use well-draining, nutrient-rich soil to support healthy growth.
– **Compost (optional)** – Adding compost improves soil fertility.
– **Water** – Ginger requires consistent moisture for optimal growth.
Once you have everything ready, it’s time to start planting.
## Step-by-Step Instructions
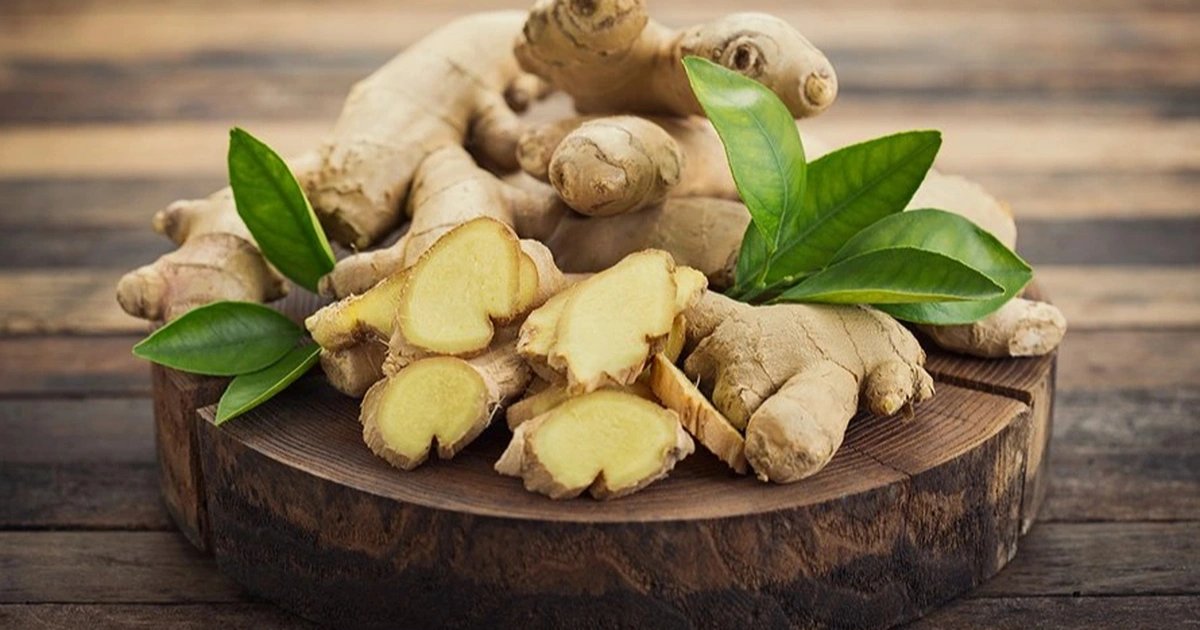
### 1. Preparing the Ginger Rhizomes
The first step in growing ginger is selecting and preparing healthy rhizomes. Here’s how:
– Choose **fresh, organic ginger** from a local store or farmer’s market.
– Look for **rhizomes with visible eyes** (small bumps where shoots will sprout).
– Cut the ginger into **1-2 inch pieces**, ensuring each piece has **at least one or two eyes**.
– Let the cut pieces dry for **a day or two** before planting. This helps prevent rot and encourages healthy sprouting.
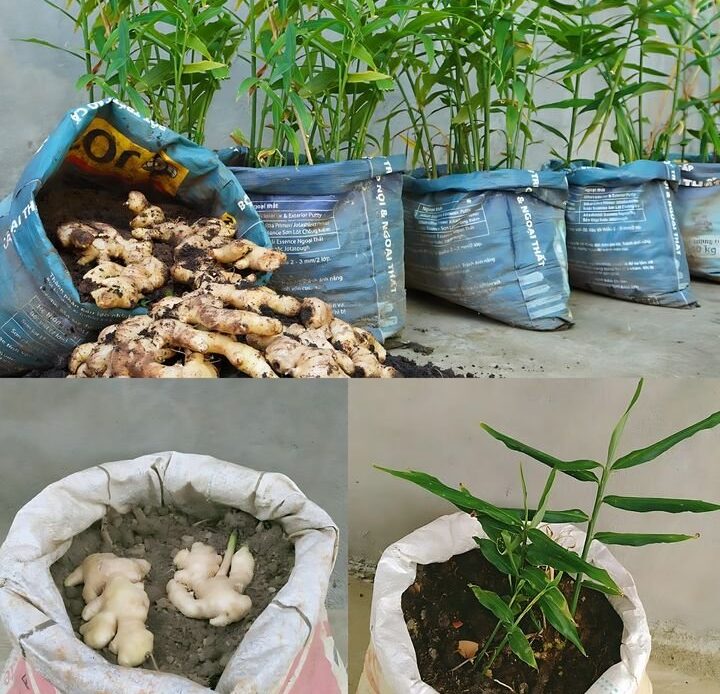
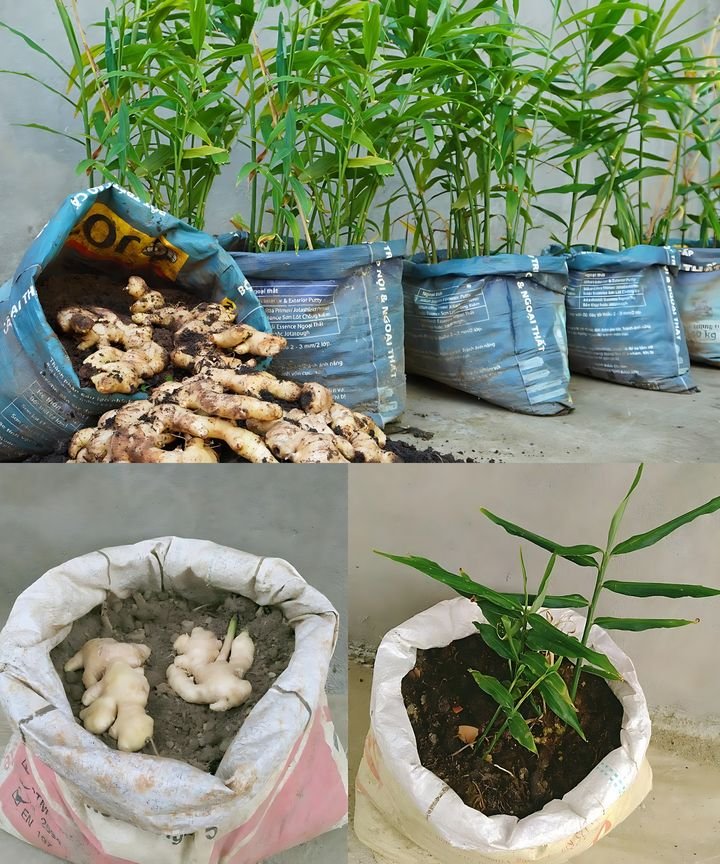
### 2. Preparing the Bags
Old bags are excellent containers for growing ginger because they provide flexibility and proper drainage. Follow these steps to prepare your bags:
– **Check for drainage** – If the bag does not already have holes, punch a few at the bottom and lower sides to prevent waterlogging.
– **Fill the bag with soil** – Use a mix of **potting soil and compost** to create a nutrient-rich environment.
– **Leave some space** – Fill the bag about halfway to allow room for adding more soil as the ginger grows.
### 3. Planting the Ginger
Now that your bags are ready, it’s time to plant the ginger rhizomes.
– **Place the bags in indirect sunlight**, preferably in a warm spot.
– **Plant each ginger piece 2-4 inches deep**, ensuring the eyes face upward.
– **Space the pieces a few inches apart** to give each rhizome enough room to grow.
– **Cover with soil and water thoroughly.**
After planting, you’ll need to provide proper care to ensure healthy growth.
## Caring for Your Ginger Plants
### 4. Watering and Moisture Control
Ginger needs **consistent moisture** but should never be waterlogged. Follow these watering tips:
– **Keep the soil evenly moist** but not soggy.
– **Water thoroughly** when the top layer of soil feels dry.
– If growing ginger in a hot climate, consider **mist spraying the leaves** to maintain humidity.
### 5. Fertilizing and Maintenance
To encourage healthy growth, feed your ginger plants regularly.
– **Use a balanced organic fertilizer** or compost every **few weeks** to promote strong rhizome development.
– **Check for exposed rhizomes** – If the ginger roots become visible, add more soil to cover them.
– **Remove weeds** to ensure the ginger gets all the necessary nutrients.
### 6. Managing Pests and Diseases
Ginger is relatively resistant to pests and diseases, but occasional problems may arise.
– **Aphids and spider mites** – Use a mild soap spray or neem oil to keep them away.
– **Fungal infections** – Ensure proper drainage and avoid overwatering to prevent root rot.
By maintaining proper care, your ginger will continue to thrive until harvest time.
## Harvesting Your Ginger
Ginger takes **8-10 months** to mature fully, but you can harvest young ginger earlier if desired. Here’s how to know when your ginger is ready:
– The leaves **turn yellow and start to dry out**, signaling that the rhizomes have matured.
– Carefully **dig around the rhizomes** and pull them out without damaging them.
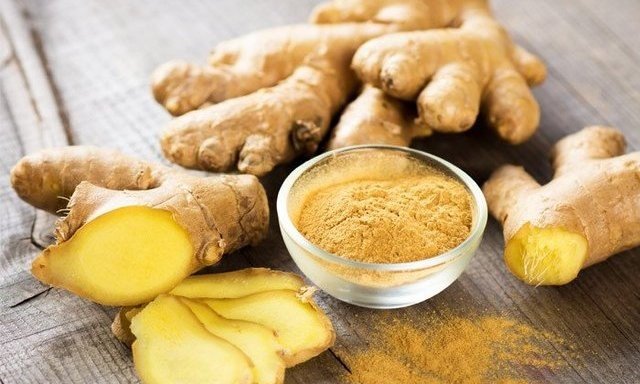
– **Wash and dry** your fresh ginger before using or storing.
If you want a continuous harvest, **cut off only a portion of the rhizome** and leave the rest in the soil to continue growing.
## Tips for Success
To maximize your ginger harvest, keep these essential tips in mind:
– **Plant in early spring** – Ginger grows best when started in warm temperatures.
– **Ensure good drainage** – Avoid waterlogged soil to prevent rot.
– **Maintain consistent moisture** – Keep the soil damp but not soaking wet.
– **Move indoors during winter** – In colder climates, bring the bags inside to protect them from frost.
By following these simple steps, you can enjoy a bountiful ginger harvest right at home.
## The Benefits of Growing Ginger in Recycled Bags
Using old bags to grow ginger offers several advantages beyond sustainability:
– **Space-Saving** – Perfect for balconies, patios, and small spaces.
– **Portable** – Easily move your plants to adjust for sunlight or weather conditions.
– **Affordable** – No need to buy expensive pots or garden beds.
– **Eco-Friendly** – Reduces waste by repurposing old bags.
This method proves that gardening doesn’t have to be complicated or expensive.
## Final Thoughts
Growing ginger in recycled bags is a simple, sustainable, and rewarding way to produce fresh, organic ginger at home. With just a few materials and minimal effort, you can cultivate your own supply of this valuable spice while reducing waste and maximizing space.
Whether you’re an experienced gardener or a beginner, this method is perfect for anyone looking to start growing their own food in an easy and eco-friendly way. Give it a try and enjoy the satisfaction of harvesting your very own homegrown ginger