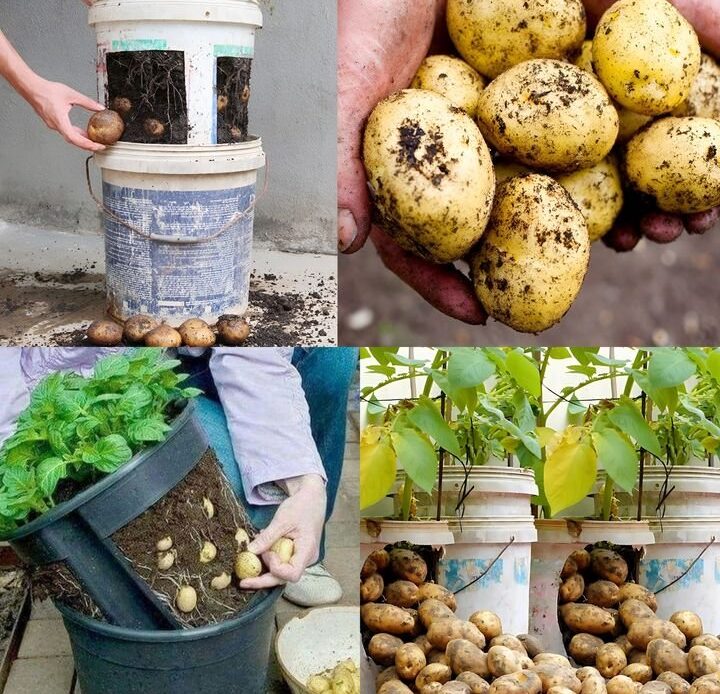
Growing potatoes in old paint buckets is an innovative and space-saving method that allows anyone, even those with limited garden space, to cultivate their own fresh produce. This method is ideal for urban gardeners, apartment dwellers, and those who want to experiment with container gardening. With the right preparation, soil conditions, and maintenance, growing potatoes in paint buckets can yield a bountiful harvest. This guide will walk you through each step of the process, ensuring your success in growing potatoes in upcycled containers.
### **Why Grow Potatoes in Paint Buckets?**
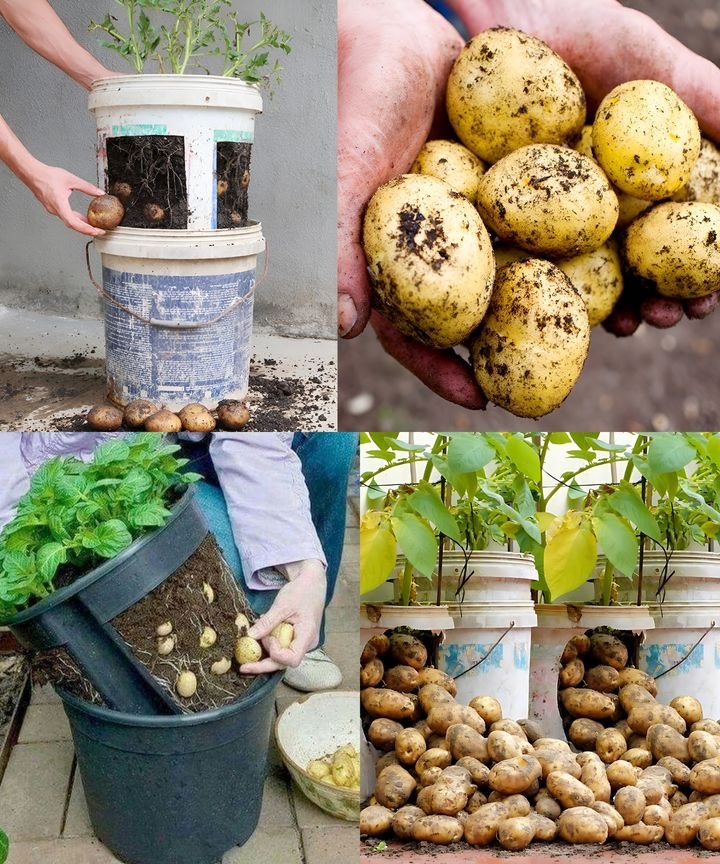
Growing potatoes in paint buckets offers several advantages over traditional gardening methods:
– **Space Efficiency:** Perfect for small patios, balconies, or gardens with limited space.
– **Portability:** You can easily move the buckets to optimize sunlight exposure.
– **Pest Control:** Reduces the risk of soil-borne pests and diseases that affect potatoes grown in the ground.
– **Soil Control:** Allows for better soil quality management, ensuring optimal growing conditions.
– **Upcycling Benefits:** Repurposing old paint buckets is an environmentally friendly way to grow food while reducing waste.
### **Step 1: Preparing the Buckets**
Before planting, you must prepare the buckets properly to create a suitable growing environment for your potatoes. Follow these steps:
1. **Clean the Buckets:** If you’re using old paint buckets, wash them thoroughly with soap and warm water to remove any remaining paint residue. Rinse well and let them dry completely.
2. **Drill Drainage Holes:** Using a drill, create several small drainage holes at the bottom and lower sides of each bucket. Proper drainage prevents waterlogging and root rot.
3. **Choose the Right Size:** Five-gallon buckets are ideal for growing potatoes, as they provide enough depth for tuber development.
### **Step 2: Preparing the Potatoes**
To ensure a productive harvest, it’s essential to prepare your seed potatoes properly:
1. **Chitting the Potatoes:** Place seed potatoes in a cool, well-lit area for a few days to encourage sprouting. This process, called chitting, helps the potatoes establish strong roots once planted.
2. **Cutting Large Potatoes:** If your seed potatoes are large, cut them into smaller pieces, ensuring that each piece has at least one eye or sprout. Let the cut pieces dry for a day to prevent rotting.
### **Step 3: Planting the Potatoes**
Once your buckets and seed potatoes are ready, follow these planting steps:
1. **Fill with Soil:** Add 4-6 inches of high-quality potting soil or a mix of compost and garden soil at the bottom of each bucket.
2. **Place the Potatoes:** Position 2-3 seed potato pieces with the sprouted eyes facing upward.
3. **Cover with Soil:** Gently cover the potatoes with another 4-6 inches of soil.
### **Step 4: Watering and Care**
Proper care is essential for healthy potato growth. Follow these guidelines:
1. **Watering:** Keep the soil consistently moist but not soggy. Water thoroughly whenever the top inch of soil feels dry.
2. **Hilling the Potatoes:** As the potato plants grow, add more soil to cover the stems, leaving only the top leaves exposed. Repeat this process every few weeks until the bucket is nearly full. Hilling encourages the growth of more tubers.
3. **Sunlight Requirements:** Place the buckets in a location that receives at least 6-8 hours of sunlight daily.
### **Step 5: Optional Mulching**
Adding mulch to the top of the soil can help retain moisture, regulate temperature, and prevent weeds. Straw, grass clippings, or shredded leaves work well as mulch materials.
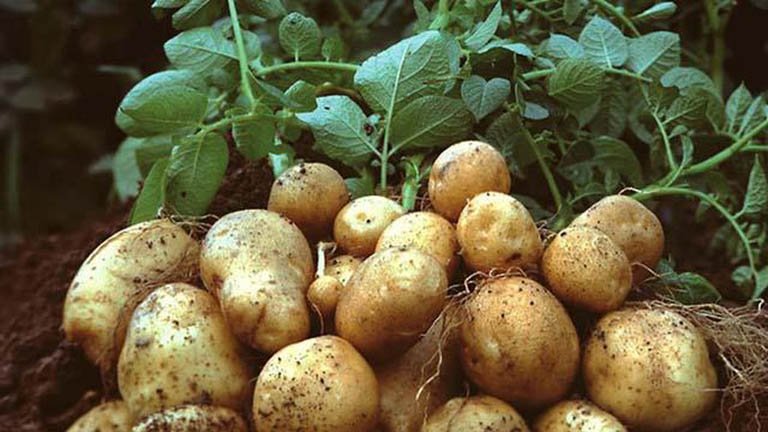
### **Step 6: Harvesting the Potatoes**
Potatoes are ready to harvest at different stages, depending on your preference:
1. **For Baby Potatoes:** Harvest 2-3 weeks after flowering by gently reaching into the soil and extracting small tubers.
2. **For Mature Potatoes:** Wait until the foliage turns yellow and dies back, which typically takes 10-12 weeks. To harvest, simply tip the bucket over and collect your potatoes.
### **Tips for Success**
– **Choose the Right Variety:** Early or mid-season potato varieties work best for container gardening.
– **Monitor for Pests:** Keep an eye out for common potato pests like aphids and potato beetles. Remove them manually or use organic pest control methods.
– **Fertilization:** Use a balanced, slow-release fertilizer to promote steady growth.
– **Check for Rot:** Avoid overwatering, as excess moisture can lead to rot and disease.
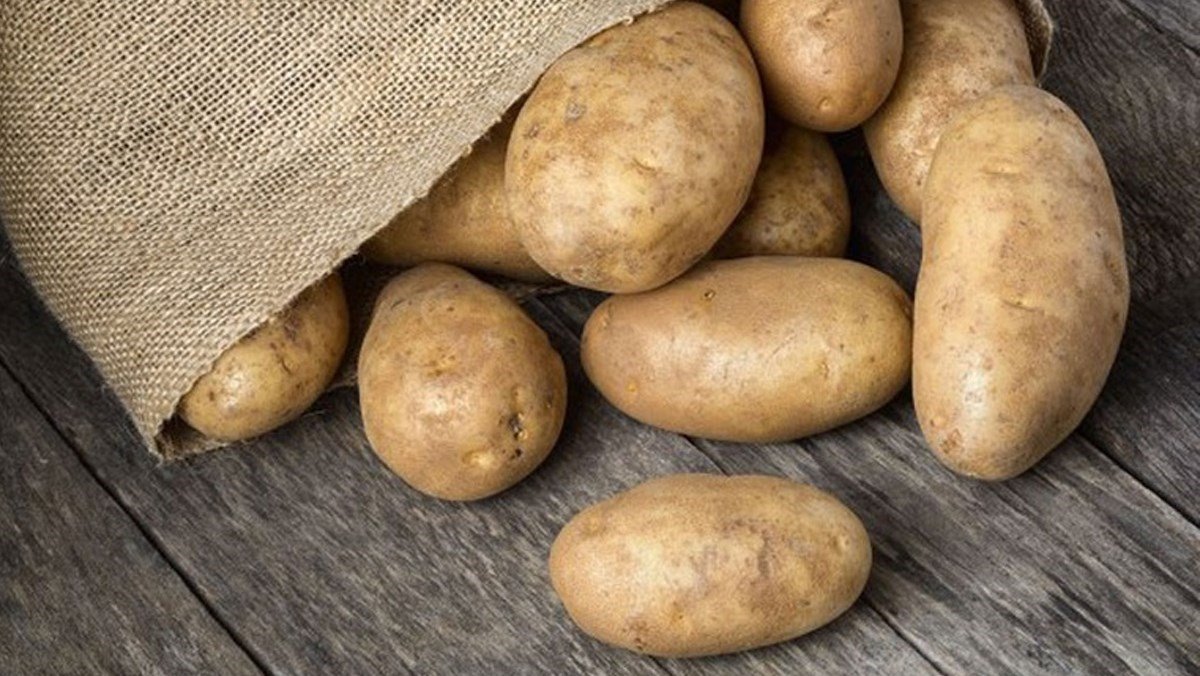
### **Conclusion**
Growing potatoes in old paint buckets is a fun, rewarding, and sustainable way to cultivate your own food. By following these simple steps, you can enjoy a fresh supply of homegrown potatoes with minimal space and effort. Whether you have a small balcony or a backyard garden, this method allows you to maximize your growing potential while reusing materials in an eco-friendly way. Start your potato-growing journey today and experience the joy of harvesting your own delicious, homegrown potatoes