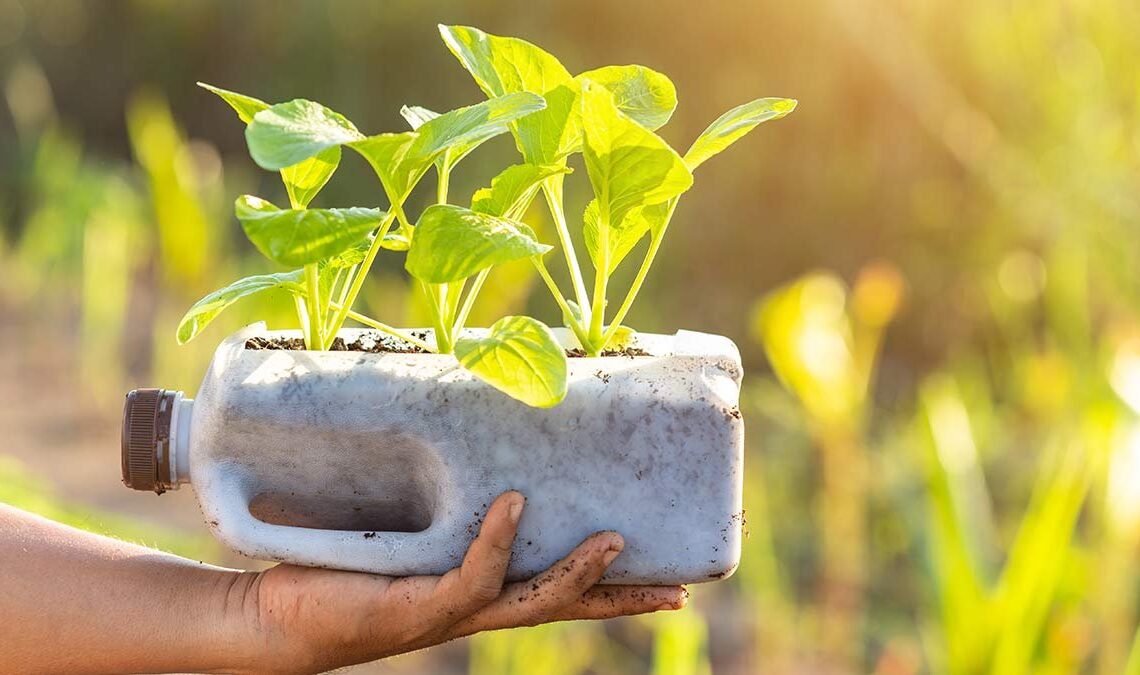
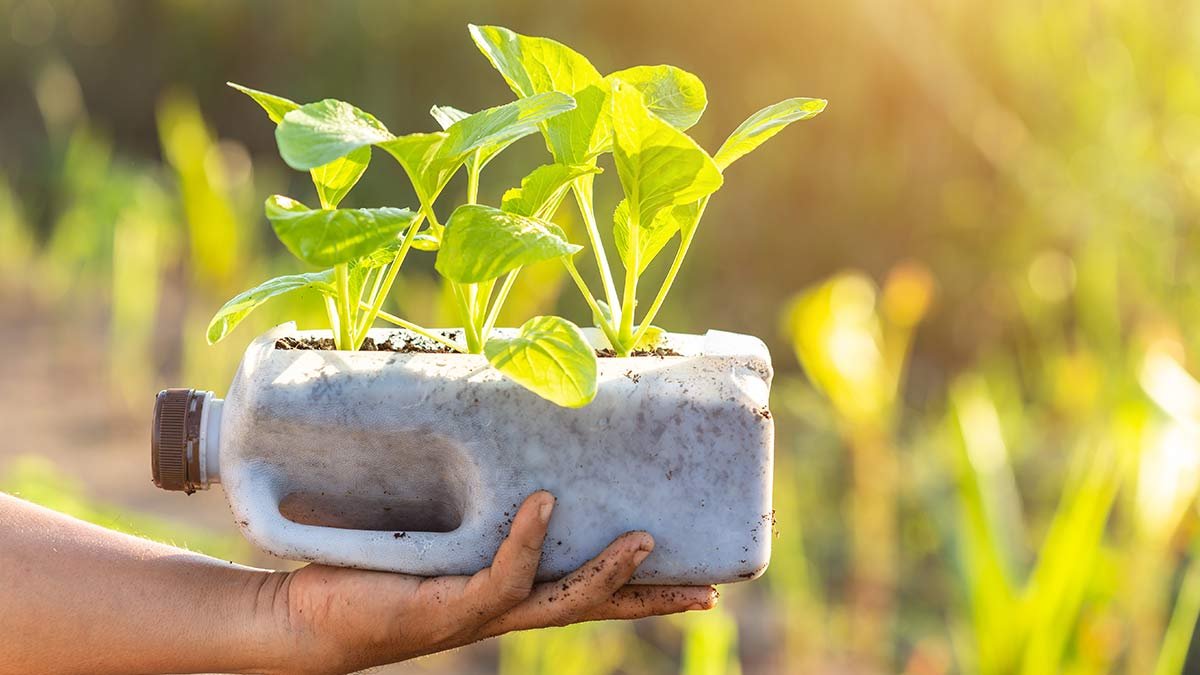
Looking for a way to nurture your plants while also being kind to the environment? Self-watering seed pots are the perfect solution for eco-friendly gardeners, and the best part? You can make them using recycled items you likely already have at home 🌱
In this step-by-step guide, we’ll show you how to create these DIY self-watering pots that not only conserve water but also help your plants thrive with minimal effort. Whether you’re new to gardening or a seasoned pro, these pots are an easy, sustainable way to give your plants a head start. Let’s get started 🛠️
## Why Choose Self-Watering Pots? 🌊
Before we dive into the DIY process, let’s quickly talk about why self-watering pots are such a great choice for your garden:
– **Water Conservation**: These pots reduce water waste by ensuring that plants receive water directly at the roots, without excess runoff.
– **Less Frequent Watering**: The self-watering system keeps the soil consistently moist, meaning you won’t have to water as often.
– **Better Plant Growth**: By providing consistent moisture levels, your plants are less likely to suffer from over or underwatering, leading to stronger, healthier growth.
## Materials You’ll Need 🛒
Making your own self-watering pots is not only cost-effective, but it’s also a fun and creative project Here’s what you’ll need:
– **Plastic Bottles**: Used soda or water bottles are ideal. They act as the reservoir for the water.
– **A Sharp Knife or Scissors**: For cutting the plastic bottle.
– **Cotton String or Old Fabric**: This will act as a wick to draw water from the reservoir to the soil.
– **Soil and Seeds**: Choose your favorite seeds to plant
– **A Drill or Nail (optional)**: For making holes for the wick and drainage.
– **A Base or Tray**: To catch excess water, ensuring a tidy gardening space.
## Step-by-Step Instructions 📝
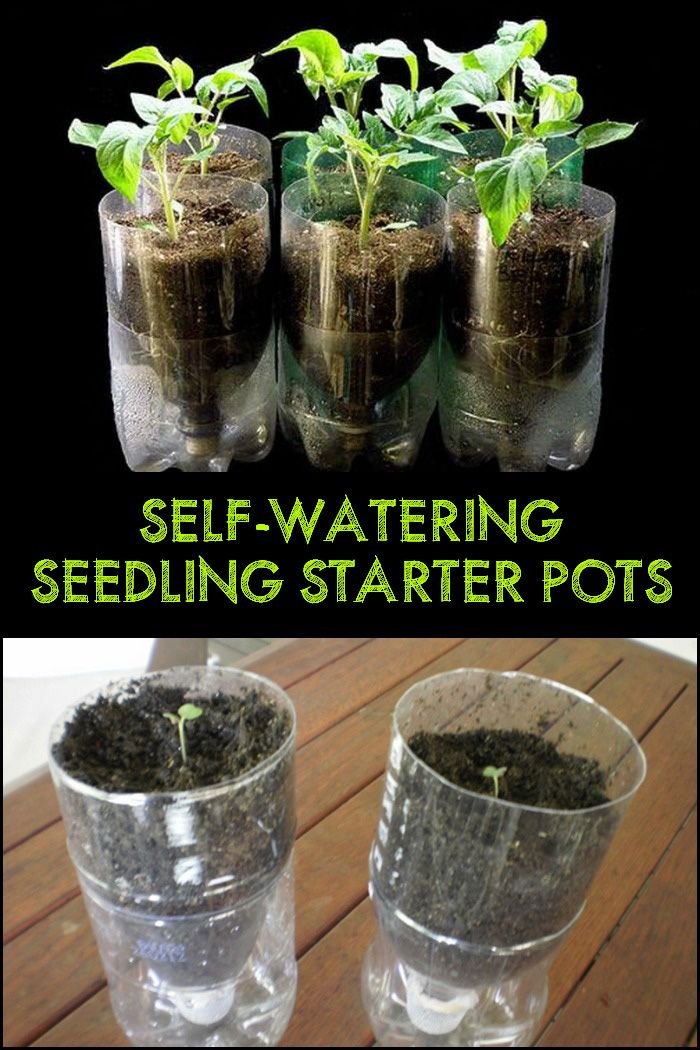
### Step 1: Prepare Your Plastic Bottle
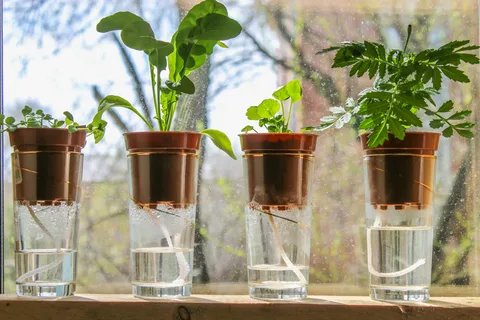
Start by taking your empty plastic bottle and cutting it in half. You’ll use the bottom portion to hold the water, and the top portion will act as the planter.
– **Tip**: You can also cut the bottle into thirds if you want a smaller, more compact pot.
### Step 2: Create the Wick
Take a piece of cotton string or an old fabric strip and thread it through the bottle cap. The string will act as a wick, pulling water from the bottom reservoir into the soil at the top.
– **Pro Tip**: Make sure the wick is long enough to reach from the bottom of the reservoir to the soil in the top portion of the bottle.
### Step 3: Assemble the Self-Watering Pot
Insert the top half of the bottle (the part with the neck) into the bottom half (the water reservoir). Ensure the wick is positioned properly inside the bottle. The fabric or string should be touching both the soil and the water, enabling it to draw moisture effectively.
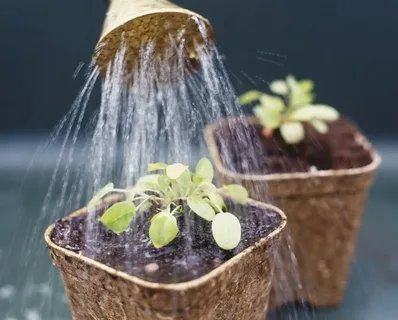
### Step 4: Add Soil and Seeds
Fill the top portion of the bottle with soil, leaving enough space for your seeds. Plant your seeds according to the directions on the seed packet.
### Step 5: Water Your Plant
Pour water into the bottom portion of the bottle, making sure the wick is fully submerged. The water will gradually move up into the soil, keeping it consistently moist.
### Step 6: Maintain and Enjoy
Place your self-watering pots in a location with adequate sunlight. Make sure to check the water level in the reservoir regularly and refill it as needed.
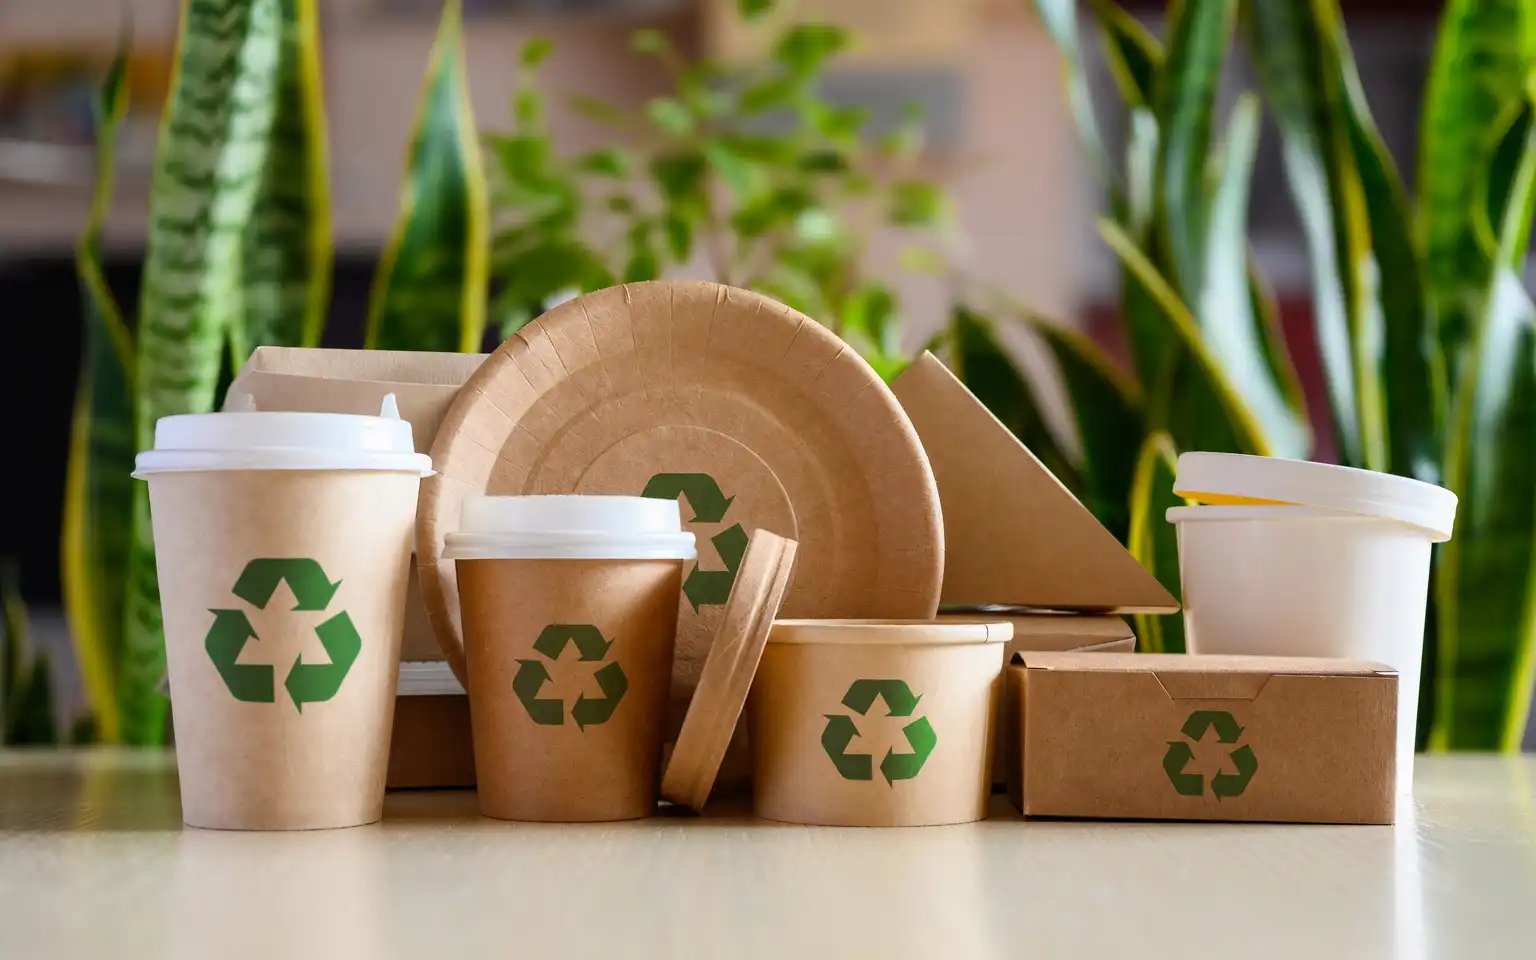
## Eco-Friendly Gardening Tips 🌍
– **Use Recycled Materials**: Besides plastic bottles, other containers like yogurt cups, old containers, and even cardboard can be repurposed to create sustainable planters.
– **Compost**: Instead of throwing away food scraps, start a compost pile. Your garden will thrive with rich, organic matter
– **Rainwater Collection**: Consider setting up a rainwater collection system to water your plants naturally and reduce water usage.
## Benefits of Self-Watering Seed Pots 🌱
– **Water Efficiency**: Self-watering pots reduce the need for frequent watering, which helps conserve water.
– **Low Maintenance**: Once set up, these pots need very little maintenance, making them perfect for busy gardeners.
– **Sustainability**: By recycling items you already have, you’re contributing to reducing plastic waste and creating a greener environment.
Creating self-watering seed pots from recycled items is not only a fun DIY project but also a fantastic way to help your plants thrive while being environmentally conscious. With just a few simple steps, you can create an efficient and eco-friendly solution that keeps your garden hydrated and flourishing. 🌸
Start building your own self-watering pots today and watch your garden grow – sustainably 🌿💚