
Do you have old potting soil sitting in your garden or storage shed? If you’re like many gardeners, you might find yourself with used potting soil that has become compacted, dry, or depleted of nutrients. The good news is that you don’t need to toss it out With a few simple steps, you can revive your old potting soil and make it fresh and ready for new plants. Let’s dive into how you can easily rejuvenate your potting soil and get it back to its prime condition for healthy, thriving plants.
### Why Reviving Old Potting Soil Is Important
Over time, potting soil can lose its structure and nutrient content. Factors such as repeated watering, plant growth, and lack of proper aeration can cause the soil to become compacted, dry out, and deplete vital nutrients that plants need. By reviving your potting soil, you not only save money but also create a sustainable gardening practice. Here’s how to bring old soil back to life and make it as good as new.
### Step-by-Step Guide to Reviving Old Potting Soil
#### 1. **Assess the Condition of Your Old Soil**
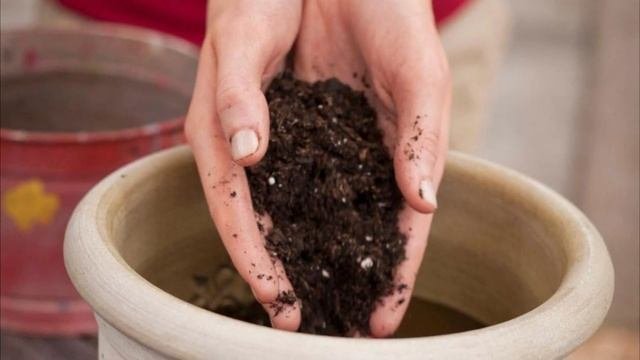
The first step in reviving old potting soil is to check its condition. If the soil is dry, compacted, and cracked (as seen in the first image), it’s definitely in need of revitalization. Old potting soil may also have lost its fluffy texture and could feel heavy or sticky.
#### 2. **Add Fresh Potting Mix or Organic Matter**
To restore the soil’s texture and nutrient content, add fresh potting mix or organic matter. You can use compost, worm castings, or well-rotted manure to enrich the soil. Add approximately 20-30% of fresh material to the old soil. This will give the soil new nutrients and help increase its water retention capacity.
#### 3. **Mix in Some Perlite or Vermiculite**
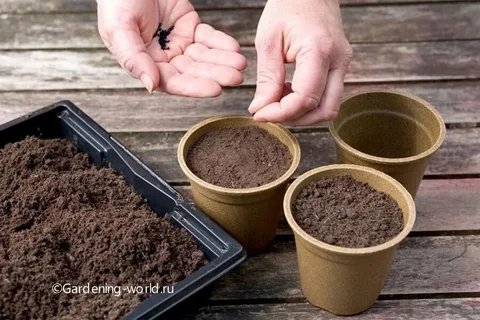
To improve soil aeration and drainage, add perlite or vermiculite. These lightweight materials help break up compacted soil and allow the roots of your plants to spread out easily. A few handfuls mixed thoroughly into the soil will work wonders, as shown in the third image.
#### 4. **Add Fertilizer or Slow-Release Nutrients**
Old soil can lose essential nutrients over time, so adding a slow-release fertilizer is crucial. Choose an organic fertilizer or balanced fertilizer with micronutrients that will feed your plants slowly over the next few months. A balanced mix will help revitalize your soil and encourage healthy plant growth.
#### 5. **Mix Everything Thoroughly**
Once you have added the new materials, it’s time to mix everything together. Use a garden fork, trowel, or soil mixer to thoroughly blend the components. This ensures that the soil is evenly aerated, nutrient-rich, and ready for planting.
#### 6. **Use the Rejuvenated Soil for New Plants**
Once your soil is revitalized, you can use it for new plants or to top off existing pots. The rejuvenated soil will provide your plants with the necessary nutrients, water retention, and structure to thrive. After following these steps, your old soil will be as good as new
### Tips for Maintaining Healthy Potting Soil
– **Water Regularly:** Potting soil tends to dry out quickly, so make sure to keep it moist, but not waterlogged.
– **Aerate Your Soil:** Occasionally, give the soil a gentle mix to prevent compaction and promote good root growth.
– **Use Mulch:** Adding a layer of mulch to the surface of your pots can help retain moisture and keep the soil temperature consistent.
Reviving old potting soil is an easy and eco-friendly way to keep your garden thriving. By following these simple steps—adding organic matter, mixing in perlite, and incorporating fresh nutrients—you can breathe new life into your soil and save money on buying new potting mix. Plus, you’ll create a sustainable gardening practice that benefits both your plants and the environment.
Next time you have old potting soil lying around, don’t throw it away. With just a little effort, you can bring it back to life and keep your plants happy and healthy