Orchids are some of the most beautiful and exotic plants, known for their delicate flowers and intricate growth patterns. One of the secrets to growing a healthy orchid with an abundance of roots and flowers is caring for its aerial roots. These roots are often overlooked by beginners, but they play a crucial role in the overall health and longevity of the plant. In this guide, we’ll show you how to take care of your orchid’s aerial roots and how you can use them to grow a stronger, more vibrant orchid.
### **What Are Aerial Roots?**
Aerial roots are roots that grow above the soil. For orchids, these roots typically grow from the stem or along the plant’s upper sections, often in search of moisture and nutrients. Orchids are epiphytes, meaning they grow naturally on trees or other surfaces in the wild, and their aerial roots help them absorb moisture and nutrients from the air, rain, or surrounding environment.
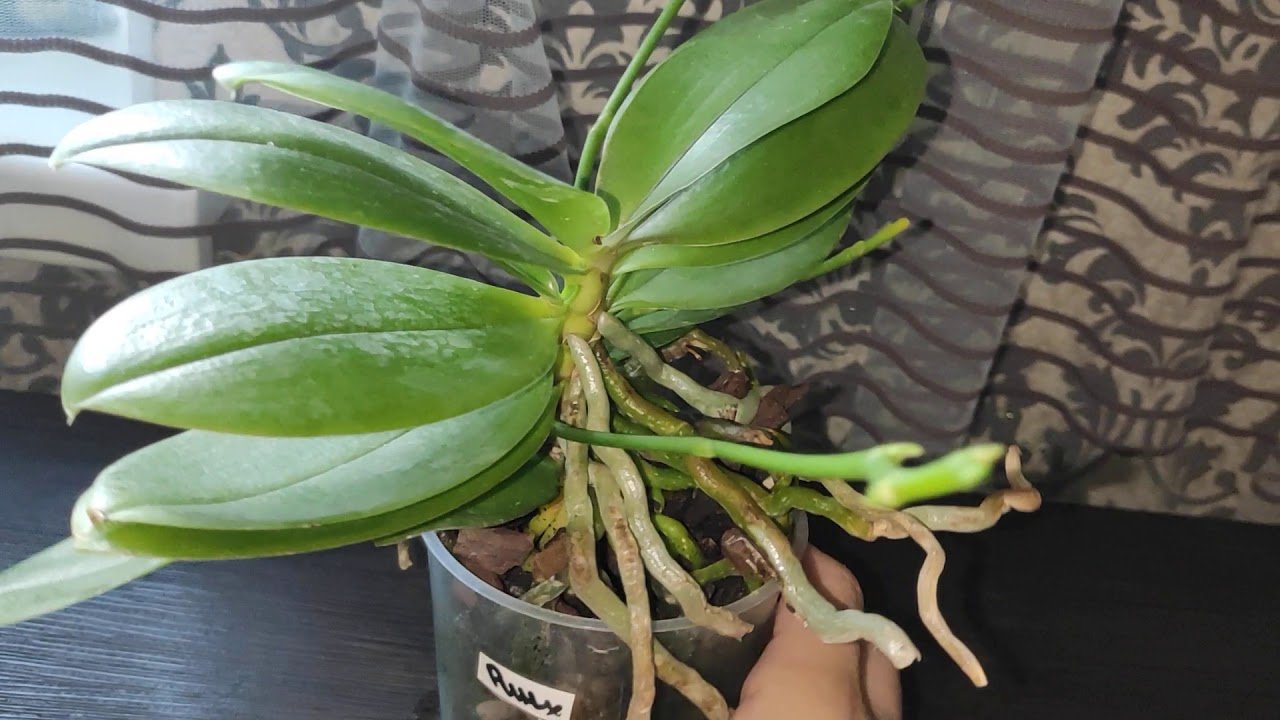
Aerial roots can often be seen growing out of the orchid’s base or along its stem. These roots are vital for the orchid’s overall health because they provide the plant with additional resources. If you’re growing orchids indoors, ensuring that these roots are healthy will encourage your plant to grow more robustly and produce more flowers.
### **How to Take Care of Orchid Aerial Roots**
To encourage healthy roots and abundant flowers, follow these essential tips for caring for your orchid’s aerial roots:
#### **1. Ensure Proper Humidity**
Orchids thrive in high humidity environments, especially for their aerial roots. These roots need moisture from the air to stay hydrated and function properly. The ideal humidity level for orchids is between 40% and 60%. You can achieve this by:
– Placing your orchid in a humidity tray filled with pebbles and water.
– Using a humidifier in your growing area.
– Regularly misting the aerial roots with water, making sure to avoid over-wetting.
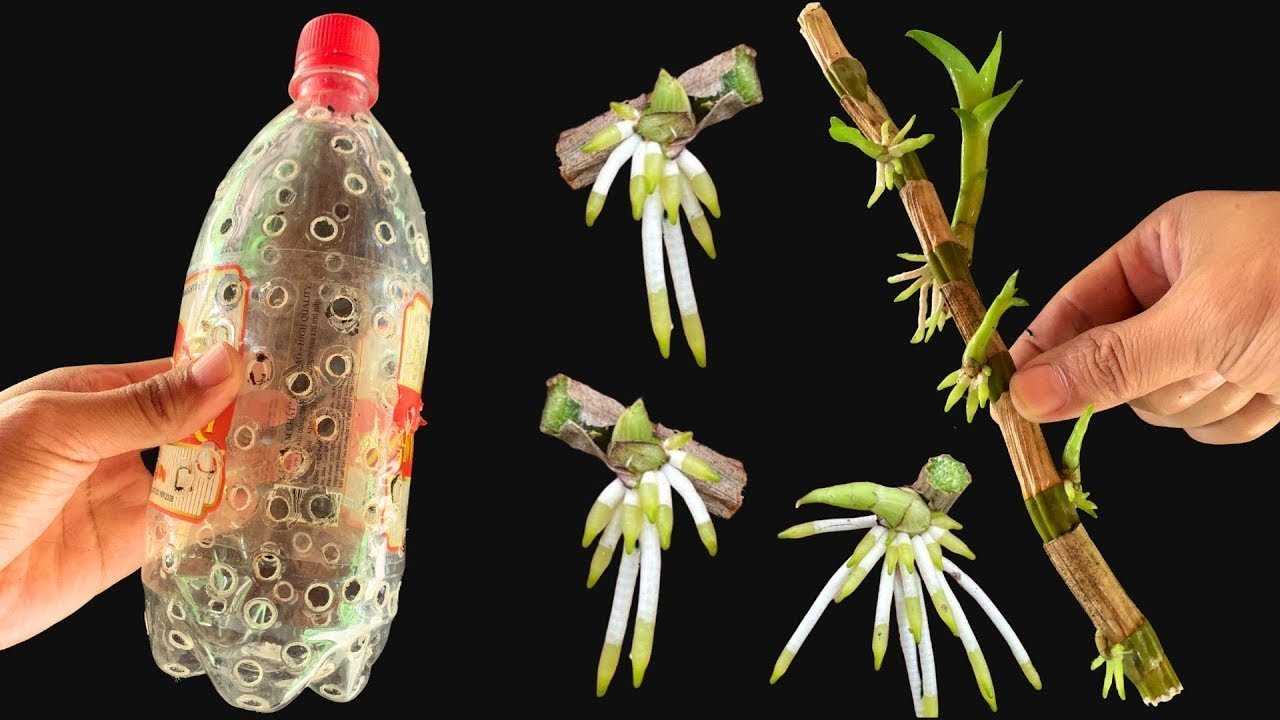
#### **2. Use a Plastic Bottle to Create a Humidity Chamber**
As shown in the images, one effective way to promote healthy aerial roots is by using a plastic bottle. You can create a simple humidity chamber for the roots by cutting a plastic bottle and placing it around the orchid’s aerial roots. This setup helps trap moisture and creates a micro-environment where the roots can thrive.
– Cut holes in the plastic bottle to allow air circulation.
– Place the orchid inside the bottle so that the aerial roots are contained within the humid space.
– Keep the bottle in a location where the orchid can still receive indirect light.
#### **3. Water Regularly, But Avoid Overwatering**
Proper watering is essential to keep the roots hydrated. For orchids, water the aerial roots gently by misting them or by placing them under a fine spray. If you are using a humidity chamber (like the plastic bottle method), you don’t need to water them as frequently since the environment will retain moisture. However, it’s essential not to overwater or allow the roots to stay wet for too long, as this can lead to rot.
#### **4. Replant the Orchid in a Larger Pot When Needed**
As your orchid grows, its roots will need more space to spread out and establish themselves. If you notice that your orchid’s roots are outgrowing the pot, it’s time to replant the orchid in a larger container. When replanting, ensure that the aerial roots are properly positioned so they can continue to thrive above the soil level.
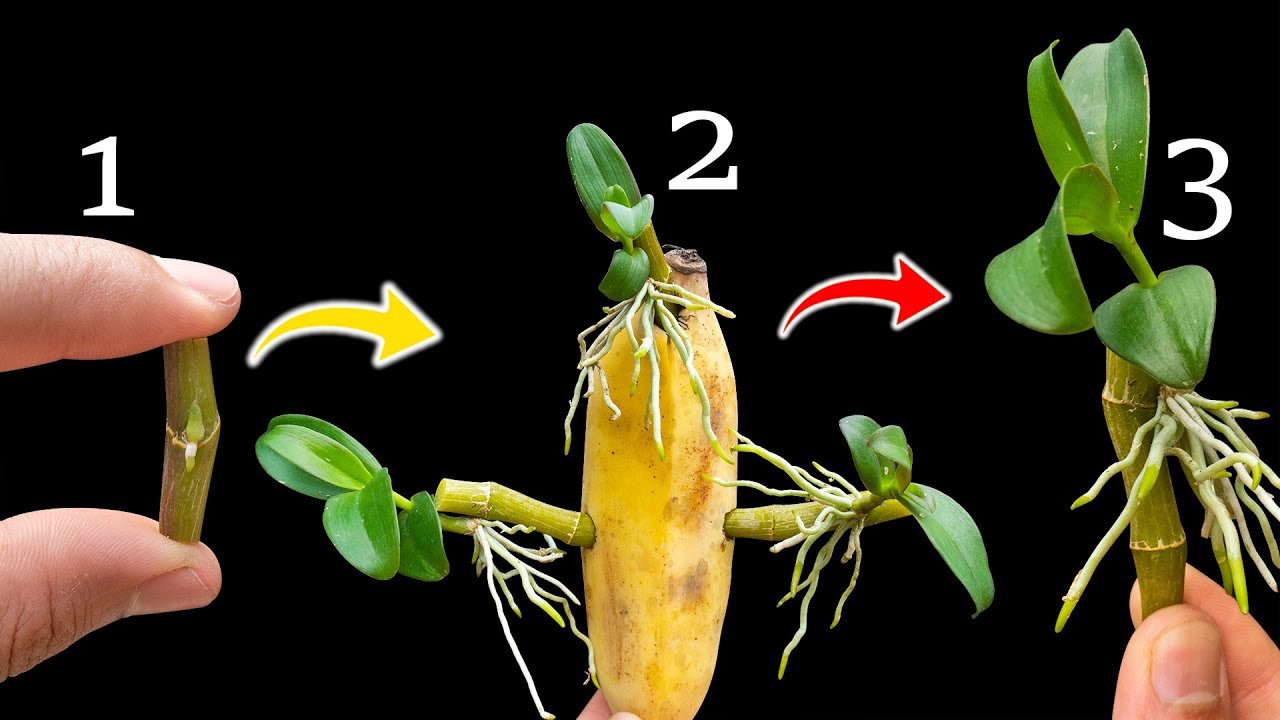
### **How to Propagate Orchids from Aerial Roots**
One of the most fascinating aspects of orchid care is the ability to propagate orchids using aerial roots. If you want to multiply your orchids, you can do so by using healthy aerial roots to grow a new plant. Here’s how to propagate orchids from aerial roots:
#### **1. Select Healthy Aerial Roots**
Choose an orchid with strong, green aerial roots. These roots should look healthy, not dry or shriveled. Using a sharp, sterilized knife or scissors, cut a section of the stem that includes a few aerial roots.
#### **2. Prepare the Cutting**
Once you’ve cut the orchid stem with the aerial roots, allow it to callous for a few days in a warm, dry place. This helps prevent rotting when you plant the cutting.
#### **3. Plant the Cutting**
Place the cutting in a pot with a light, well-draining orchid mix. Bury the aerial roots in the soil, ensuring that the roots are close to the surface, so they can absorb moisture from the air. Mist the roots regularly to keep them hydrated.
#### **4. Provide Proper Care**
Keep the newly planted cutting in a humid environment with indirect light. As it grows, you’ll see new roots and leaves emerge. Eventually, it will develop into a full-fledged orchid plant.
### **Promoting Healthy Roots and Beautiful Blooms**
Caring for your orchid’s aerial roots is an essential part of the plant’s health and longevity. These roots allow the plant to absorb moisture and nutrients from the air, and with the right care, they can help your orchid produce vibrant flowers year after year. Whether you’re using a plastic bottle to create a humidity chamber or propagating your orchid from aerial roots, following these simple steps will lead to a stronger, more beautiful plant.
Take the time to nurture your orchid’s aerial roots, and you’ll be rewarded with a stunning, thriving orchid with plenty of roots and flowers