Gardening is a rewarding hobby, but keeping your plants hydrated can be a challenge, especially during hot summer months. While store-bought irrigation systems are effective, they can be expensive and often require professional installation. Fortunately, there’s a simple, cost-effective solution that uses materials you likely already have at home: plastic bottles. With just a few basic tools and some creativity, you can build a rotating irrigation sprinkler using recycled plastic bottles. This DIY project not only helps conserve water but also reduces plastic waste by repurposing items that would otherwise end up in landfills. In this article, we’ll guide you step-by-step through the process of creating your own eco-friendly sprinkler system.
### Why Choose a DIY Plastic Bottle Sprinkler?
Before diving into the construction process, let’s explore why building your own sprinkler is a smart choice:
1. **Cost-Effective** : Instead of spending hundreds of dollars on commercial sprinklers, you can create one for virtually no cost using recycled materials.
2. **Eco-Friendly** : Repurposing plastic bottles reduces waste and promotes sustainability—a small yet impactful step toward protecting the environment.
3. **Customizable** : You can adjust the design to suit your garden’s specific needs, whether you’re watering a small flower bed or a large vegetable patch.
4. **Easy to Build** : This project requires minimal tools and skills, making it accessible even for beginners.
5. **Portable and Lightweight** : Unlike heavy metal sprinklers, a plastic bottle sprinkler is lightweight and easy to move around your garden.
Now that you understand the benefits, let’s get started on building your very own rotating irrigation sprinkler
### Step 1: Gather Your Materials and Tools
To build your sprinkler, you’ll need the following items:
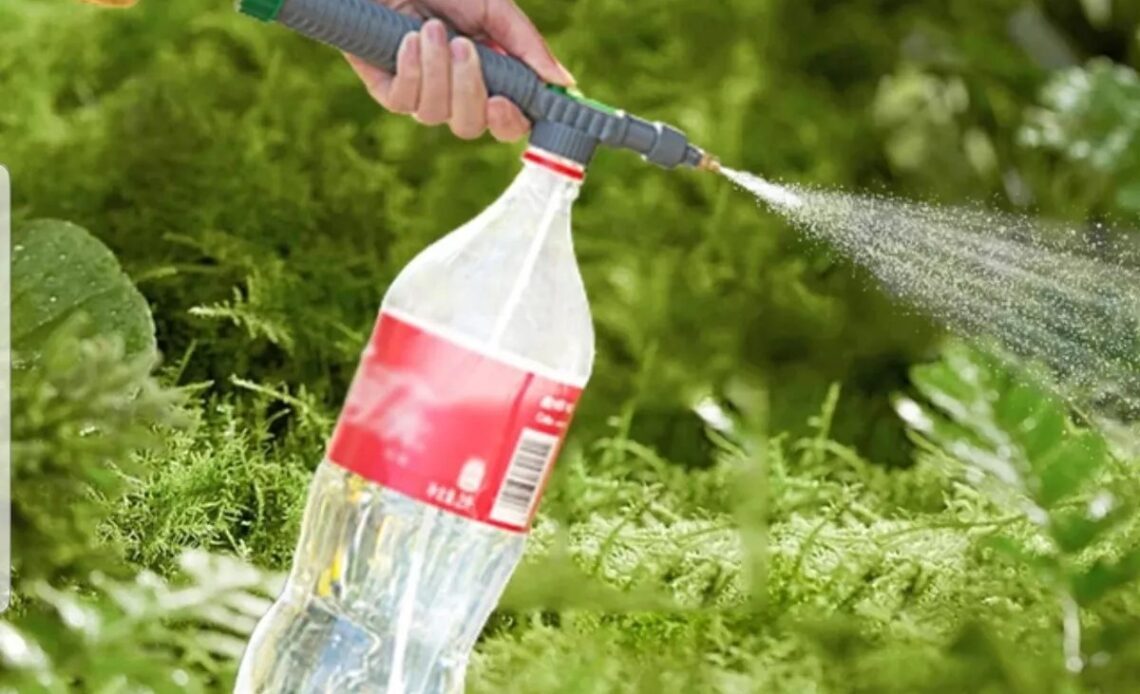
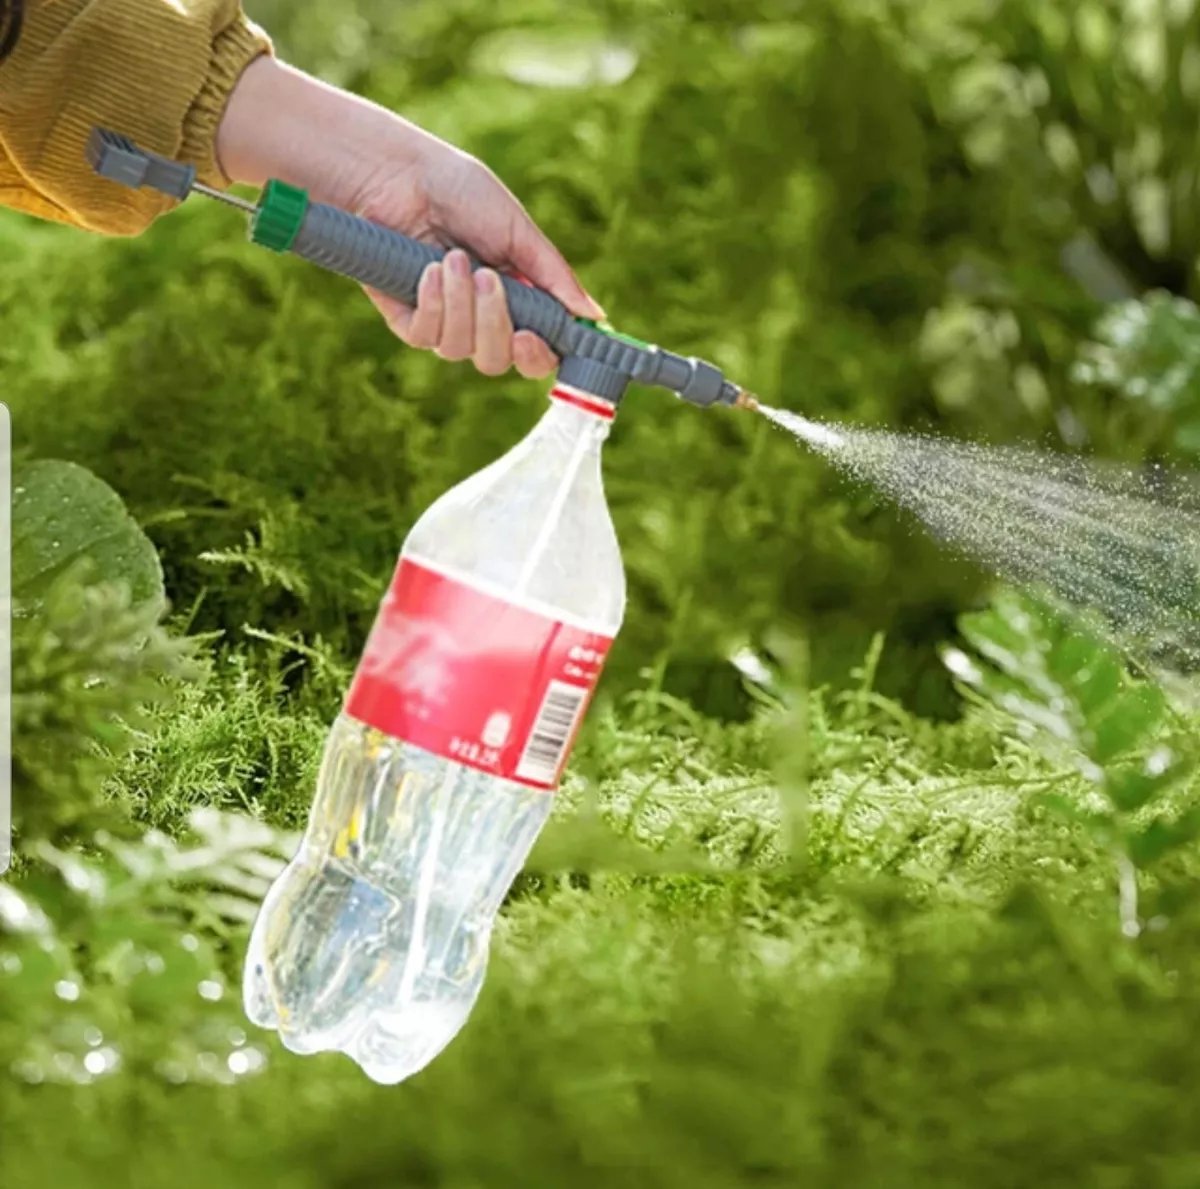
– **Plastic Bottles** : Two clean, empty 2-liter soda bottles work best due to their durability and size.
– **Drill or Hot Nail** : For creating holes in the bottles.
– **Rope or String** : To hang the sprinkler if needed.
– **PVC Pipe or Garden Hose Connector** : A short piece of PVC pipe or a hose adapter will serve as the base for attaching the sprinkler to a water source.
– **Waterproof Adhesive or Duct Tape** : To secure parts together.
– **Scissors or Utility Knife** : For cutting the bottles.
– **Marker** : To outline where cuts and holes will be made.
### Step 2: Prepare the Bottles
#### Step 2.1: Cut the Bottles
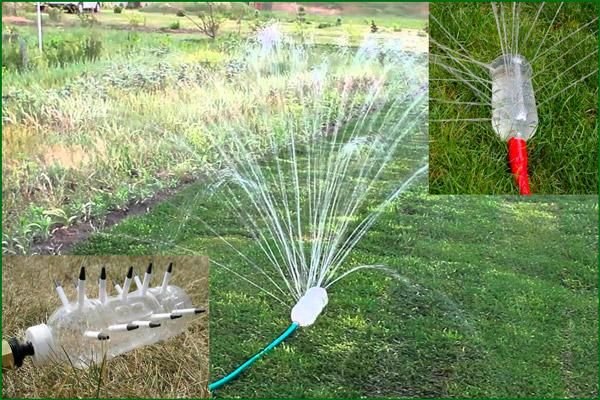
Start by cutting both bottles approximately halfway down their length. You’ll use the top halves (with the caps) for the sprinkler mechanism. The bottom halves can be saved for other projects or used as planters.
#### Step 2.2: Create Holes for Water Dispersion
Using a drill or a heated nail, poke evenly spaced holes along the sides of each bottle top. These holes will allow water to spray outward when pressure builds inside the bottles. Be sure to stagger the holes slightly to ensure even coverage.
For added customization, experiment with hole sizes—the smaller the hole, the finer the mist; larger holes produce stronger jets of water.
—
### Step 3: Assemble the Sprinkler Mechanism
#### Step 3.1: Attach the Bottles Together
Take the two bottle tops and align them so their open ends face each other. Secure them together using waterproof adhesive or duct tape. Make sure the connection is airtight to prevent leaks.
#### Step 3.2: Connect to the Water Source
Insert one end of the PVC pipe or hose connector into the opening of one bottle cap. Use adhesive or tape to seal the joint tightly. This will serve as the inlet for connecting the sprinkler to your garden hose.
#### Step 3.3: Add Stability (Optional)
If you plan to place the sprinkler on the ground, attach a sturdy base, such as a wooden block or a flat piece of plastic, to keep it stable. Alternatively, you can suspend the sprinkler from a tree branch or hook using rope tied around the bottles.
### Step 4: Test and Adjust Your Sprinkler
Once assembled, connect the sprinkler to your garden hose and turn on the water. Observe how the water flows through the holes and adjusts the sprinkler’s rotation. If the water doesn’t distribute evenly, tweak the placement or size of the holes until you achieve optimal performance.
Here are a few troubleshooting tips:
– **Uneven Rotation** : Ensure the bottles are balanced and securely attached. Adding weight (like pebbles) inside one bottle may help stabilize the rotation.
– **Weak Spray** : Increase water pressure by adjusting your faucet or hose settings.
– **Leaks** : Reinforce any weak joints with additional adhesive or tape.
### Step 5: Enhance Your Design (Optional)
If you want to take your sprinkler to the next level, consider these enhancements:
– **Multi-Bottle Setup** : Combine multiple bottles to cover larger areas or create unique spray patterns.
– **Colorful Decorations** : Paint the bottles in bright colors or designs to add personality to your garden.
– **Solar-Powered Upgrade** : Incorporate a small solar-powered pump to automate the sprinkler without relying on a hose.
—
### Benefits of Using a Plastic Bottle Sprinkler
Building a rotating irrigation sprinkler with plastic bottles offers numerous advantages beyond its practicality:
1. **Water Conservation** : By targeting specific areas, this sprinkler minimizes water wastage compared to traditional methods like hand-watering or flood irrigation.
2. **Educational Opportunity** : This project is an excellent way to teach children about recycling, engineering, and sustainable practices.
3. **Versatility** : Whether you’re growing vegetables, flowers, or herbs, this sprinkler adapts easily to different types of gardens.
4. **Fun and Creative** : Crafting your own sprinkler adds a personal touch to your gardening routine and fosters a sense of accomplishment.
### Real-Life Success Stories
Many gardeners who’ve tried this DIY sprinkler rave about its simplicity and effectiveness. One user shared, “I was skeptical at first, but my homemade sprinkler works better than the $50 one I bought last year” Another commented, “It’s amazing how something so simple can make such a big difference in my garden.”
Even teachers have embraced this idea as a classroom activity. “My students loved making these sprinklers,” said a middle school science teacher. “They learned about physics, sustainability, and teamwork all at once”
### Empower Your Garden with Innovation
Building a rotating irrigation sprinkler with plastic bottles is a testament to human ingenuity and resourcefulness. Not only does it solve a common gardening problem, but it also demonstrates how creativity and sustainability go hand-in-hand. By taking a few minutes to assemble this clever device, you’ll save money, reduce waste, and enjoy healthier, happier plants.
So gather your materials, roll up your sleeves, and embark on this fun, eco-conscious project. Your garden—and the planet—will thank you for it