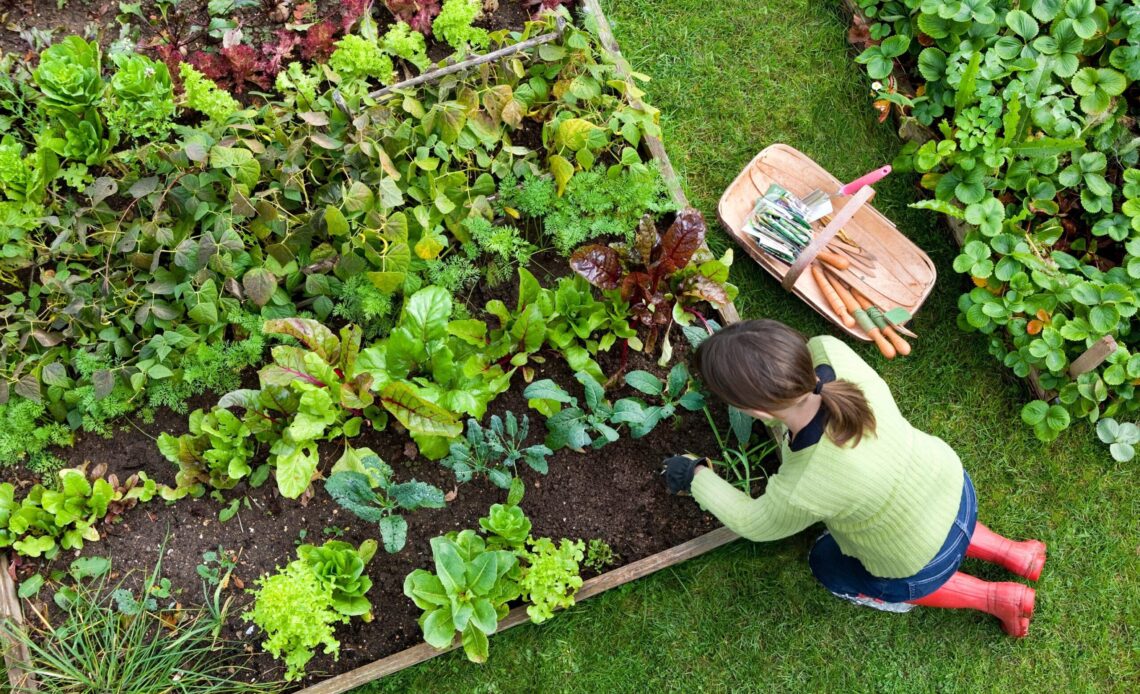
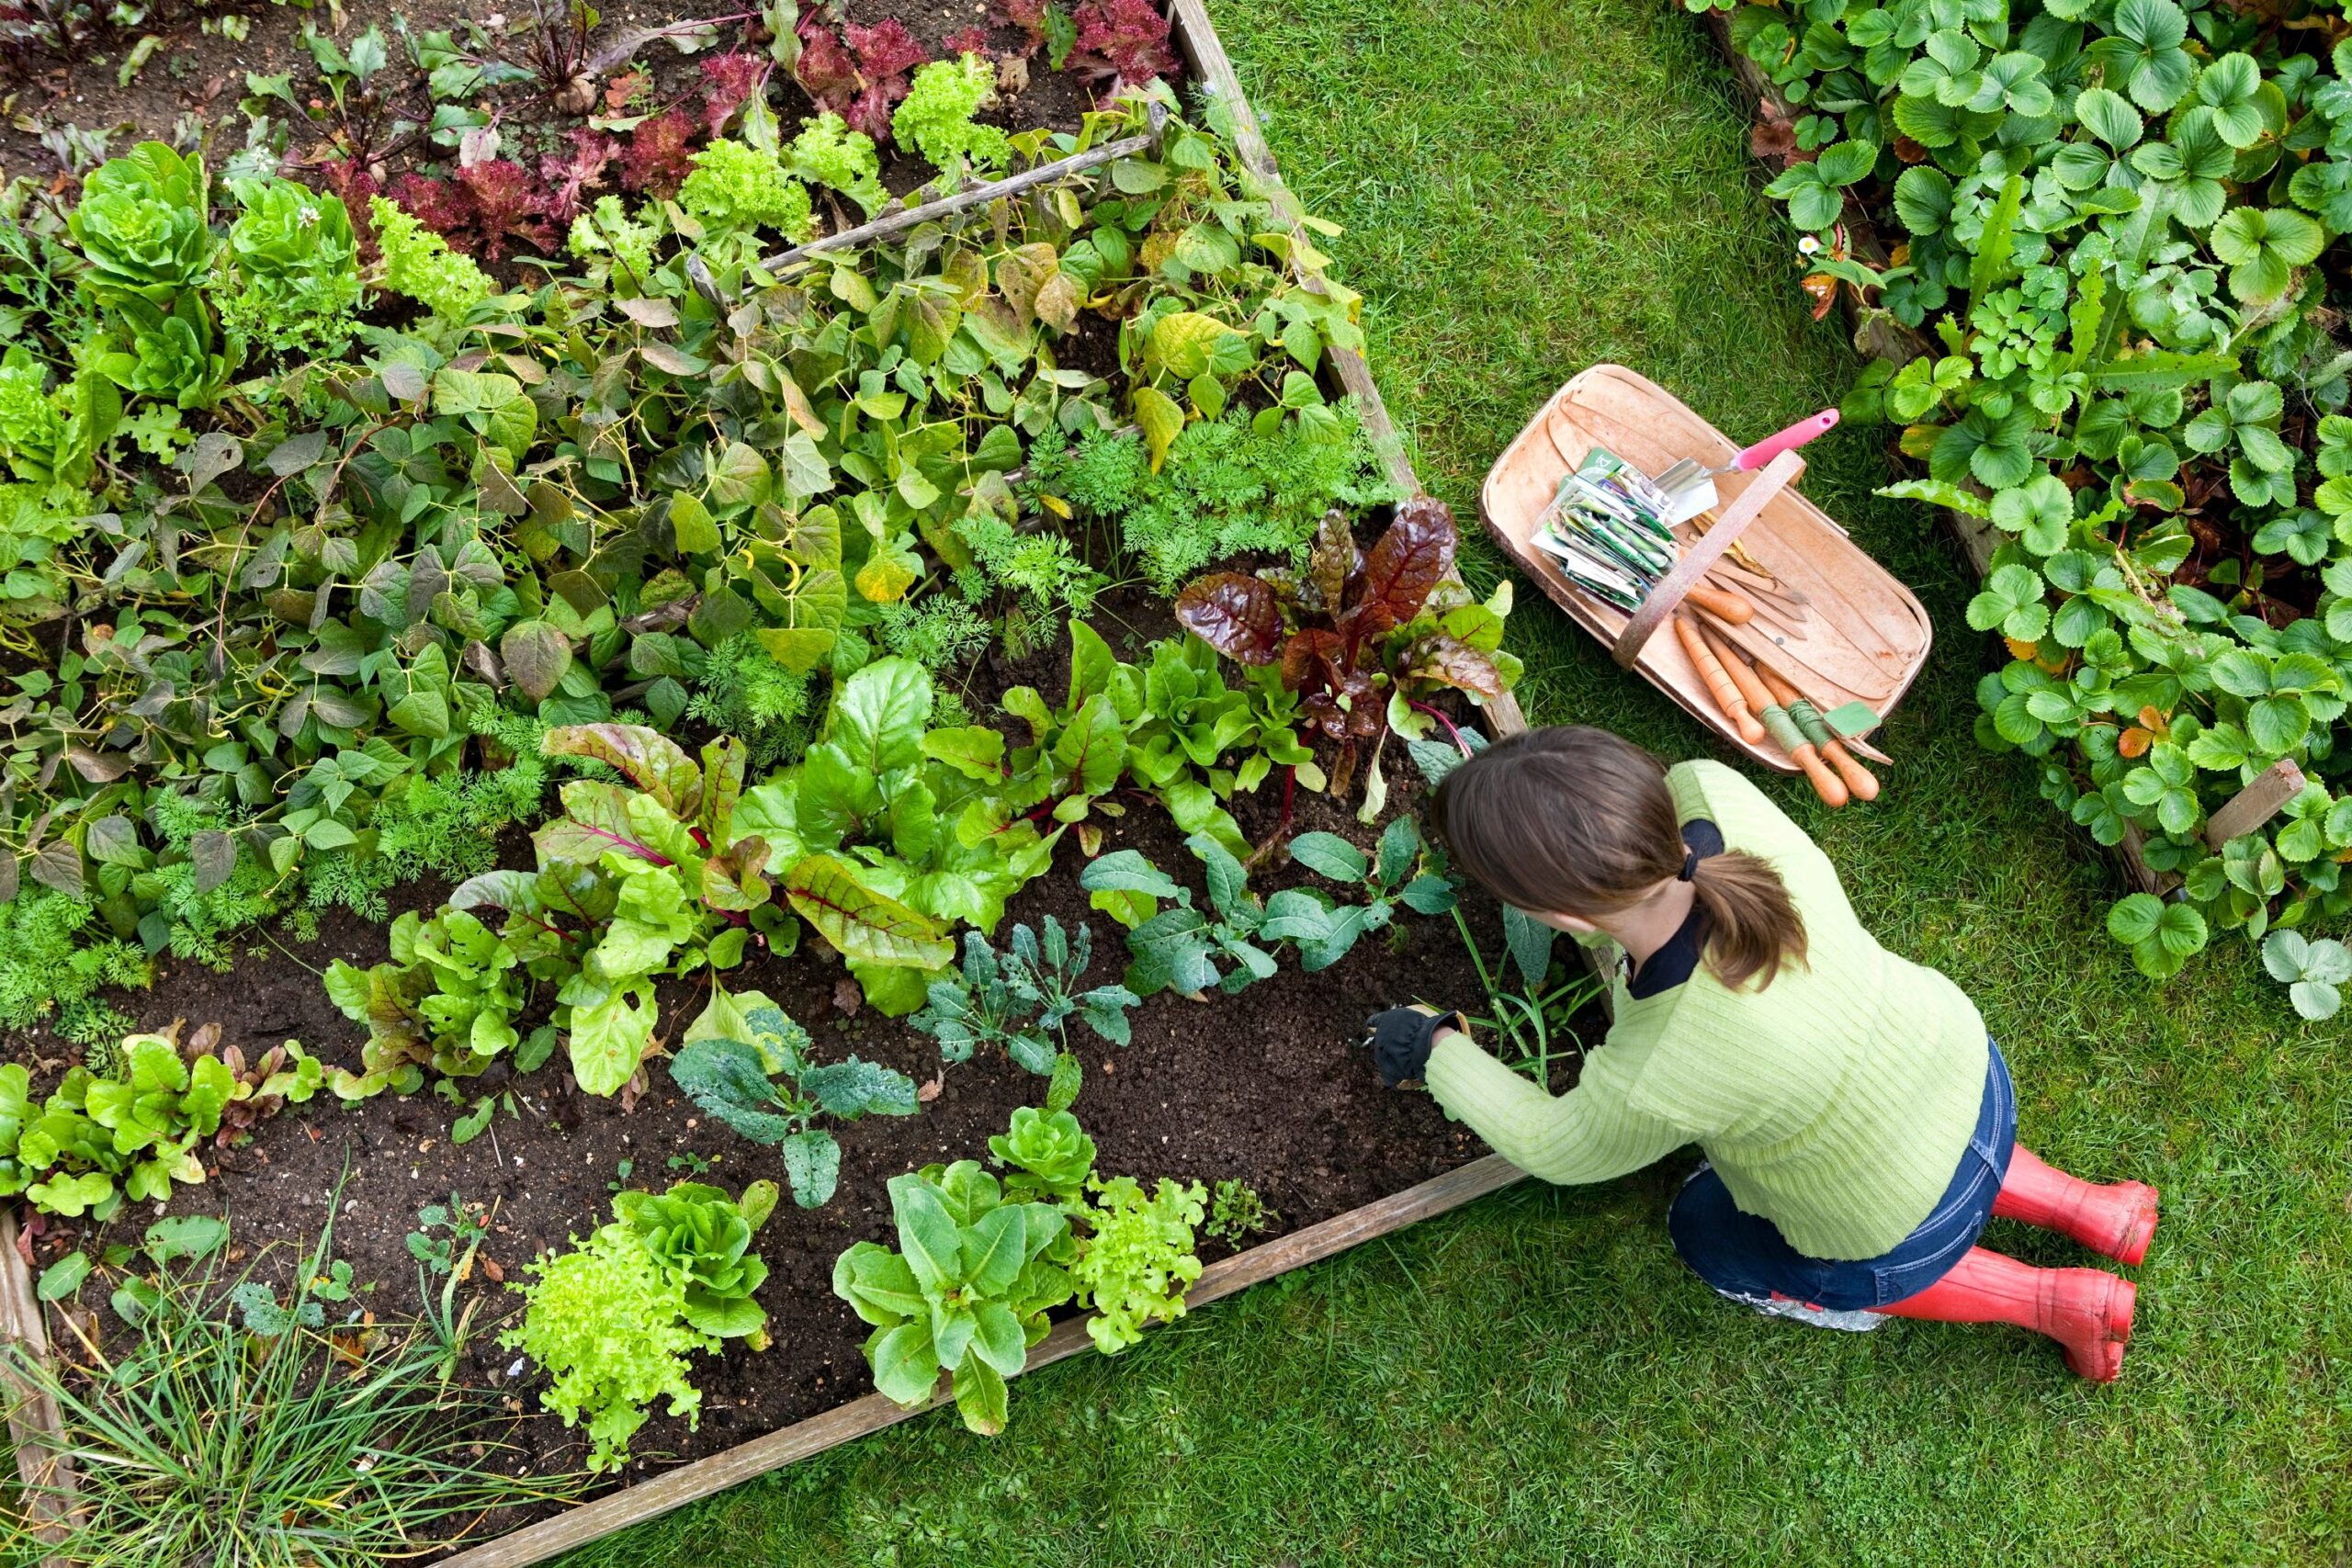
If you’ve always dreamed of growing your own fresh vegetables right in your backyard, you’re in the right place Creating a vegetable bed not only brings the joy of homegrown produce but also offers the satisfaction of nurturing plants from seed to harvest. Whether you have a small space or a large yard, building and preparing a vegetable bed is a simple and rewarding project. This ultimate beginner’s guide will walk you through every step you need to know to build your vegetable bed and set it up for success.
### Why Start a Vegetable Bed?
Before we dive into the how-to, let’s look at the reasons why starting a vegetable bed is such a great idea:
1. **Fresh, Homegrown Produce**: Grow your own organic vegetables at home without pesticides, ensuring they are both healthy and flavorful.
2. **Cost-Effective**: Save money on grocery bills by growing your own vegetables, especially with high-demand crops like tomatoes, lettuce, and herbs.
3. **Sustainability**: Reduce your carbon footprint by growing food locally and minimizing the need for transport and packaging.
4. **Educational**: Gardening is a great way to learn about plant growth and improve your overall knowledge of nature and sustainability.
### Step-by-Step Guide to Building Your Vegetable Bed
Building a vegetable bed is a straightforward project that doesn’t require much experience. Let’s break it down step by step:
#### Step 1: Choose the Right Location
The first and most important decision is choosing the right spot for your vegetable bed. Keep these tips in mind when selecting a location:
– **Sunlight**: Most vegetables need 6-8 hours of direct sunlight daily. Choose a spot that gets plenty of sun throughout the day.
– **Drainage**: Ensure the soil drains well. A location with poor drainage can cause waterlogging, which harms plant roots.
– **Accessibility**: Make sure your vegetable bed is easy to access for watering, weeding, and harvesting.
– **Away from Trees**: Avoid planting near large trees or shrubs as they may compete with your vegetables for nutrients and water.
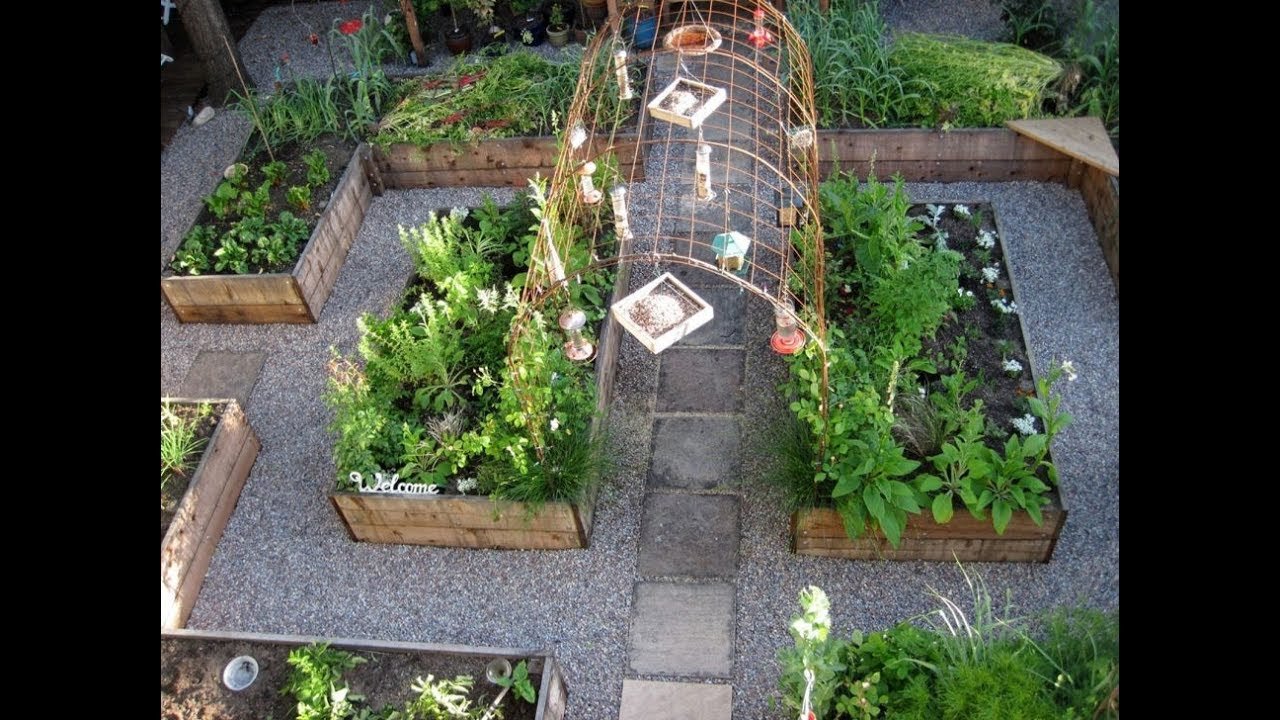
#### Step 2: Decide on the Type of Bed
There are several types of vegetable beds you can choose from, depending on your space and preferences:
– **Traditional Ground Beds**: This involves digging directly into the ground and adding soil amendments as needed. It’s the simplest option but requires good soil preparation.
– **Raised Beds**: If your soil is poor, or you want to minimize bending, raised beds are an excellent option. These are built with wooden frames, concrete blocks, or other materials to create a bed above the ground level.
– **Container Gardens**: If you have limited space or poor soil, containers are perfect. You can use pots, grow bags, or even recycled materials to create portable vegetable gardens.
#### Step 3: Prepare the Soil
Once you’ve selected the location and type of bed, it’s time to prepare the soil. Healthy soil is the key to a successful vegetable garden. Here’s how to get it ready:
– **Clear the Area**: Remove any grass, weeds, or debris from the site. If you’re starting a raised bed, you can skip this step.
– **Loosen the Soil**: For in-ground beds, use a shovel, garden fork, or tiller to break up the soil and loosen it to a depth of about 12-15 inches. This helps the plant roots to penetrate easily.
– **Add Organic Matter**: Enrich the soil by adding compost, aged manure, or organic soil amendments. This improves fertility, structure, and drainage.
– **Test the Soil**: If you want to get scientific, use a soil test kit to determine the pH and nutrient levels of your soil. Vegetables generally prefer slightly acidic soil (pH 6.0-7.0). Amend the soil as necessary with lime (to raise pH) or sulfur (to lower pH).
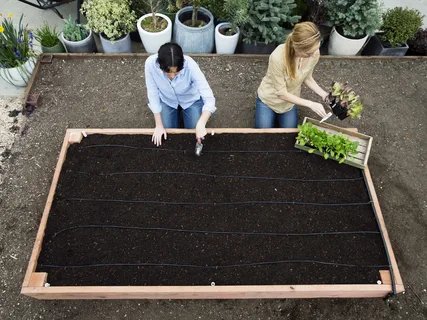
#### Step 4: Build Your Bed (For Raised Beds)
If you’re building a raised bed, here’s what you’ll need to do:
– **Measure and Build the Frame**: Use wood (cedar is best for durability), bricks, stones, or other materials to create a rectangular or square frame. Typically, raised beds are 4 feet wide and can be as long as your space allows. Make sure the height is 12-18 inches for optimal root growth.
– **Line the Bed (Optional)**: Some gardeners line the bottom of the bed with landscape fabric or cardboard to prevent weeds from growing up through the bed. You can also place a layer of small rocks or gravel at the bottom to help with drainage.
– **Fill with Soil**: Once the frame is set, fill the bed with a mix of high-quality soil, compost, and any other organic matter. Aim for a soil depth of at least 12 inches for vegetables to grow properly.
#### Step 5: Plant Your Vegetables
Now that your vegetable bed is ready, it’s time to plant Here are some important tips for planting:
– **Spacing**: Make sure to follow the recommended spacing for each vegetable. Overcrowding can result in weak plants, poor air circulation, and pest issues.
– **Depth**: Plant seeds or seedlings to the depth indicated on the seed packet or plant label. Some vegetables, like carrots, need shallow planting, while others, like tomatoes, need deeper planting.
– **Planting Arrangement**: Consider companion planting to maximize space and promote healthy growth. For example, plant basil near tomatoes to help improve flavor and repel pests.
#### Step 6: Water and Maintain Your Vegetable Bed
Vegetables require consistent care to thrive. Here’s what you need to do:
– **Watering**: Vegetables need regular watering, especially during dry spells. Water deeply to encourage strong root growth. Early morning watering is best to avoid fungal diseases.
– **Mulching**: Add a layer of mulch around the plants to help retain moisture, reduce weeds, and keep the soil temperature stable.
– **Weeding**: Regularly remove weeds to prevent them from competing with your vegetables for nutrients. Mulching also helps reduce weed growth.
– **Fertilizing**: While compost will provide some nutrients, you may need to fertilize periodically. Use an organic fertilizer to boost growth, especially for heavy feeders like tomatoes and lettuce.
#### Step 7: Harvest and Enjoy
The final step is the best part: harvesting your vegetables Harvesting at the right time ensures that your crops are at their peak flavor and nutrition. Be sure to check each plant’s maturity date and pick vegetables when they’re ripe. Enjoy the fruits (or veggies) of your labor, and don’t forget to save seeds for next season
### Final Tips for Success
– **Rotate Your Crops**: Avoid planting the same vegetables in the same spot each year to prevent soil depletion and pest buildup.
– **Start Small**: If you’re a beginner, start with a small bed and a few easy-to-grow vegetables like tomatoes, lettuce, or herbs. Gradually expand as you gain confidence.
– **Observe and Learn**: Gardening is a learning process. Pay attention to what works and what doesn’t, and adjust your approach accordingly.
Building and preparing a vegetable bed is a rewarding and fulfilling project that can transform your backyard into a thriving, productive space. By following these simple steps, you can create the perfect growing environment for your vegetables, leading to healthier plants and bountiful harvests. Whether you have a small urban space or a large garden, anyone can enjoy the benefits of growing their own fresh, homegrown produce. So roll up your sleeves, start planting, and watch your garden thrive 🌱🌿
Happy gardening 🌻