Growing grapes from seeds can be a rewarding and exciting experience for any gardening enthusiast. While it takes patience and attention to detail, the results are incredibly satisfying, and you’ll be able to enjoy your own homegrown grapes in the future If you’ve ever wondered how to grow grapes from seeds, this ultimate guide will walk you through the process step by step, from selecting the right seeds to nurturing your vines.
### Why Grow Grapes from Seeds?
While many gardeners prefer to buy grapevine saplings from nurseries, growing grapes from seeds allows you to have a deeper connection with your plants and the gardening process. Additionally, grapevines grown from seed can sometimes be more resilient and unique, and you may even discover new varieties that you love.
Whether you’re looking to create your own vineyard or just want to enjoy fresh grapes from your garden, growing grapes from seeds is a fulfilling project. Let’s dive into the steps that will guide you through this process.
### Step 1: Select High-Quality Grapes for Seeds
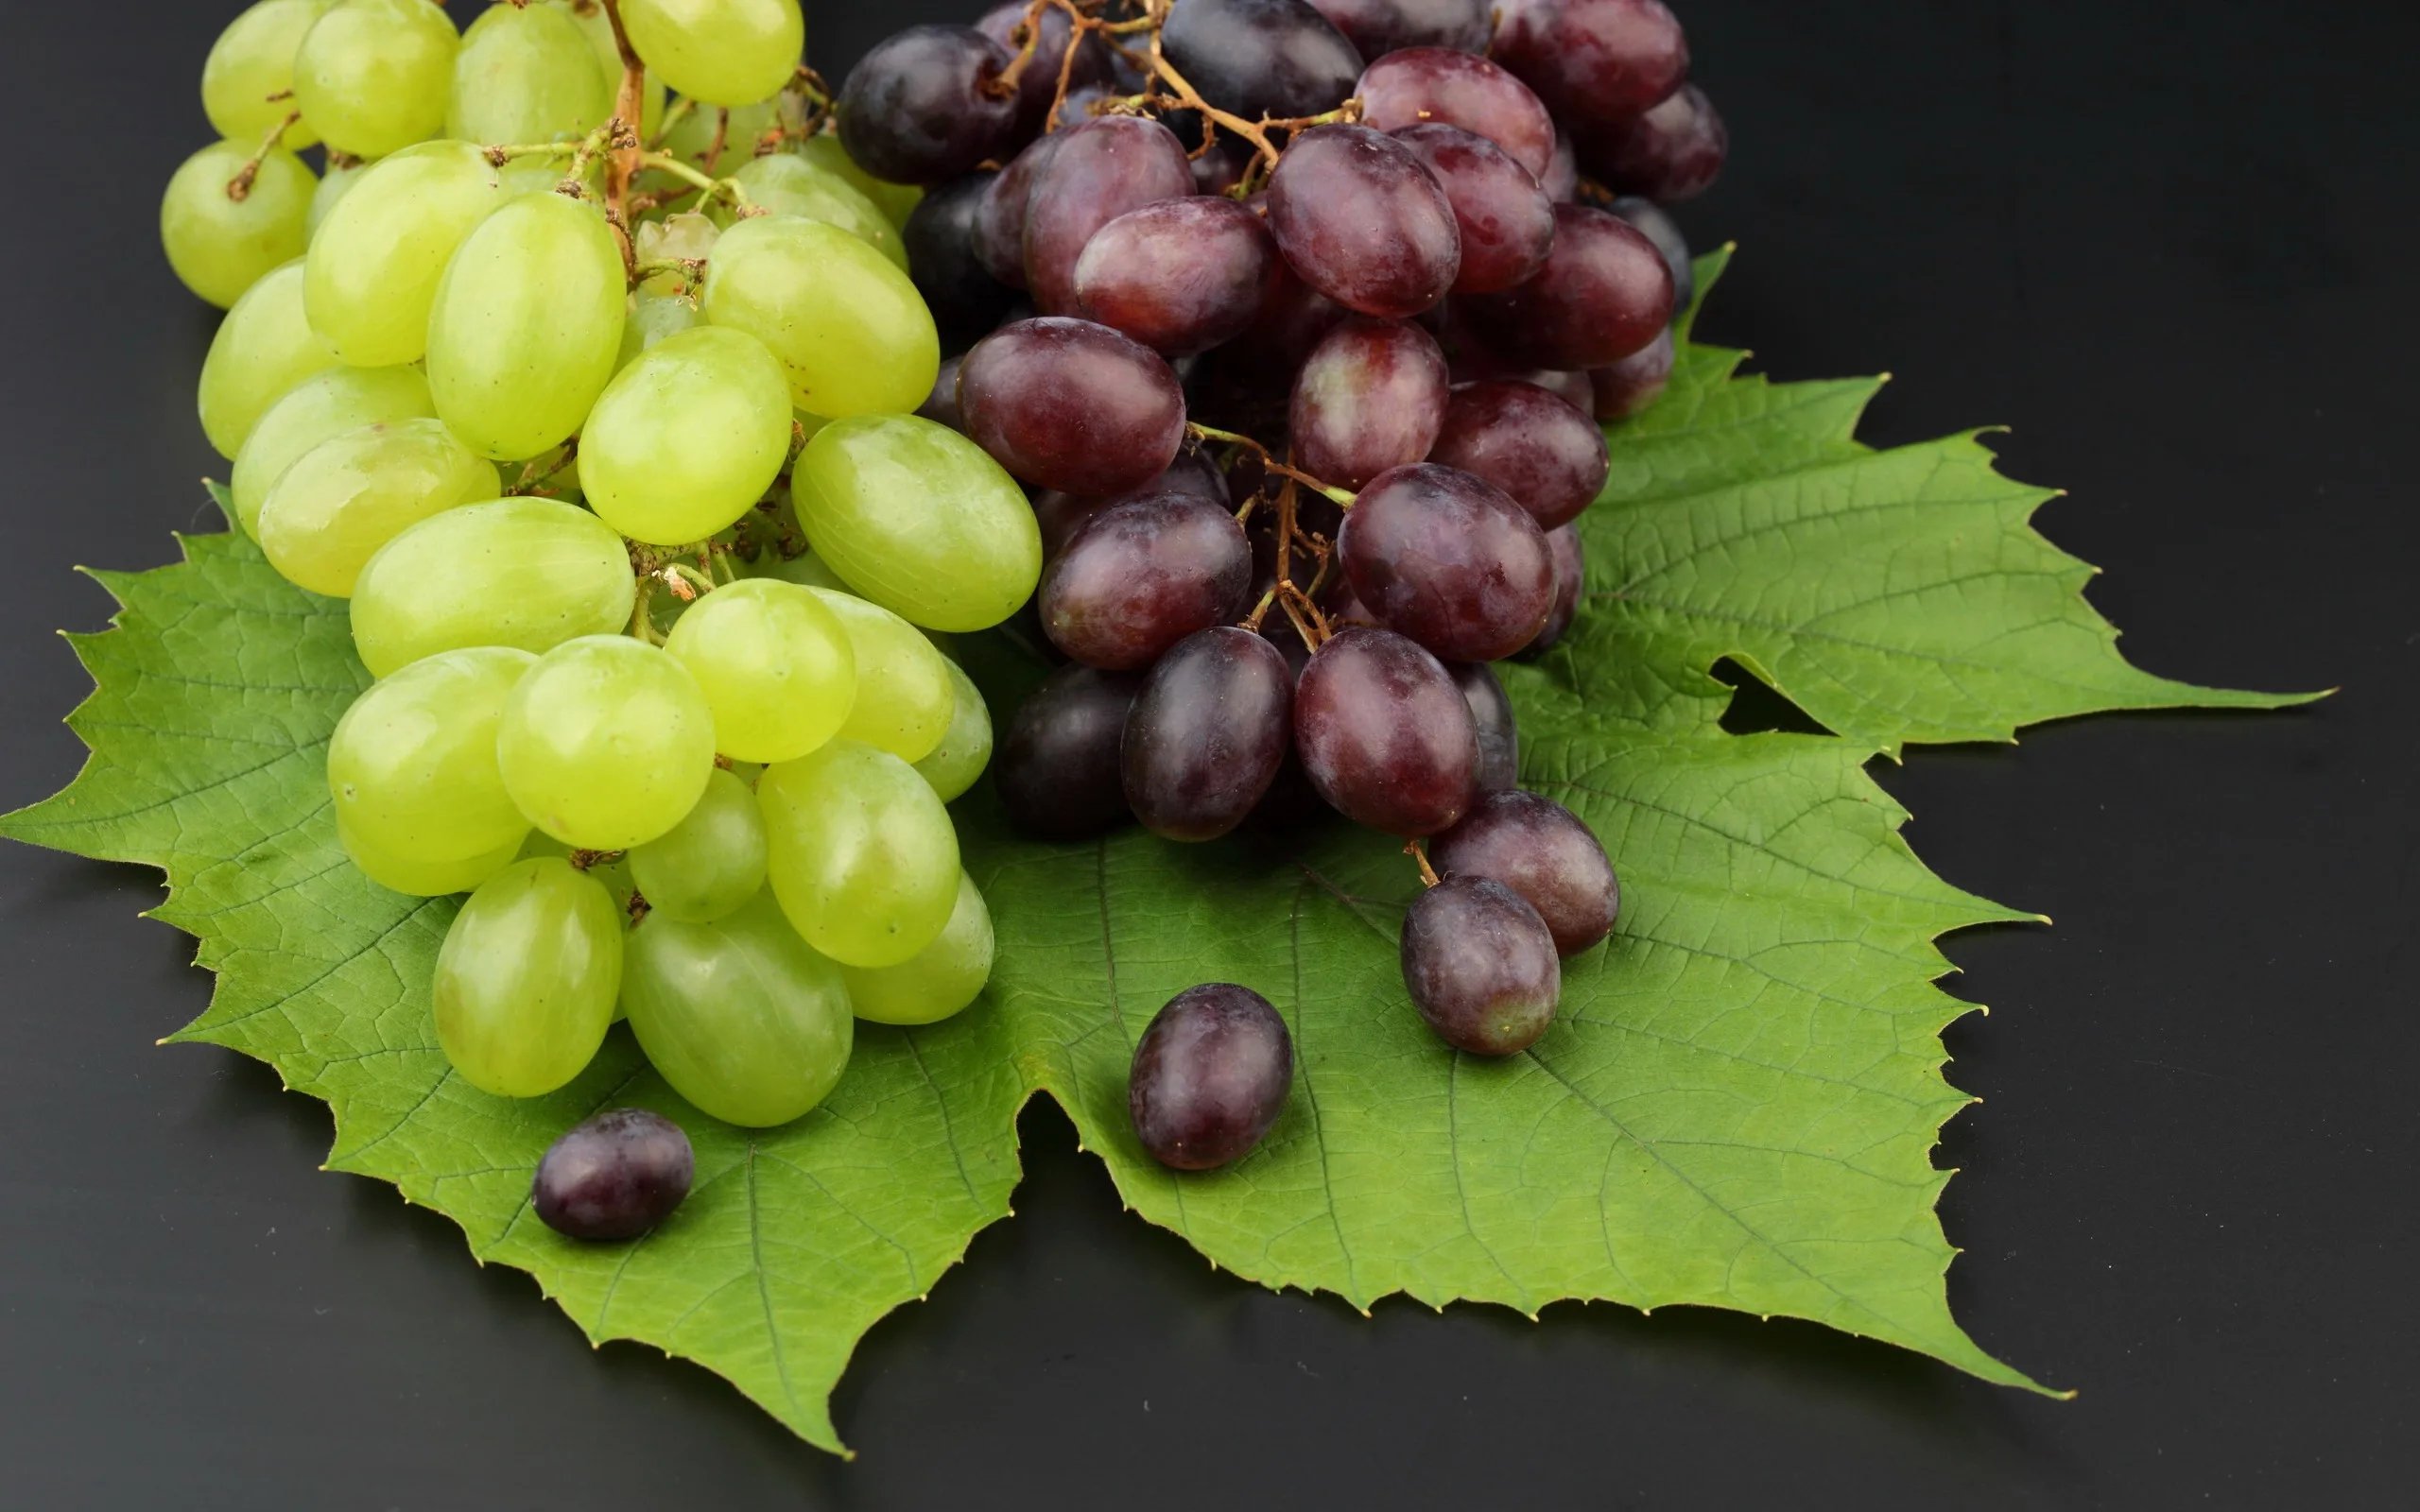
Before you begin, it’s essential to choose the right grapes for seeds. While many types of grapes can be grown from seeds, certain varieties are more suited to seed propagation. When selecting grapes, opt for healthy, ripe fruit with seeds that are well-formed. Avoid seedless varieties, as they lack the seeds necessary for propagation.
**Tip:** Concord, Thompson Seedless, and Red Globe grapes are some popular varieties to consider for seed propagation.
### Step 2: Extracting Seeds from Grapes
Once you’ve selected your grapes, the next step is to extract the seeds. Cut the grapes in half and scoop out the seeds carefully. You’ll need to clean them thoroughly to remove any pulp or fruit residue. Rinse the seeds under cool water until they’re completely clean. Afterward, allow them to dry on a paper towel for a few hours.
**Tip:** Avoid drying the seeds in direct sunlight, as this can affect their viability. A cool, shaded area works best.
### Step 3: Stratify the Seeds
Grape seeds require a period of cold stratification to break dormancy and encourage germination. This step mimics the natural winter conditions the seeds would face in the wild.
1. **Prepare the Seeds**: Place the cleaned grape seeds in a damp paper towel or a small plastic bag filled with moist sand or vermiculite.
2. **Refrigeration**: Store the seeds in the refrigerator for approximately 3 months. This cold treatment will simulate the winter dormancy period and prepare the seeds for germination.
3. **Check Regularly**: During the stratification period, check the seeds occasionally to ensure they remain moist. Don’t let them dry out.
**Tip:** Patience is key here, as the stratification period is essential for the seeds to properly germinate.
### Step 4: Planting the Grape Seeds
After the stratification period, it’s time to plant your grape seeds. Follow these steps for optimal results:
1. **Choose the Right Containers**: Use small pots or seed trays with good drainage. Grapes need well-draining soil, so be sure your containers have holes at the bottom.
2. **Prepare the Soil**: Use a high-quality, well-draining seed-starting mix. Grapes thrive in slightly acidic to neutral soil (pH 6.0–7.0).
3. **Plant the Seeds**: Place the grape seeds about 1/4 inch deep into the soil. Space them out evenly, and cover them lightly with soil.
4. **Water Gently**: Water the soil carefully to keep it moist but not soggy. Ensure the water drains freely, as standing water can cause rot.
**Tip:** If you’re planting multiple seeds in the same container, be sure to thin them out later to give each seedling room to grow.
### Step 5: Provide the Ideal Growing Conditions
Grape seeds need warmth and sunlight to germinate successfully. Here’s how to create the best environment for your seeds:
1. **Temperature**: Place your pots in a warm location where the temperature stays between 70°F to 85°F (21°C–29°C). A heated propagator or a sunny windowsill is ideal.
2. **Light**: Once the seeds begin to sprout, provide them with plenty of bright, indirect light. If you don’t have natural light, consider using grow lights to support their growth.
3. **Humidity**: Grapes thrive in humid conditions. To maintain humidity around the seeds, you can cover the pots with a plastic dome or plastic wrap until they begin to sprout.
**Tip:** Make sure to open the cover occasionally to prevent mold and provide fresh air to the seedlings.
### Step 6: Caring for Your Seedlings
Once your grape seeds have sprouted, they will require regular care and attention to ensure strong growth. Here are the key aspects to monitor:
1. **Watering**: Keep the soil evenly moist, but avoid overwatering, as this can lead to root rot. Allow the soil to dry out slightly between waterings.
2. **Fertilizing**: After the seedlings have established their first set of true leaves, you can begin fertilizing them with a balanced, water-soluble fertilizer. Use a diluted solution to avoid overfeeding.
3. **Thinning**: If you planted multiple seeds in one container, thin out the weaker seedlings, leaving the strongest one to grow.
**Tip:** Transplant the seedlings to individual pots once they have outgrown their original container. This will allow the roots to develop fully and prevent crowding.
### Step 7: Transplanting Grapes into the Garden
Once your grape seedlings have grown large enough and are well-established, they can be transplanted into the garden or larger containers. Here’s how:
1. **Choose the Right Location**: Grapevines need full sunlight to thrive, so plant your grapes in a location that receives at least 6–8 hours of direct sunlight each day.
2. **Prepare the Soil**: Grapes prefer well-drained, slightly acidic soil. Amend the soil with organic compost to improve drainage and provide nutrients.
3. **Planting**: Dig a hole large enough to accommodate the roots. Place the seedling in the hole and fill it with soil. Water thoroughly after planting.
4. **Support the Vines**: Grapevines are climbing plants, so they need a structure to grow on, such as a trellis or fence. Provide support early to encourage strong, healthy vines.
### Step 8: Patience – It Takes Time
Growing grapes from seeds can take time, and it’s important to be patient. Your grapevine may not bear fruit immediately, as it can take 2-3 years for grapevines grown from seeds to mature enough to produce fruit.
Growing grapes from seeds is a fascinating and rewarding experience for any gardening enthusiast. While it requires patience and attention to detail, with the right care, your vines will flourish and eventually provide you with delicious, homegrown grapes. By following this step-by-step guide, you can master the art of grape growing and enjoy the fruits of your labor for years to come.
So, why not give it a try? Start planting your grape seeds today, and unlock the incredible satisfaction of growing one of the world’s most beloved fruits right in your own backyard