
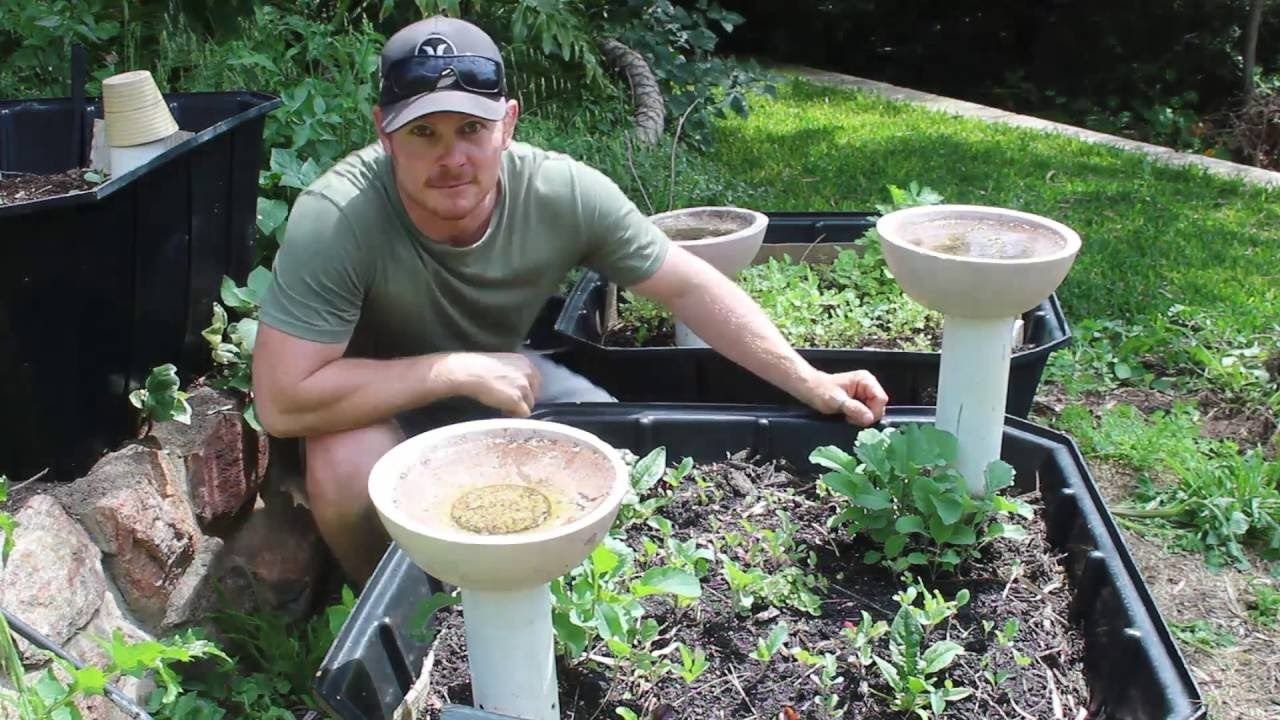
If you’re looking for an eco-friendly and sustainable way to recycle organic waste, building an **underground worm farm** is the perfect solution. Worm composting, also known as **vermicomposting**, is an excellent method to turn your kitchen scraps, yard waste, and other organic material into nutrient-rich compost. By building a worm farm underground, you’ll create a space-efficient, odor-free, and low-maintenance composting system right in your own backyard. This step-by-step guide will show you how to build your own **underground worm farm**, reduce waste, and boost your garden’s soil health—all while helping the environment.

### **Why Choose an Underground Worm Farm?**
Before we dive into the process, let’s discuss why an **underground worm farm** is such a great choice. Here are some of the key benefits:
– **Space-saving**: An underground worm farm takes up less surface space, making it ideal for smaller gardens or areas with limited room.
– **Odor-free**: Underground farms reduce odors that can come from composting or waste decomposition in open systems.
– **Temperature control**: The earth’s natural insulation helps maintain a more stable temperature for the worms, creating an ideal environment year-round.
– **Low maintenance**: With the right setup, an underground worm farm requires little upkeep and is less prone to pests or problems with pests.
Now that you understand the benefits, let’s look at how you can create your own underground worm farm.
### **Materials You’ll Need**
Here’s a list of materials you’ll need to build your underground worm farm:
– **Plastic or wooden compost bin** (or a large container)
– **Drill with a small bit** (for aeration holes)
– **Shredded newspaper or cardboard** (for bedding)
– **Compostable kitchen scraps** (fruit and vegetable scraps, coffee grounds, eggshells)
– **Red wiggler worms** (the best type of worm for composting)
– **Shovel or garden spade**
– **Compostable soil** (to start your farm with)
– **Plastic sheeting or tarp** (for covering)
### **Choose the Right Location**
The first step is to find the perfect spot for your underground worm farm. Look for an area in your yard that has good drainage and is away from large tree roots, as these can interfere with the worms’ activities. The area should be shaded, preferably in a corner or near other garden beds.
To determine if the soil is suitable for digging, check for well-draining soil with a balanced mix of sand, silt, and clay. Your worm farm needs to breathe, so avoid areas with waterlogged or compacted soil.
### **Dig a Hole for the Worm Farm**
Now it’s time to dig. Using a shovel or garden spade, dig a hole that is around 2 to 3 feet deep, large enough to fit your compost bin and provide space for the worms. Make sure the hole is wide enough for the bin to sit comfortably, but not too deep to cause problems with excess moisture buildup.
If you’re using a large container for your worm farm, ensure that the hole is slightly larger than the container’s size. This will allow for ventilation and easier access to the compost.
### **Set Up the Compost Bin**
Place the **plastic or wooden compost bin** into the hole you’ve dug. If you’re using a plastic container, ensure it has small holes drilled into the sides for airflow, as worms need oxygen to thrive. You can use a plastic bin, wooden box, or any type of sturdy container that will allow for good airflow and moisture retention.
If you’re using a container that doesn’t already have holes, use a **drill** to create small holes on the bottom and sides of the bin to ensure proper ventilation. These holes will help maintain an oxygen-rich environment for your worms to live and work in.
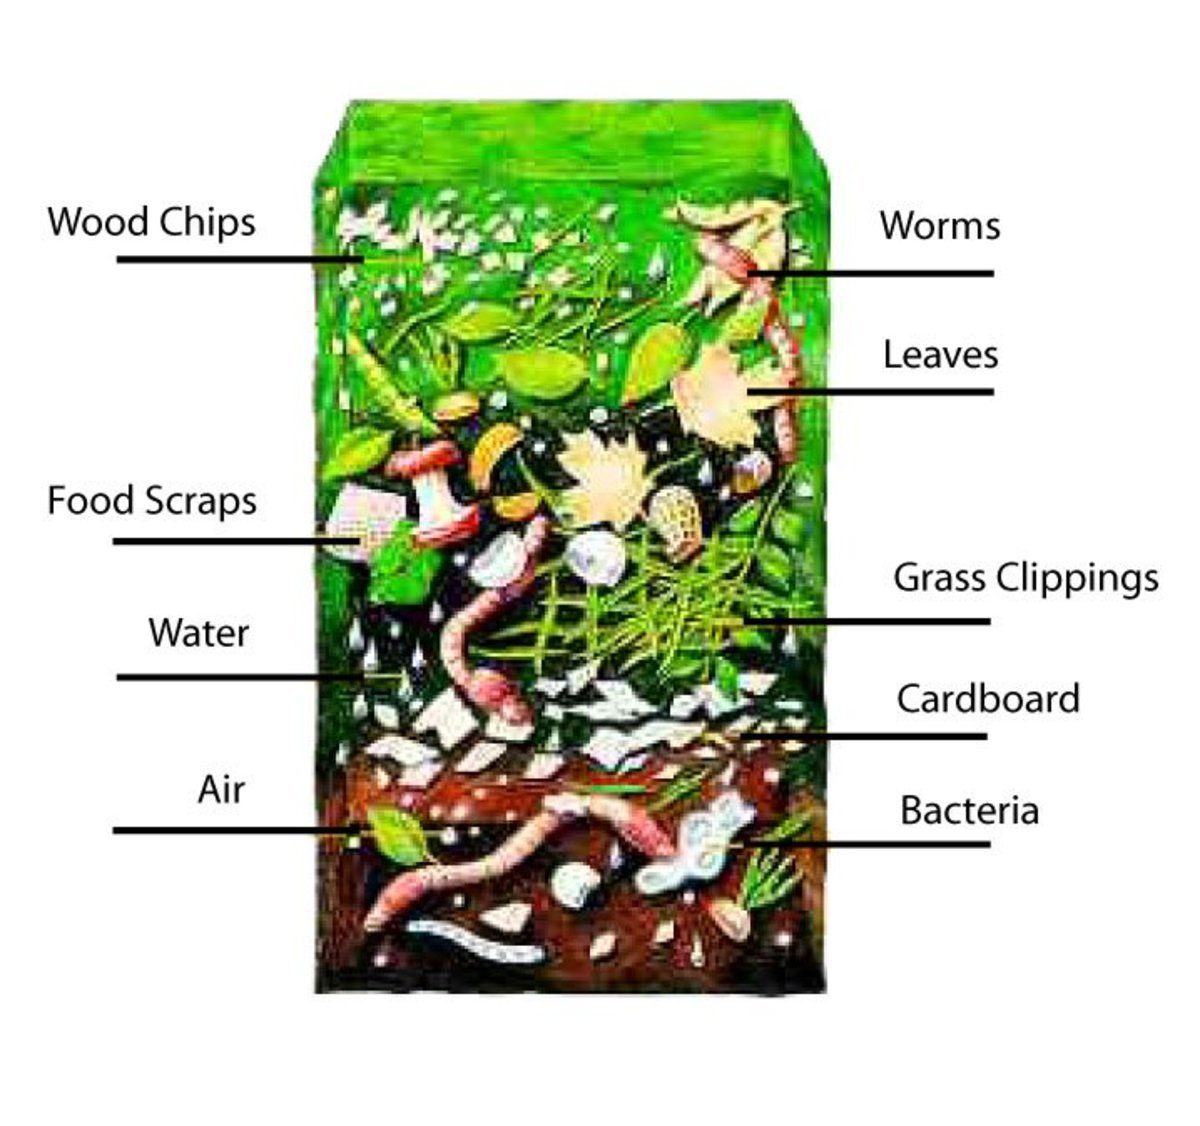
### **Prepare the Bedding for Your Worms**
Next, you’ll need to prepare a comfortable bedding for your worms. This is crucial as it provides the worms with a moist, cozy environment that simulates their natural habitat. Start by shredding some **newspaper** or **cardboard** into small strips and dampen it with water. This bedding will serve as a base for your worms.
Place the bedding in the compost bin, filling it about halfway. The bedding should be moist, not soaking wet. If it’s too dry, the worms will struggle, and if it’s too wet, it may lead to issues like mold growth or bad odors.
### **Add Your Worms and Compost Materials**
Once the bedding is set up, it’s time to add your **red wiggler worms**. These worms are the most effective composters, as they thrive in decomposing organic material. You can purchase them online or at a local garden center. Add them directly to the bin and allow them to settle into their new home.
After adding the worms, it’s time to start feeding them Add **compostable kitchen scraps** like fruit and vegetable peels, coffee grounds, and crushed eggshells. Avoid meat, dairy, and oily foods, as these can attract pests and cause unpleasant odors.
Start small with the amount of food you add to the worm bin and gradually increase it as the worms begin to process the scraps. The worms will break down the food, turning it into rich **worm castings**, which are full of nutrients that can be used to enrich your garden soil.
### **Cover the Worm Farm**
Once your worms and food scraps are in place, cover the top of the bin with a **plastic sheet** or **tarp**. This helps retain moisture and keeps the worms from drying out while also providing protection from sunlight, which can be too harsh for them.
Make sure the cover allows for some airflow—there should still be some ventilation to keep the worms from suffocating. You may want to check the bin periodically to ensure there’s enough moisture and that the compost is breaking down as expected.
### **Monitor and Harvest the Worm Castings**
Your worm farm will need regular monitoring to ensure it remains healthy. Keep an eye on the moisture level and temperature, as these factors can affect the worms’ health. If the bedding seems too wet, add more shredded newspaper. If it’s too dry, sprinkle some water.
As the worms break down the organic waste, they’ll create **worm castings**, which are rich in nutrients and great for your plants. After a few months, you can harvest the compost by gently digging into the bottom of the bin, separating the worm castings from the worms, and using the finished compost in your garden.
### **Enjoy Eco-Friendly Composting with Your Underground Worm Farm**
Building an **underground worm farm** is a simple, sustainable way to recycle organic waste and enrich your garden soil. By following these steps, you can create a healthy, eco-friendly composting system that requires minimal effort and provides you with nutrient-rich compost all year round. Not only will this reduce your waste, but it will also improve your garden’s productivity, making it a win-win for both you and the environment.