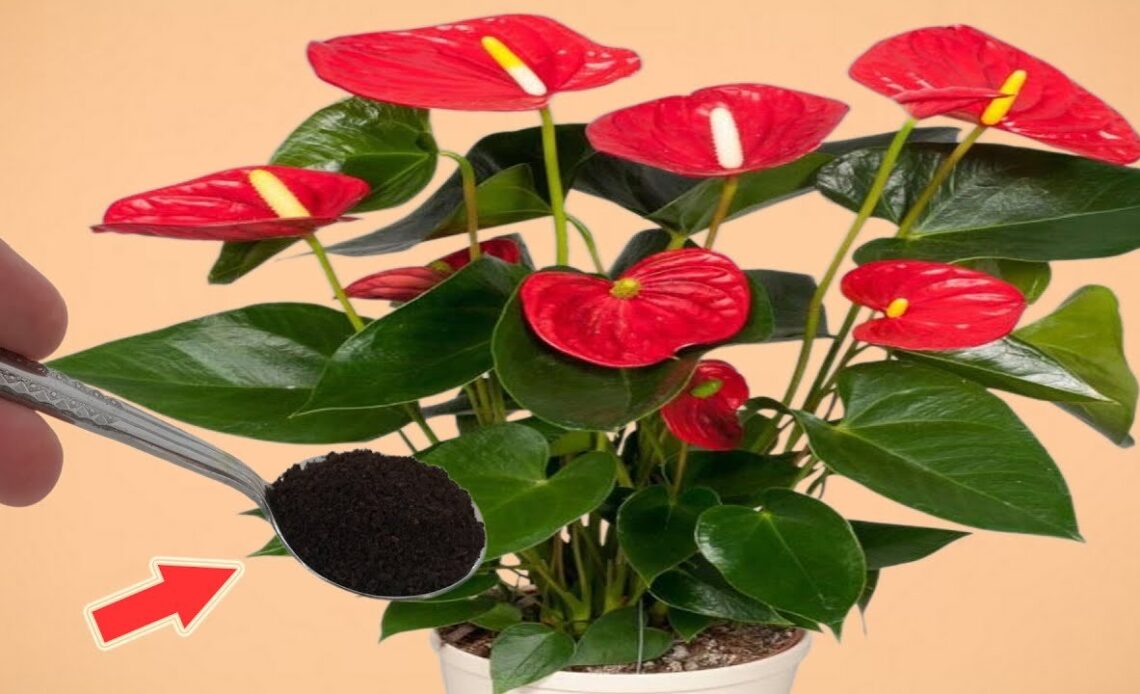
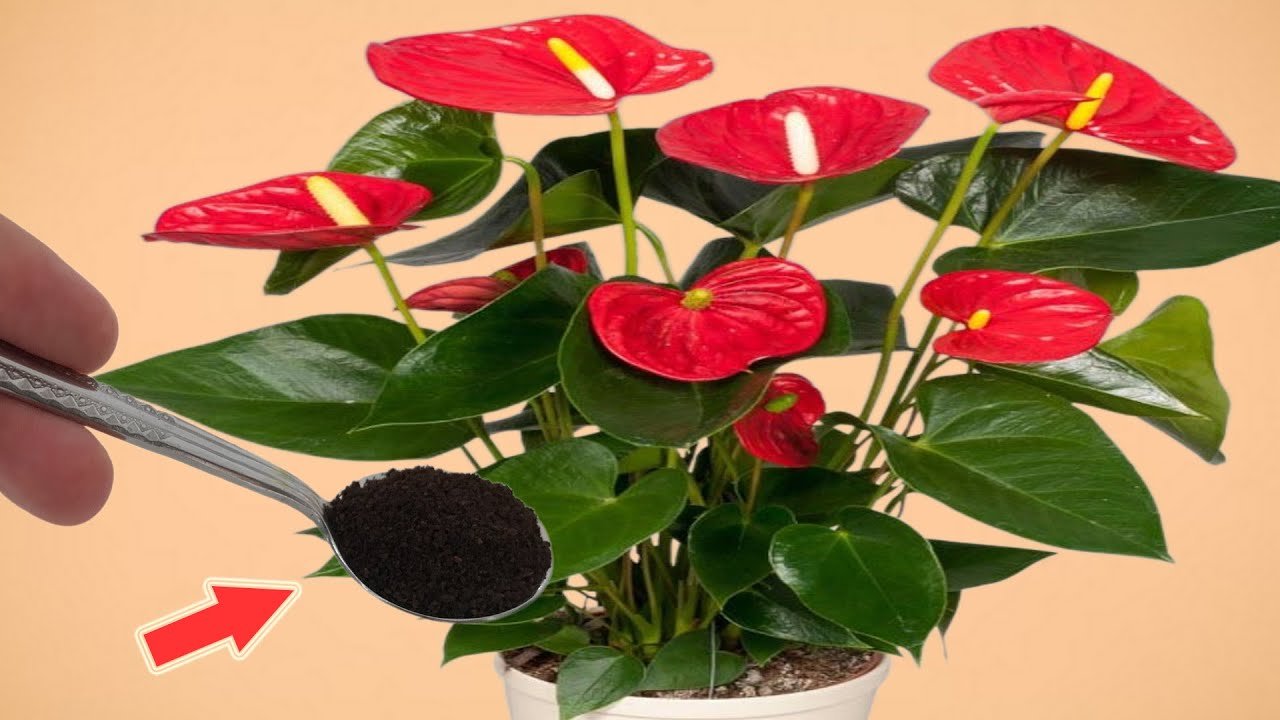
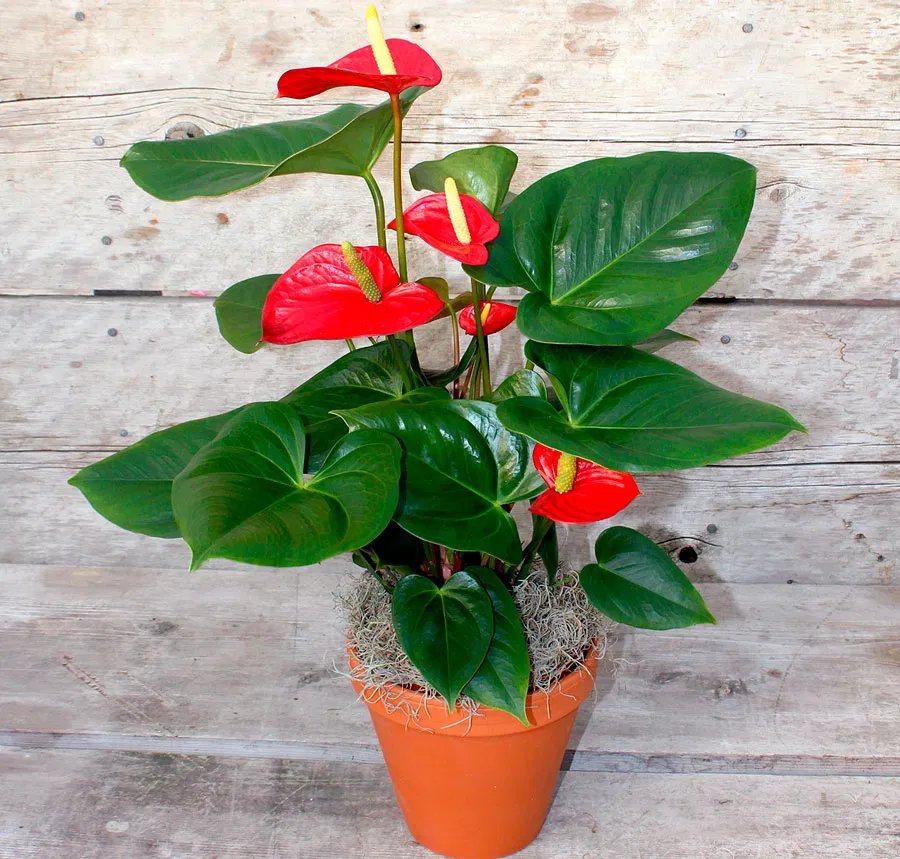
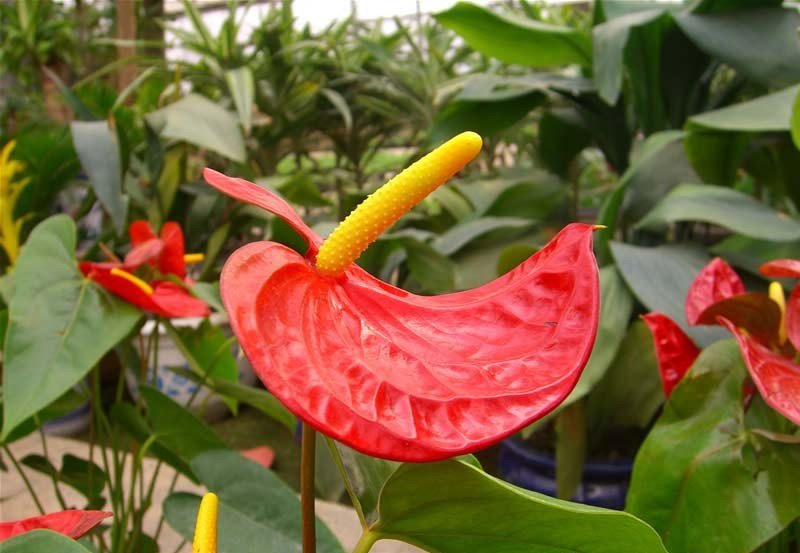
Anthuriums, known for their stunning, vibrant blooms and glossy green leaves, are one of the most popular ornamental plants. Their flowers, often referred to as “flamingo flowers,” can brighten any home or garden. While buying new anthuriums can be expensive, there’s a simple and cost-effective way to grow more of these gorgeous flowers at home. The secret? **Bananas** Yes, you read that right—banana peels can be the key to successful anthurium propagation.
In this article, we’ll show you how to easily propagate anthuriums using banana peels, creating beautiful, thriving plants that will enhance your flower pots and fill your home with vibrant blooms.
Why Choose Anthurium for Your Flower Pots?
Before we dive into the propagation method, let’s quickly look at why anthuriums are such a fantastic addition to your flower pots:
– Long-lasting Blooms: Anthuriums are known for their striking, heart-shaped flowers that can last for weeks, providing vibrant colors year-round.
– Low Maintenance: These plants are relatively easy to care for, requiring minimal attention and making them perfect for beginners.
– Air Purifying: Anthuriums can help improve indoor air quality, making them not only beautiful but beneficial for your home.
Whether you’re a seasoned plant parent or just starting out, propagating anthuriums with banana peels is a fun and rewarding project that will enhance the beauty of your home and garden.
The Benefits of Using Banana Peels for Propagating Anthuriums
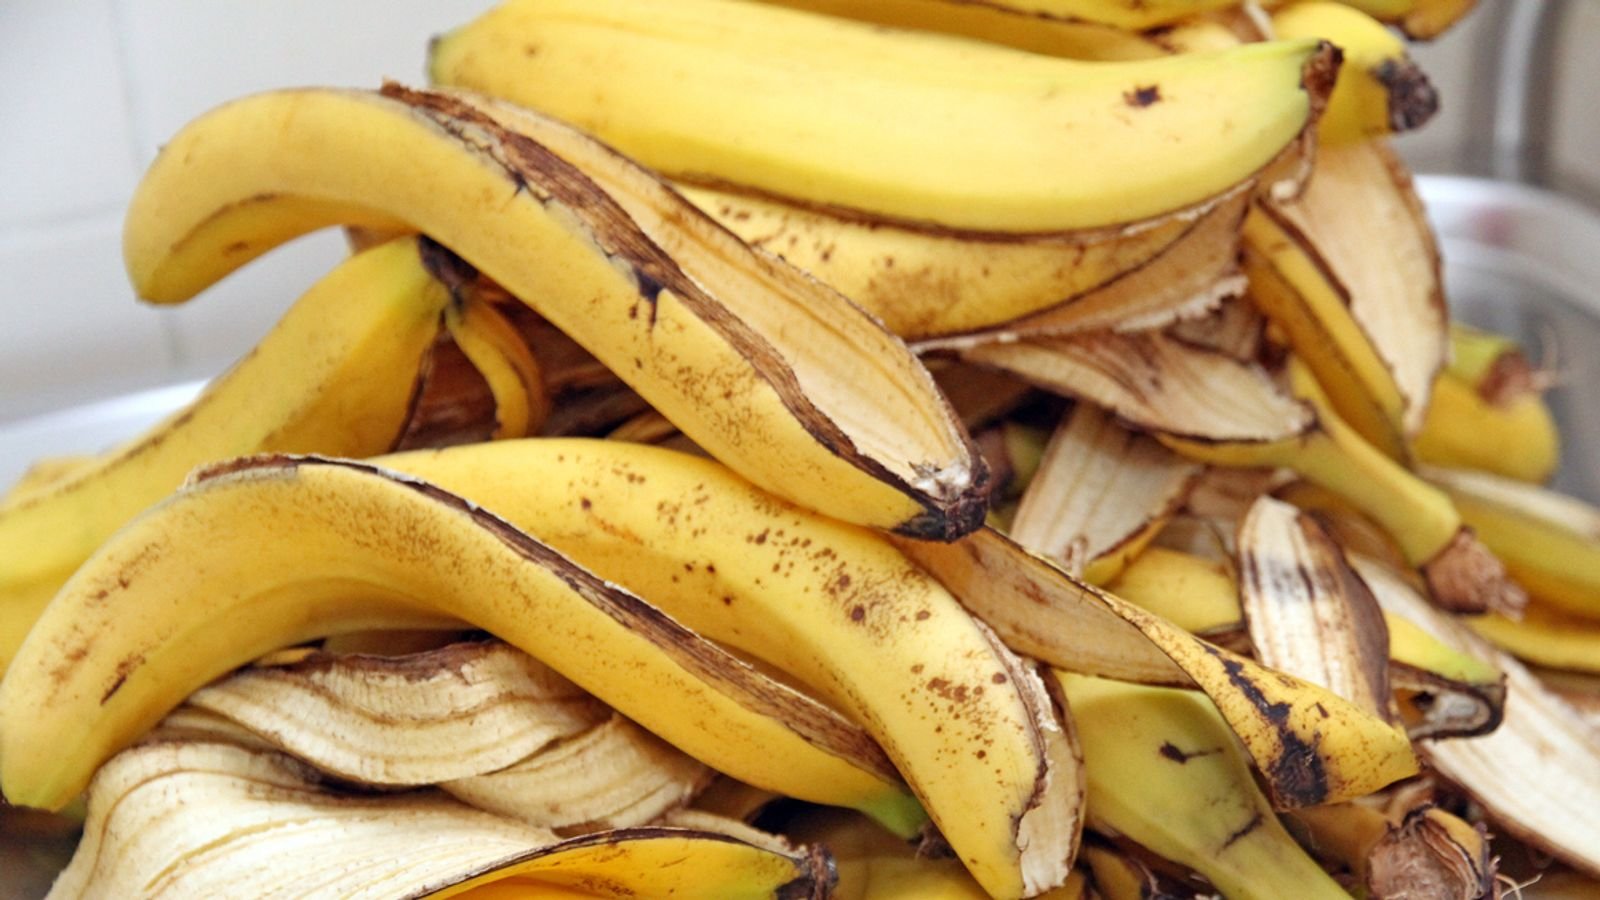
Banana peels are a natural powerhouse packed with nutrients like potassium, phosphorus, and magnesium, all of which promote healthy plant growth. Using banana peels to propagate anthuriums provides the following benefits:
– Improved Root Growth: The potassium and phosphorus in banana peels help encourage strong root development in anthurium cuttings.
– Natural Fertilizer: Banana peels decompose into a rich, nutrient-dense material that feeds the plant as it grows, leading to healthier plants and more vibrant blooms.
– Cost-Effective: Using banana peels for propagation is an inexpensive way to increase the number of anthuriums in your home without purchasing new plants.
How to Propagate Anthuriums Using Banana Peels
Now that we know the benefits, here’s a step-by-step guide on how to propagate anthuriums using banana peels.
Materials Needed:
– A healthy anthurium plant with a strong stem
– A banana peel (preferably organic)
– A sharp knife or scissors
– A small container with water or soil
– Rooting hormone (optional)
– A clear plastic bag or plastic wrap (optional, for humidity control)
Step 1: Cut the Anthurium Stem

To begin, select a healthy, mature stem from your anthurium plant. It should have a few leaves attached and be about 4-6 inches long. Using a sharp knife or scissors, make a clean cut just below a node (the small bump where roots will emerge). This cutting will be the start of your new anthurium plant.
Step 2: Prepare the Banana Peel
Take a fresh banana peel and cut it into small pieces. The peel will serve as a natural rooting medium for your anthurium cutting. The nutrients in the peel will encourage strong root development.
Step 3: Place the Cutting on the Banana Peel
Next, lay the cutting on top of the banana peel pieces, ensuring that the base of the stem is in contact with the peel. If you want to give your cutting an extra boost, you can dip the end of the stem into a bit of rooting hormone before placing it on the peel. Rooting hormone helps stimulate faster and more robust root growth.
Step 4: Create a Humid Environment
To encourage rooting, you’ll need to create a humid environment for the cutting. Place the cutting and banana peel in a small container or pot. If you’re using water, make sure the stem is partially submerged, but avoid submerging the entire cutting. If you prefer soil, bury the base of the cutting in well-draining soil, with the banana peel underneath the cutting.
To maintain humidity, cover the container with a clear plastic bag or plastic wrap, making sure it doesn’t touch the cutting directly. This will help retain moisture and encourage faster root growth.
Step 5: Wait for Roots to Develop
Place your container in a warm, bright location with indirect sunlight. Avoid direct sunlight, as it can overheat the cutting and dry it out. Within a few weeks, you should begin to notice **root development**. You can gently tug on the cutting to check for resistance, which indicates that roots have started to form.
Step 6: Transplant Your New Anthurium
Once the cutting has developed a healthy root system, it’s time to transplant it into a larger pot with fresh, well-draining potting mix. Keep it in a warm, humid environment to help it acclimate to its new home. Continue caring for your anthurium as usual, and in no time, you’ll have a thriving new plant
Care Tips for Your New Anthurium
After propagating your anthurium, it’s important to provide the right care to ensure it thrives:
– Watering: Anthuriums prefer to be kept moist but not soggy. Water the plant when the top inch of soil feels dry, and ensure the pot has proper drainage.
– Light: Anthuriums do best in bright, indirect light. Avoid placing them in direct sunlight, as this can scorch their leaves.
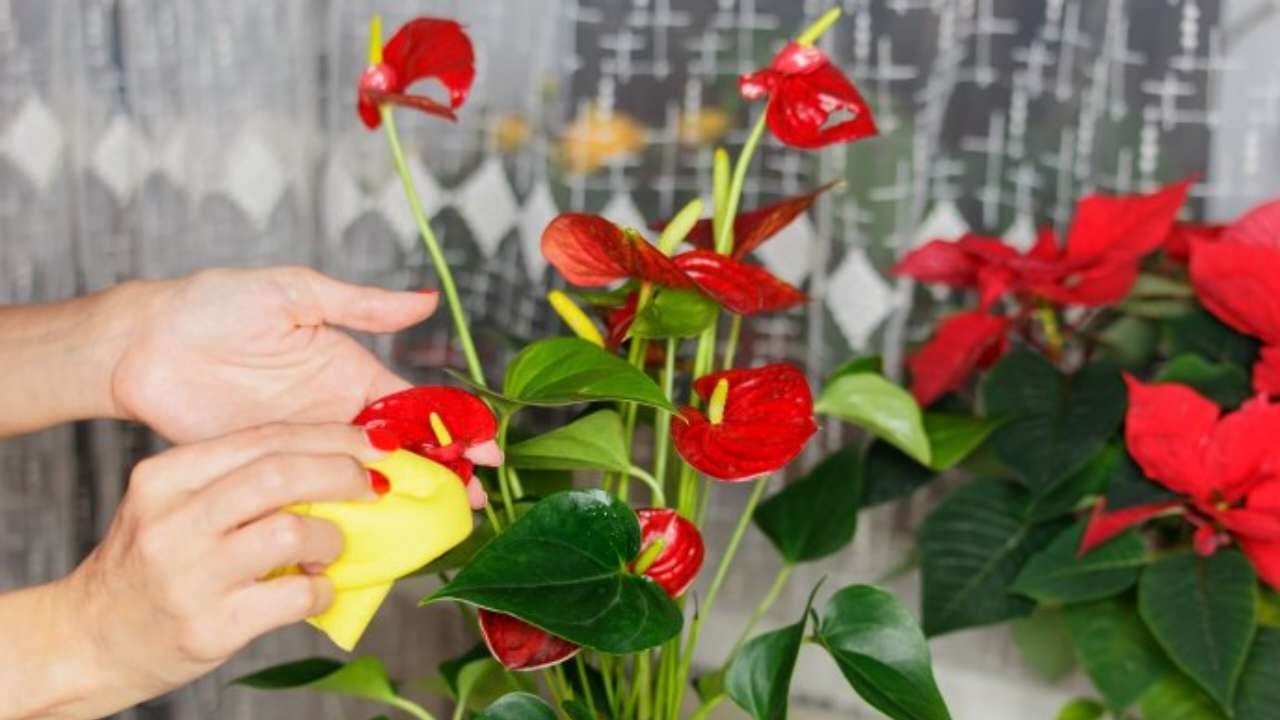
– Humidity: These plants love humidity, so consider using a humidity tray or misting the plant occasionally, especially in dry environments.
– Fertilizing: Feed your anthurium with a balanced, water-soluble fertilizer every 4-6 weeks during the growing season (spring and summer) to promote healthy growth and blooms.
Propagating anthuriums with banana peels is a simple and effective way to boost your flower pots with stunning blooms. Not only is it an environmentally friendly method, but it also encourages healthier, more vibrant plants. By following the easy steps above, you can propagate beautiful anthuriums that will continue to brighten your home for years to come.
Next time you enjoy a banana, don’t toss out the peel—put it to good use and watch your anthuriums thrive Happy gardening 🌱