Composting is one of the most effective ways to reduce household waste, enrich garden soil, and contribute to a more sustainable planet. While traditional composting methods require space and time, vermicomposting—composting with worms—offers a faster, more efficient, and eco-friendly solution. By using red wigglers or other composting worms, you can turn kitchen scraps into nutrient-rich organic fertilizer right from your home.
If you’ve ever wanted to start your own homemade vermicomposter, this step-by-step guide will walk you through the entire process, from choosing the right worms to maintaining a healthy composting system. Whether you live in a small apartment or have a large backyard, vermicomposting is an easy and sustainable practice that benefits both your plants and the environment.
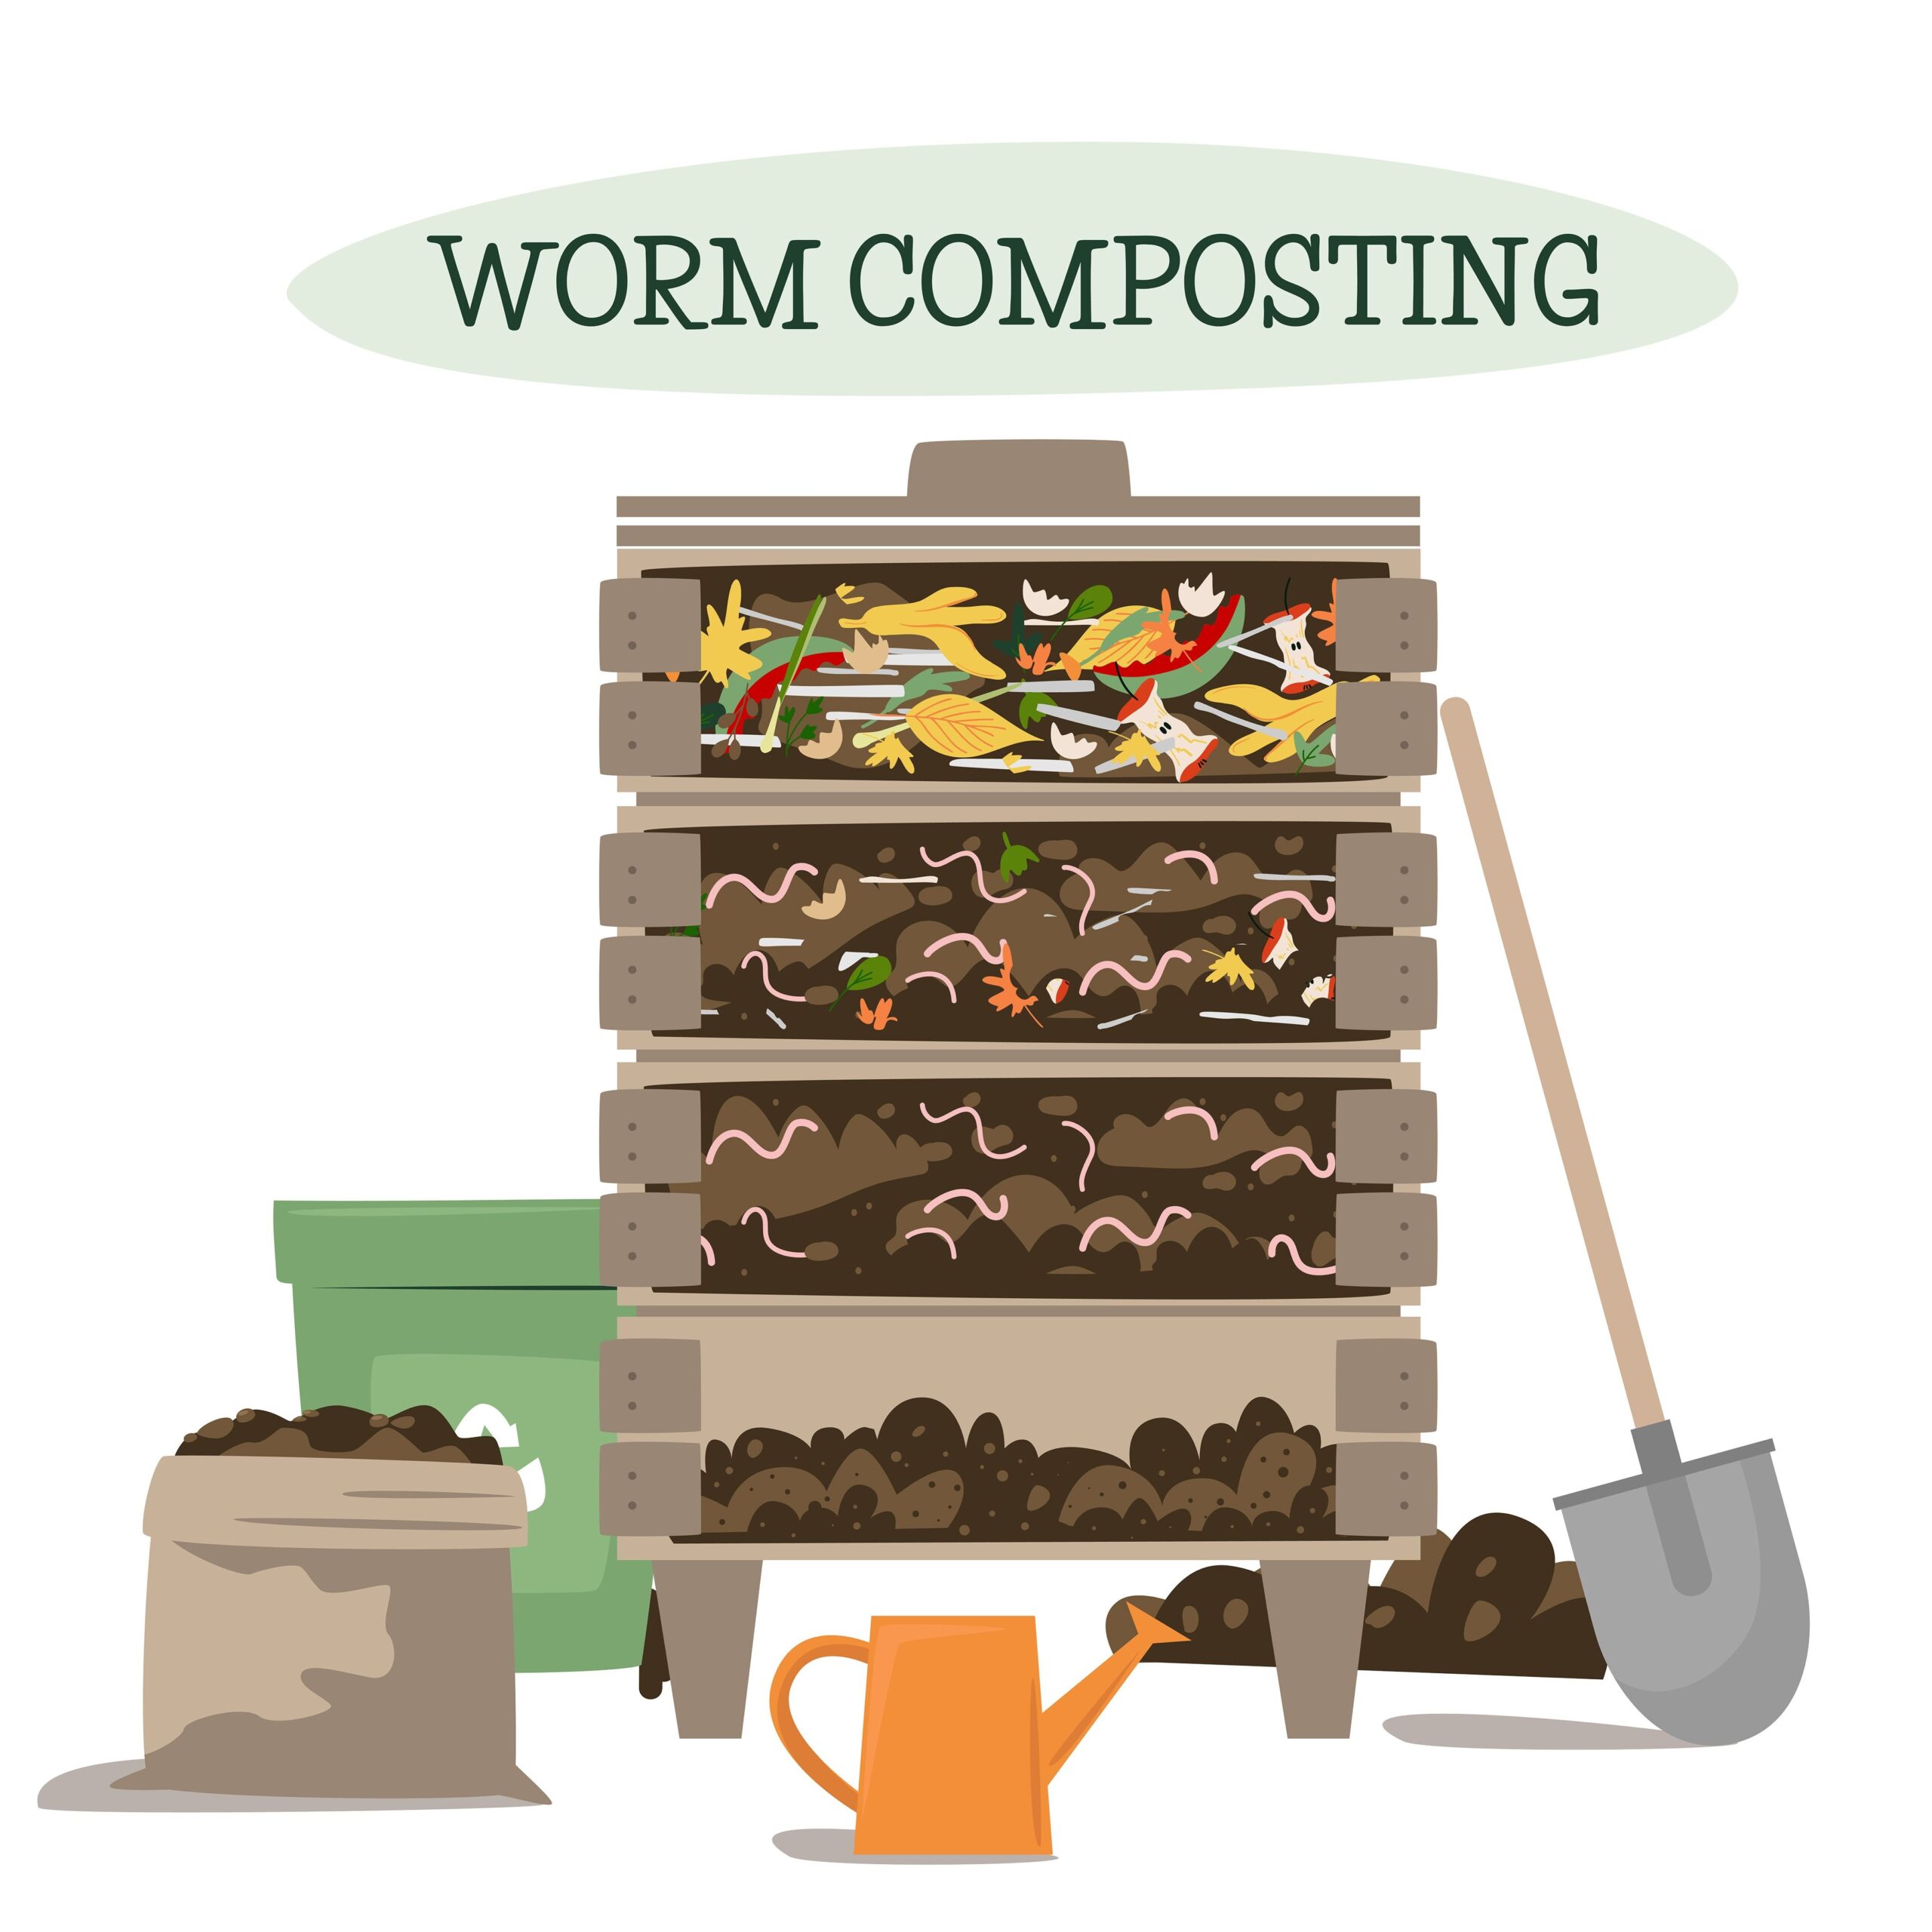
🌱 What is Vermicomposting?
Vermicomposting is a method of composting that relies on worms to break down organic waste into a nutrient-rich fertilizer called worm castings. These castings are packed with beneficial microbes, enzymes, and minerals that enhance soil health and boost plant growth. Unlike traditional composting, vermicomposting produces little to no odor and can be done indoors or outdoors in a small space.
Why Choose Vermicomposting?
Faster decomposition than traditional composting
Odor-free and space-saving, making it ideal for apartments
Produces high-quality organic fertilizer
Reduces kitchen waste and lowers landfill contributions
Improves soil structure and plant health
🛠️ Step 1: Gather Your Materials

Before you begin, you’ll need to assemble the necessary materials to create your vermicomposting system.
Materials You’ll Need:
A Composting Bin
A plastic or wooden bin with a lid (recommended size: 10-20 gallons)
Drill holes for aeration and drainage
Red Wiggler Worms (Eisenia fetida)
These worms are the best for composting due to their fast decomposition rate
Available at gardening stores or online
Bedding Material
Shredded newspaper, cardboard, coconut coir, or dry leaves
Provides a comfortable habitat for worms
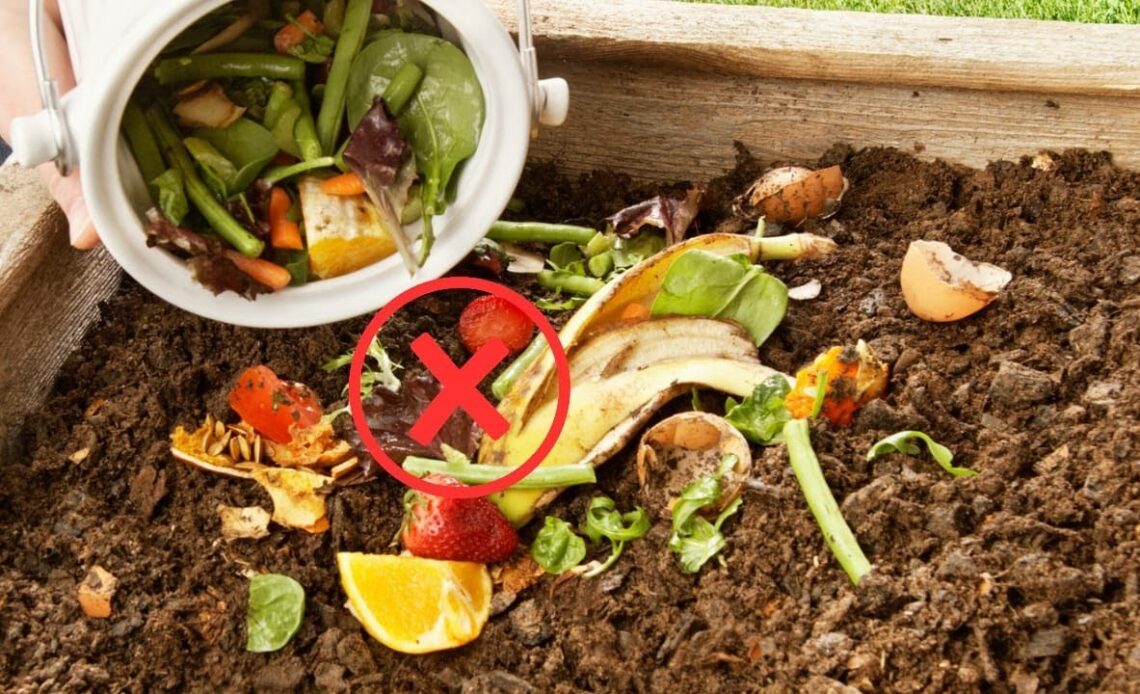
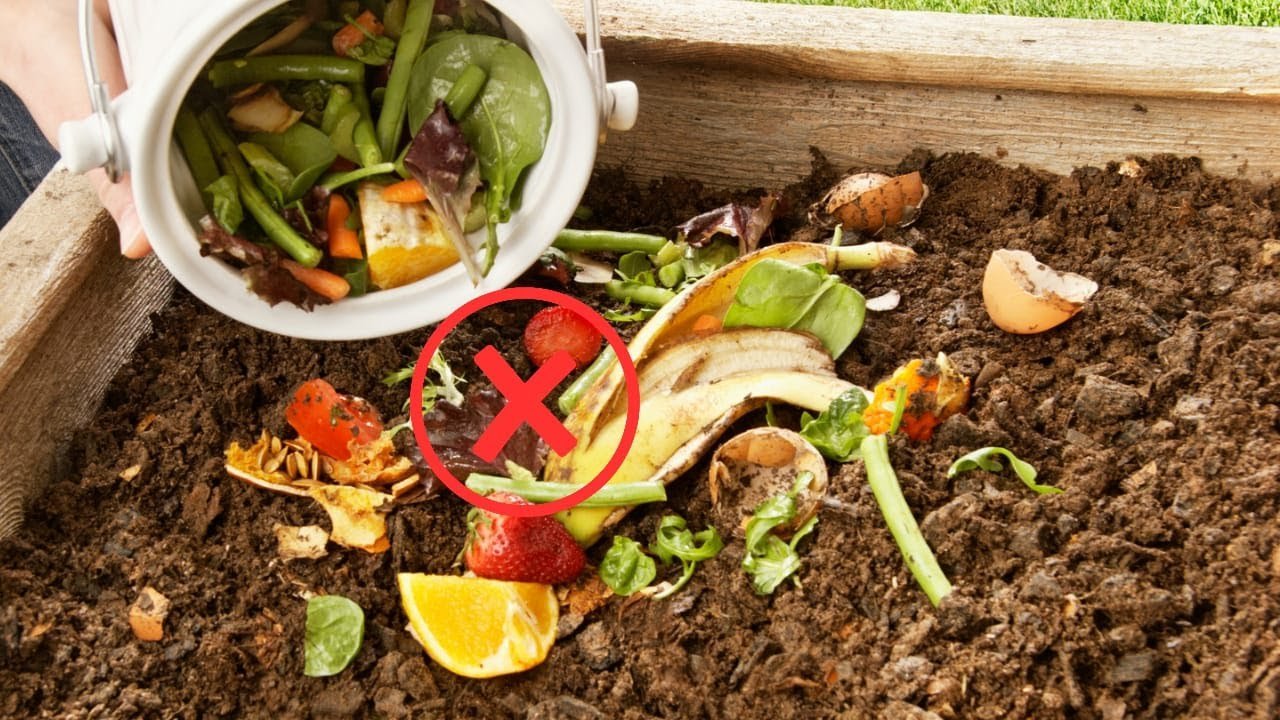
Food Scraps
Vegetable peels, fruit scraps, coffee grounds, eggshells
Avoid meat, dairy, and oily foods
Spray Bottle of Water
To keep bedding moist but not soggy
Step 2: Build Your Vermicomposter
1. Choose the Right Location
Place your bin indoors or outdoors in a shaded, cool area.
Avoid direct sunlight and extreme temperatures.
1. Prepare the Bin
Drill small ventilation holes on the top and sides of the bin for airflow.
Drill drainage holes at the bottom to prevent excess moisture buildup.
Place a tray or extra bin underneath to collect any liquid (worm tea), which can be used as liquid fertilizer.
1. Add Bedding Material
Fill the bin one-third full with shredded newspaper, cardboard, or coconut coir.
Moisten the bedding until it feels like a damp sponge.
1. Introduce the Worms
Add your red wiggler worms to the bedding and let them settle in.
Give them a few hours before adding food scraps.
1. Add Food Scraps
Place small amounts of kitchen waste in one corner of the bin.
Cover with bedding to reduce odor and keep flies away.
Step 3: Maintaining Your Vermicomposter
1. Feeding Your Worms
Feed them once or twice a week with small, chopped-up food scraps.
Avoid citrus, spicy foods, dairy, and meats, as they can harm the worms.
Rotate feeding spots to encourage even composting.
1. Monitoring Moisture Levels
The bedding should stay moist but not wet.
If too dry, mist with water.
If too wet, add more dry bedding like shredded newspaper.
1. Turning the Compost
Gently stir the bedding once a week to aerate and speed up decomposition.
1. Controlling Odor and Pests
A healthy vermicomposter should not smell bad.
If there’s an odor, reduce overfeeding and bury scraps under bedding.
To prevent fruit flies, avoid adding too much fruit at once.
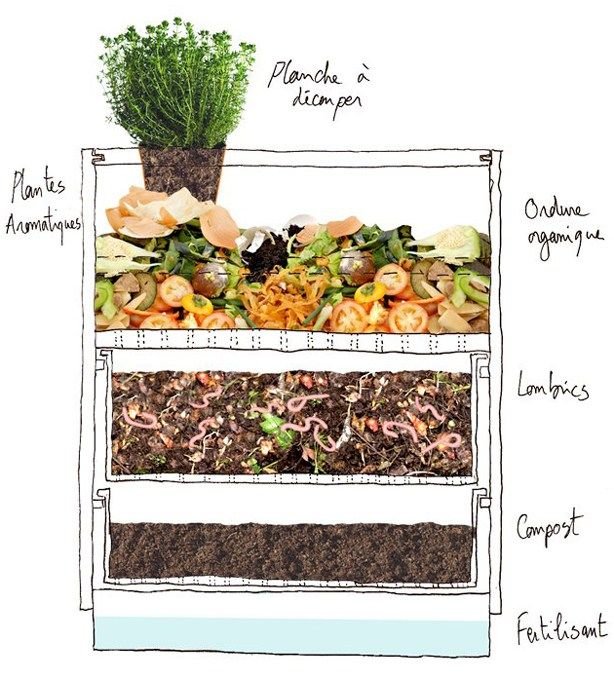
Step 4: Harvesting Worm Castings and Worm Tea
1. When to Harvest
After two to three months, the bottom layer of your bin will contain dark, crumbly worm castings.
This is your nutrient-rich organic fertilizer.
1. Harvesting Methods
Light Method: Dump the contents onto a plastic sheet under bright light. Worms will burrow down, allowing you to collect the compost from the top.
Migration Method: Move finished compost to one side of the bin and place fresh bedding and food on the other. Worms will migrate to the new side, making it easy to collect castings.
1. Using Worm Castings and Worm Tea
Mix worm castings into garden soil to improve plant growth.
Brew worm tea (the liquid collected from the bin) by diluting it with water and using it as a natural fertilizer for houseplants and gardens.
Common Problems and Solutions
ProblemCauseSolutionBad odorOverfeeding, too much moistureReduce food waste, add dry bedding, increase airflowWorms trying to escapeBin is too hot, too wet, or lacks oxygenKeep bin cool, adjust moisture, drill more ventilation holesFruit flies or pestsExposed food scrapsBury food under bedding, avoid excess fruitSlow decompositionNot enough worms, wrong foodAdd more worms, provide proper food scraps
Why Vermicomposting is a Game-Changer for Sustainability
Vermicomposting is one of the easiest and most eco-friendly ways to recycle kitchen waste. By turning food scraps into organic fertilizer, you reduce landfill waste, decrease methane emissions, and improve soil health naturally. Whether you are a beginner or an experienced gardener, maintaining a vermicomposter is a rewarding way to contribute to a greener planet.
Starting a homemade vermicomposting system is simple, cost-effective, and beneficial for both the environment and your plants. With minimal effort, you can produce high-quality compost that enhances soil fertility and supports sustainable gardening practices.
Are you ready to start your own vermicomposter? Follow these steps and enjoy the benefits of natural, organic composting right from your home.