Grafting is one of the most rewarding and effective ways to propagate plants and improve their resilience. Whether you’re a seasoned gardener or a beginner, learning the proper grafting technique can elevate your tree-growing skills and ensure success in your orchard or garden. Grafting allows you to combine the best traits of two plants: the rootstock (which determines size, disease resistance, and hardiness) and the scion (the top portion, which brings fruiting characteristics). In this article, we will cover the best practices for grafting trees, from preparation to post-grafting care, to ensure efficiency and accuracy.
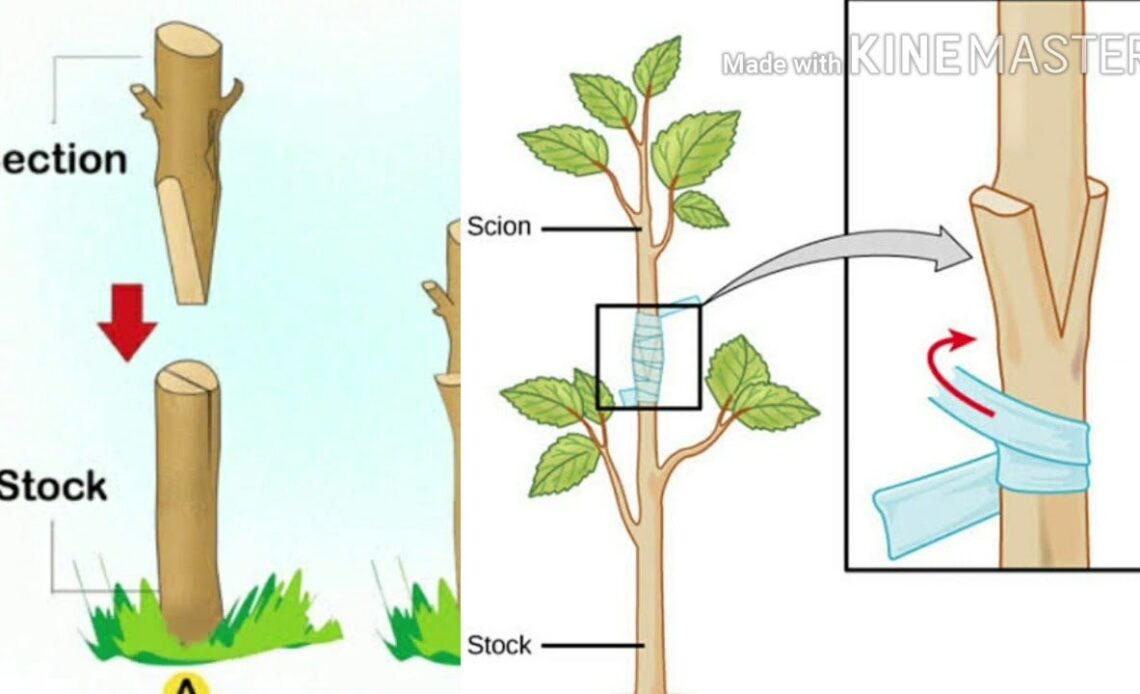
**What Is Grafting?** Grafting involves joining a piece of a tree (called the **scion**) to the rootstock of another tree. The rootstock provides the root system, while the scion contributes the desired characteristics, such as fruit variety, flower color, or disease resistance. Successful grafting creates a strong connection between the two, allowing the tree to grow as one.
**Step-by-Step Grafting Process:**

### **1. Choose the Right Time and Materials:**
– **Ideal Season:** The best time to graft trees is typically during the dormant season, either late winter or early spring, just before the tree begins to bud. This allows the grafts to heal properly before the growing season starts.
– **Select Scion and Rootstock:** Choose a healthy rootstock and scion from the same species, or compatible varieties, to ensure successful grafting. For example, you can graft apple scions onto rootstocks of various apple species.
### **2. Prepare the Grafting Tools:**
You’ll need:
– **Sharp knife or pruning shears** to make clean cuts.
– **Grafting tape or plastic strips** to bind the scion and rootstock together.
– **Grafting wax or sealing compound** to protect the graft from drying out.
– **A grafting rubber band or ties** to hold the scion in place.
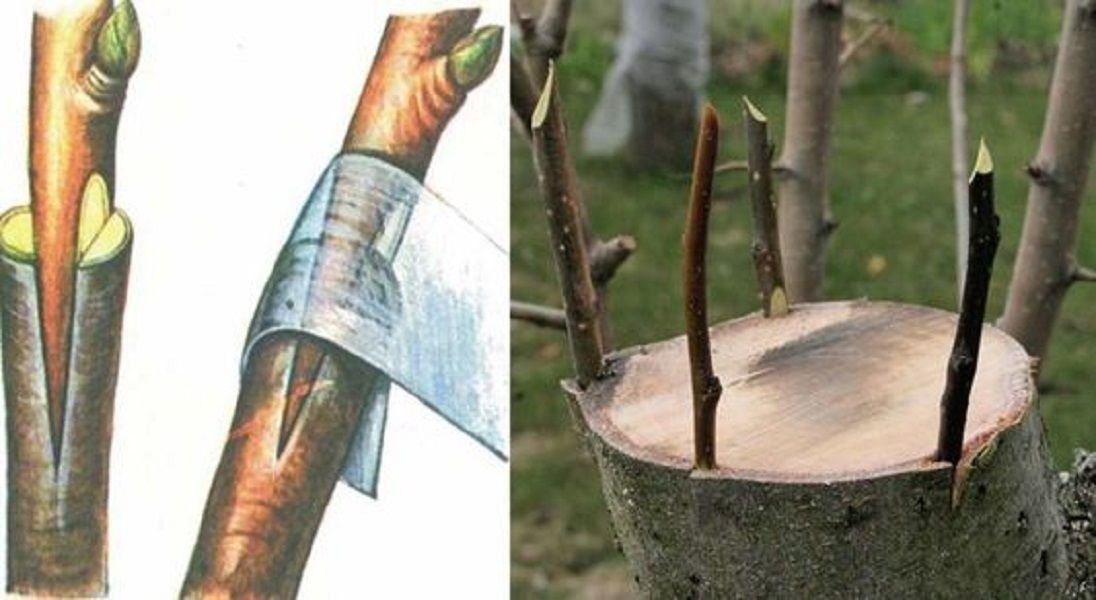
### **3. Make the Cuts:**
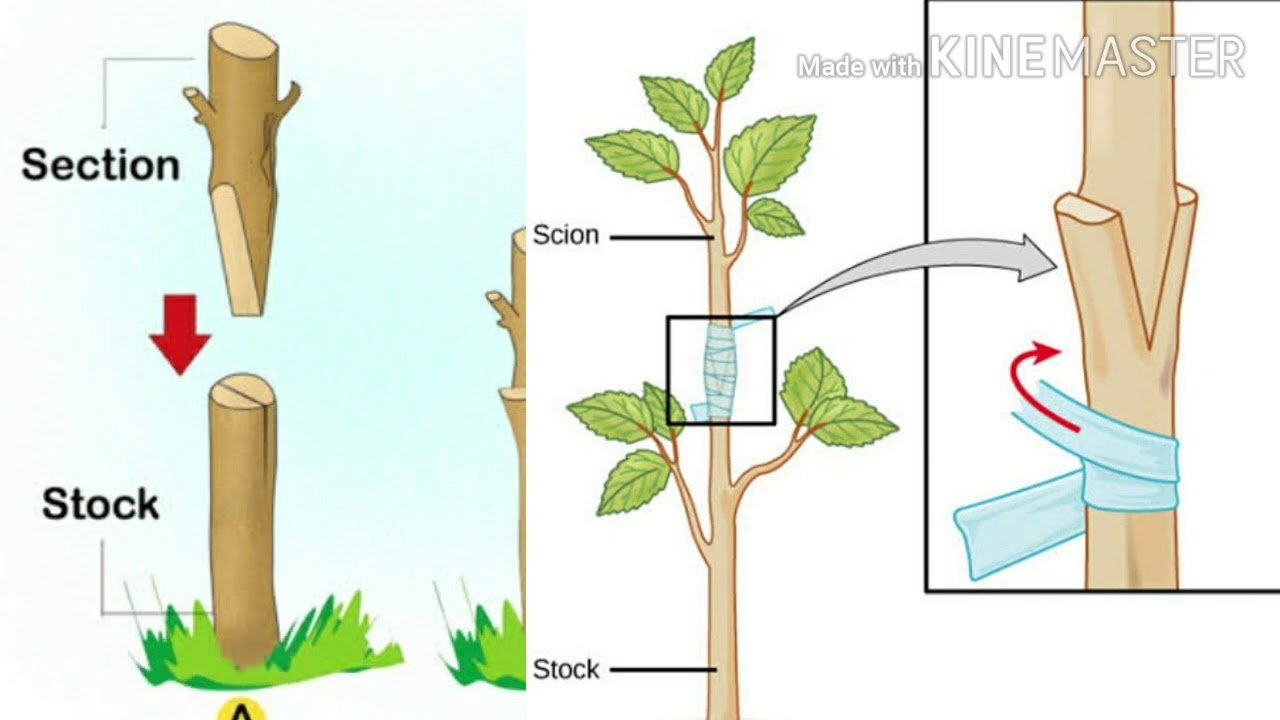
The two main grafting techniques are **whip-and-tongue grafting** (shown in the image) and **cleft grafting**. For **whip-and-tongue grafting**, follow these steps:
– **Prepare the Scion and Rootstock:** First, make a **diagonal cut** on both the rootstock and scion. The cut should be made with precision, ensuring the surface is smooth and even. Then, make a small tongue-like cut on both pieces so they interlock easily. This will create a tight union between the scion and rootstock.
**Illustrated Step-by-Step**:
– **Step A**: Make a slanted cut on the rootstock, creating a clean diagonal section.
– **Step B**: Similarly, cut the scion at the same angle to ensure both pieces fit snugly.
– **Step C**: Add a tongue cut to both the scion and rootstock. This allows the two pieces to lock together securely.
– **Step D**: Bind the two pieces tightly with grafting tape or a similar material to ensure the graft holds in place.
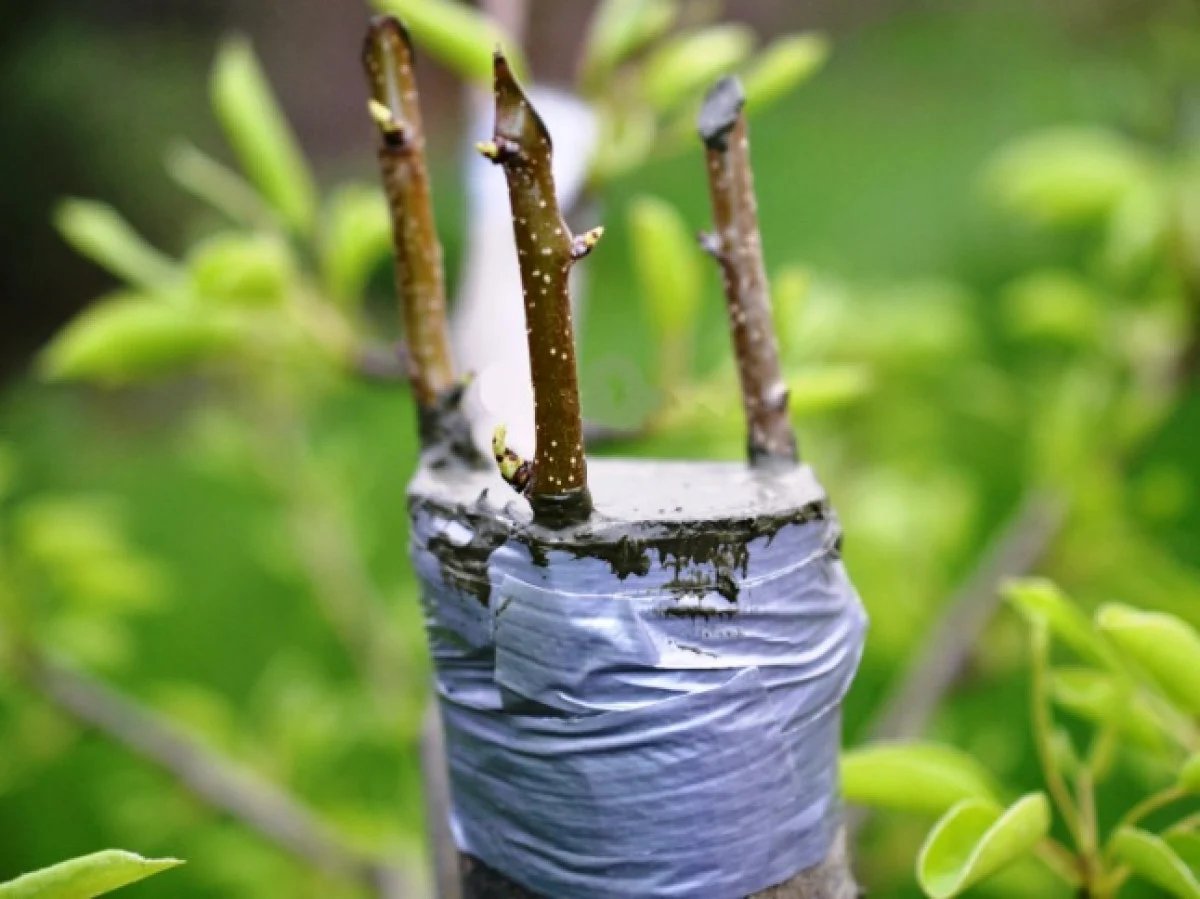
### **4. Seal and Protect the Graft:**
After securing the scion to the rootstock, you need to protect the graft from drying out. Apply grafting wax or sealing compound to the cut areas to form a protective barrier. This will prevent moisture loss and allow the graft to heal without interference from the elements.
### **5. Post-Grafting Care:**
– **Watering:** Ensure the grafted tree is well-watered, as both the rootstock and scion will need ample hydration to thrive.
– **Sunlight and Temperature:** Keep the grafted tree in a location with indirect sunlight, ensuring it doesn’t get too hot or cold, which can stress the graft.
– **Check for Growth:** After a few weeks, check to ensure that the graft has healed and is growing well. Look for signs of new shoots or growth from the scion.
### **6. Remove Grafting Tape:**
After about 4 to 6 weeks, once the graft is established and the union has started to heal, remove the grafting tape carefully. Be cautious not to damage the new growth as you remove the wrapping.
**Why Grafting Is Beneficial:**
– **Faster Fruit Production:** Grafted trees often begin fruiting earlier than those grown from seeds, giving you quicker results.
– **Improved Disease Resistance:** Grafting allows you to combine disease-resistant rootstock with high-yielding or high-quality scions.
– **Increased Variety:** Through grafting, you can experiment with different fruit or flower varieties on a single tree. This is especially useful for home orchards where space is limited.
**Common Grafting Problems and How to Avoid Them:**
– **Misaligned Grafts:** Ensure that both the scion and rootstock are aligned properly, with the cambium layers (the green layer under the bark) touching. Misalignment can lead to failure in grafting.
– **Improper Sealing:** Always seal the graft well to protect it from moisture loss and infection.
– **Incorrect Timing:** Grafting during the wrong season can result in a poor connection. Aim for early spring when both the scion and rootstock are actively growing.
Grafting trees is an excellent way to enhance the health and productivity of your plants while experimenting with different varieties. By following the best practices for grafting, you can improve your gardening skills, create new and exciting trees, and ensure a thriving garden or orchard. Whether you’re grafting for fruit production, disease resistance, or aesthetic appeal, mastering grafting techniques will pay off in the long term.