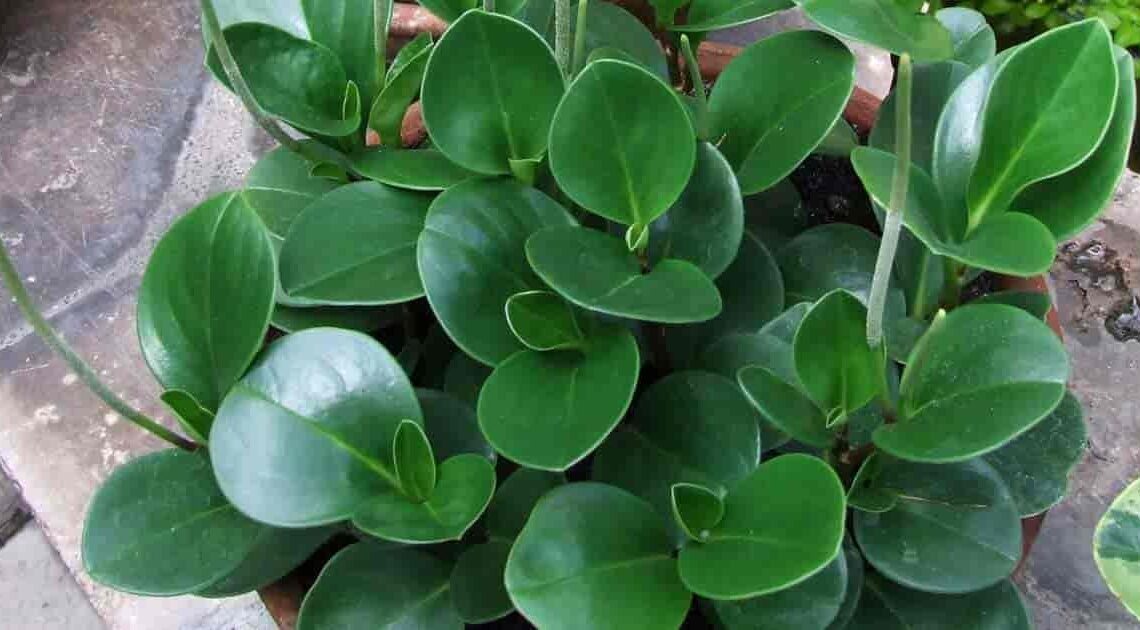
If you’re looking to add a touch of greenery to your home or office, the **American Rubber Plant** (Ficus elastica) is an excellent choice. Known for its glossy, large leaves and easy-care nature, this plant makes a perfect addition to any indoor garden. Whether you’re a seasoned gardener or a beginner, growing a rubber plant can be a rewarding experience.

In this comprehensive guide, we’ll walk you through the steps to **successfully grow an American Rubber Plant**, from choosing the right spot to proper care techniques. Let’s dive into the steps to master the art of growing this beautiful and resilient houseplant
### Why Choose an American Rubber Plant?
Before we get started with the planting process, it’s worth understanding why the American Rubber Plant is such a popular choice among plant enthusiasts. Here are a few reasons why:
– **Low Maintenance**: The rubber plant is an easy-to-care-for houseplant, making it ideal for beginners.
– **Air Purifying**: It’s known to purify the air by removing toxins, making it perfect for your living room or office.
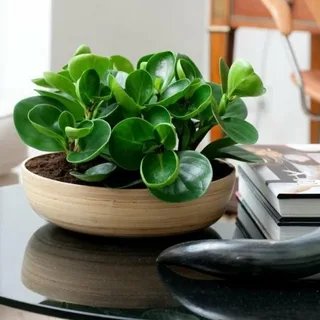
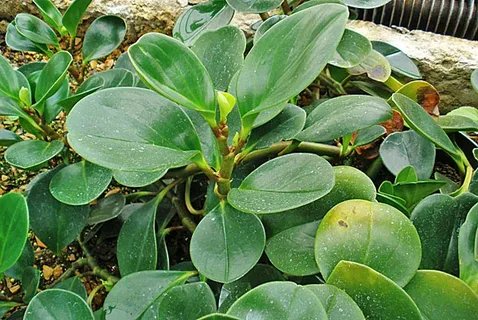
– **Aesthetic Appeal**: Its large, shiny green leaves add elegance and beauty to any space.
– **Growth**: It can grow tall, which makes it a great statement piece in a room.
### Materials You’ll Need
Before planting your American Rubber Plant, gather the following materials:
– **A healthy rubber plant cutting** or a small rubber plant from a nursery
– **A well-draining pot** with drainage holes
– **Potting soil** (preferably one that is slightly acidic, such as a mix designed for houseplants)
– **Water** (room temperature)
– **Fertilizer** (a balanced liquid houseplant fertilizer)
– **Pruning shears** (for occasional trimming)
– **Plastic wrap** (optional for propagation)
### Step 1: Choose the Right Location
The first step to growing a healthy rubber plant is selecting the right location. Rubber plants thrive in areas with **bright, indirect light**. Here’s what to keep in mind:
– **Indirect Sunlight**: Place the plant near a window that receives filtered light. Direct sunlight can burn the leaves and stunt growth, so ensure it’s shielded from harsh rays.
– **Temperature**: Rubber plants prefer temperatures between **60°F and 75°F (15°C to 24°C)**. Avoid placing the plant near drafts, air conditioners, or heaters.
– **Humidity**: This plant loves a humid environment. If the air in your home is dry, especially during the winter months, consider using a **humidifier** or placing the plant in a more naturally humid spot, such as the bathroom.
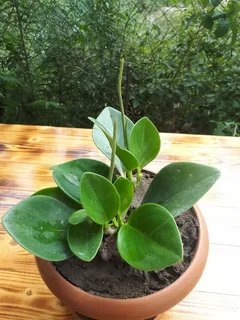
### Step 2: Planting Your Rubber Plant
Whether you’re starting from a cutting or a small plant, it’s important to use a well-draining pot with proper soil.
– **Choose the Right Pot**: Make sure the pot you choose has drainage holes. This allows excess water to escape, preventing root rot.
– **Potting Soil**: Use a well-draining, slightly acidic potting mix. A standard houseplant mix with some added perlite or sand for drainage works well.
– **Planting**: Fill the bottom of the pot with a layer of soil. Place the rubber plant into the pot and fill around the sides with soil. Gently press the soil down to eliminate air pockets, but avoid compacting it too tightly. Leave about an inch of space from the top of the pot to make watering easier.
### Step 3: Watering and Humidity
Rubber plants prefer to stay **moderately moist**, but it’s crucial not to overwater them.
– **Watering**: Water your rubber plant when the top 1-2 inches of soil feel dry to the touch. During the growing season (spring and summer), this might mean watering once a week. In the fall and winter, reduce watering to every two weeks since the plant’s growth slows down.
– **Avoid Overwatering**: Overwatering can cause root rot. Ensure the pot has proper drainage and that you’re not leaving the plant sitting in water.
– **Humidity**: Rubber plants love humidity, so if the air is dry in your home, consider misting the leaves with water or placing the plant on a humidity tray (a shallow tray filled with water and pebbles). Alternatively, a **humidifier** works wonders.
### Step 4: Fertilizing
Fertilizing is essential to encourage healthy growth. Feed your rubber plant with a balanced, liquid houseplant fertilizer once a month during the growing season (spring and summer). Reduce feeding in the fall and winter when the plant’s growth slows.
### Step 5: Pruning and Shaping
Occasionally, you’ll need to prune your rubber plant to maintain its shape and encourage new growth.
– **Pruning**: Use clean pruning shears to cut back any leggy growth or dead leaves. You can also cut the top of the plant to encourage lateral growth and a bushier appearance.
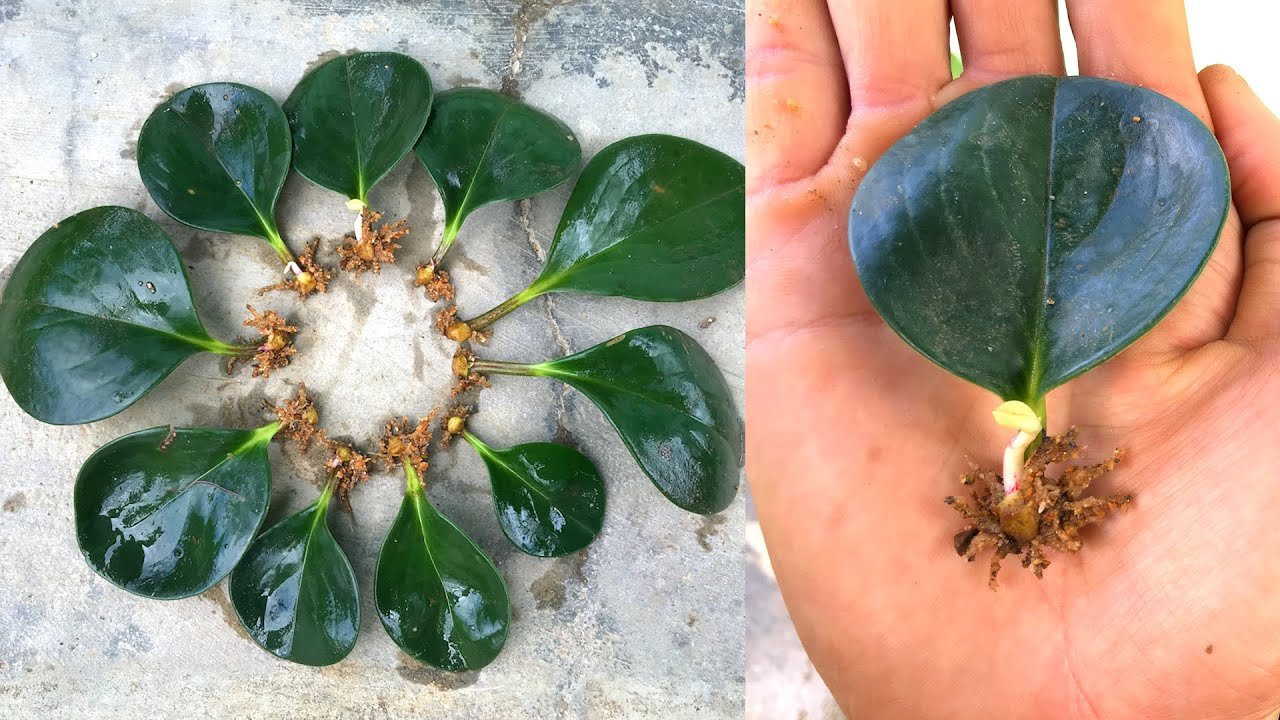
– **Propagation**: If you want to propagate your rubber plant, take a healthy cutting with a few leaves. Place the cutting in water until roots begin to develop, then transfer it to soil once it’s established. You can also propagate by air layering if you want a faster root system.
### Step 6: Repotting
As your rubber plant grows, it may outgrow its current pot. Repot the plant every **1-2 years** to give its roots more space to grow.
– **Choose a Larger Pot**: When repotting, select a new pot that’s 1-2 inches larger in diameter than the current one.
– **Replanting**: Gently remove the plant from its current pot, loosen the roots, and place it in the new pot with fresh potting soil. Water thoroughly after repotting.
### Step 7: Troubleshooting Common Issues
While rubber plants are generally low-maintenance, they can sometimes face a few challenges. Here’s how to troubleshoot common issues:
– **Yellowing Leaves**: This may be a sign of overwatering or a lack of nutrients. Check the soil for moisture and avoid letting the plant sit in water.
– **Brown Tips**: Brown tips are often a result of low humidity or inconsistent watering. Ensure the plant is getting enough moisture and humidity.
– **Leaf Drop**: If your rubber plant is losing leaves, it may be experiencing stress from changes in temperature, light, or watering patterns. Ensure the plant is in a stable environment.
With the right care, your **American Rubber Plant** will thrive and become a stunning addition to your home. By following this step-by-step guide, you’ll be well on your way to mastering the art of growing a healthy and beautiful rubber plant. Remember to provide proper light, humidity, watering, and occasional pruning to keep your plant happy and thriving for years to come
Happy gardening