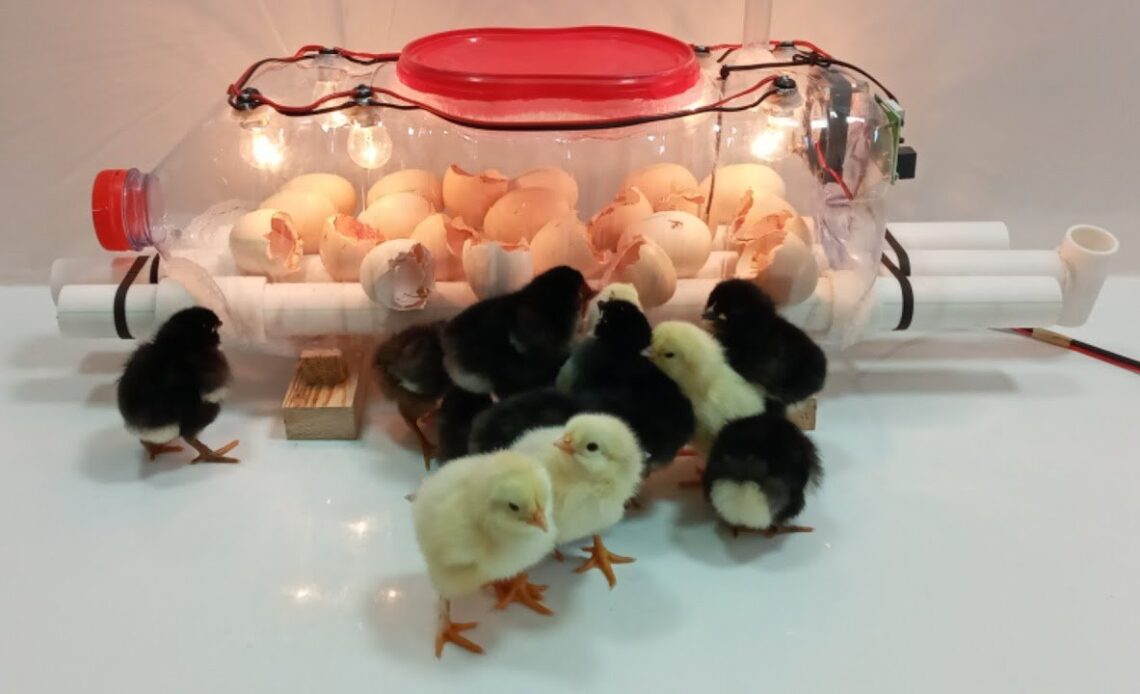
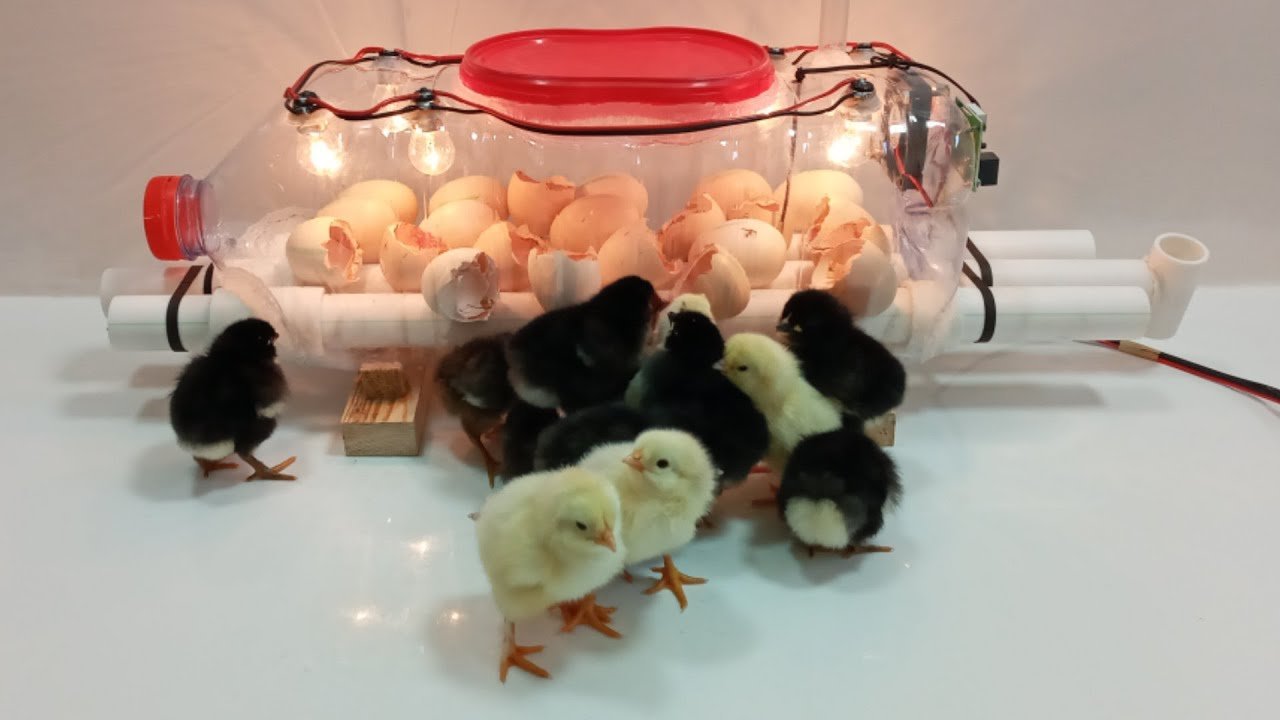
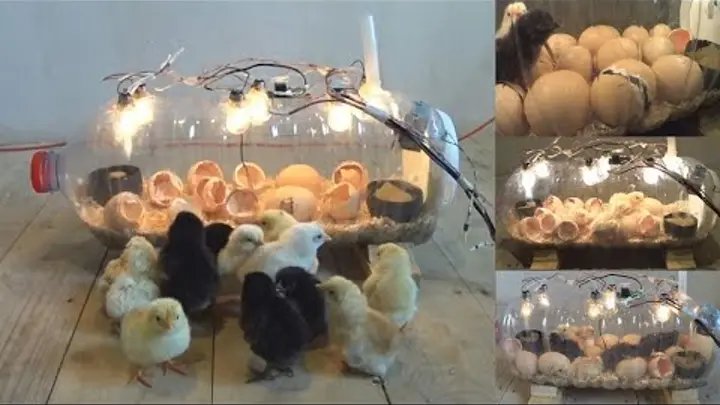
Are you interested in hatching eggs at home but don’t want to spend a lot of money on a commercial incubator? Building a **homemade egg incubator** can be a fun and cost-effective way to start incubating eggs right in your own space. One of the easiest ways to create an incubator is by using a simple **water bottle**, which can help maintain the right temperature and humidity levels for successful hatching. In this guide, we’ll walk you through the steps to build a **DIY egg incubator** using a water bottle, saving you both time and money while still giving you great results.
### Why Build a Homemade Egg Incubator?
Building your own egg incubator offers several benefits:
– **Cost-Effective**: You can build your own incubator using inexpensive materials you likely already have at home.
– **Control Over Conditions**: With your homemade incubator, you have full control over the temperature, humidity, and ventilation, which are essential for successful egg hatching.
– **Customizable**: You can adjust your incubator to suit different types of eggs, whether you’re incubating chicken, duck, or quail eggs.
By using a **water bottle** as the main component, you can easily create a system that helps regulate temperature and maintain humidity, mimicking the conditions of a professional incubator.
### Materials Needed to Build a Water Bottle Egg Incubator
Before you start, gather the following materials:
– **Plastic Water Bottle** (2-liter or larger)
– **Styrofoam box or cooler** (this will serve as the main body of the incubator)
– **Incandescent Light Bulb** (25-40 watts)
– **Thermometer and Hygrometer** (to monitor temperature and humidity)
– **Small Fan** (optional, to help circulate air)
– **Wires or Tape** (to secure the light bulb and fan)
– **PVC Pipes or Wooden Dowels** (for holding the eggs)
– **Water for Humidity** (in a shallow dish or sponge)
– **Duct Tape** (to seal gaps and hold components together)
### Step-by-Step Guide to Build a Homemade Egg Incubator with a Water Bottle
**Step 1: Prepare the Plastic Water Bottle**
Start by taking the plastic water bottle and **cutting it open** at the top. This will allow you to fill the bottle with water later, which will be used to help regulate the humidity inside your incubator.
Once the top is cut off, fill the water bottle with **warm water** (not boiling). Seal the bottle back up tightly, ensuring there are no leaks. This water bottle will act as a **heat buffer**, absorbing and releasing heat to maintain a stable temperature.
**Step 2: Create the Incubator Box**
Take your **styrofoam box** or **cooler**, which will serve as the body of the incubator. This will help insulate the heat and maintain a stable temperature inside.
– **Cut Holes for Ventilation**: Use a sharp knife to create small ventilation holes on the sides of the box. This will allow for airflow, ensuring that oxygen circulates while also preventing excessive humidity buildup.
– **Install a Light Bulb**: Secure the **incandescent light bulb** inside the box. Use a light bulb holder or wires to attach the bulb safely to the lid or side of the incubator. The bulb will provide the heat needed for the eggs to incubate.
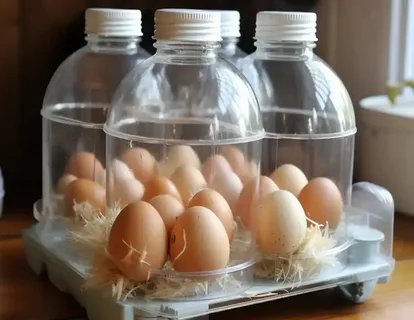
**Step 3: Install the Water Bottle**
Place the **water bottle** at the bottom of the incubator box. This bottle will serve as a heat reservoir, releasing warmth gradually to help maintain the optimal temperature for egg hatching.
– **Position the Bottle**: Make sure the bottle is standing upright in the center of the box to maximize its heat distribution.
– **Test the Bottle**: Before adding eggs, test the water bottle’s ability to regulate heat. Make sure that it doesn’t get too hot or too cold. Adjust the light bulb’s position if necessary to achieve a stable temperature.
**Step 4: Add a Fan for Air Circulation (Optional)**
If you want to increase the efficiency of your incubator, you can add a small **fan** inside the box to help circulate the air. This will prevent the formation of hot spots and ensure that the temperature is evenly distributed throughout the incubator.
– **Mount the Fan**: Position the fan at the top of the box, aiming it to circulate the air downwards. Use tape or wires to secure the fan in place.
**Step 5: Set Up the Egg Holder**
To hold the eggs in place, use **PVC pipes** or **wooden dowels**. Arrange these across the inside of the incubator to create small, horizontal shelves where the eggs can rest.
– **Egg Positioning**: Place the eggs with the pointed end down on the shelves. This ensures proper alignment for embryo development.
**Step 6: Monitor Temperature and Humidity**
– **Temperature**: Use a **thermometer** to monitor the internal temperature of the incubator. The ideal temperature for hatching chicken eggs is **99.5°F (37.5°C)**. Adjust the light bulb or water bottle to achieve this temperature.
– **Humidity**: Place a **small dish of water** or a damp sponge inside the incubator to maintain proper humidity levels. A **hygrometer** will help you monitor the humidity. Aim for about **50-55% humidity** during incubation and **65-70%** during the hatching period.
**Step 7: Seal the Incubator**
Once everything is in place, close the incubator’s lid and use **duct tape** to seal any gaps or cracks. This will help maintain a stable environment inside the box.
### Step 8: Incubate the Eggs
Now that your homemade egg incubator is set up, it’s time to incubate the eggs Place your fertilized eggs carefully in the incubator and monitor them daily. Rotate the eggs **3 times a day** to ensure that the embryos develop properly.
### Final Tips for Success
– **Monitor Regularly**: Check the temperature and humidity daily to make sure the conditions are optimal.
– **Don’t Overcrowd**: Make sure there is enough space for the eggs to be properly ventilated.
– **Wait for the Hatch**: Depending on the type of egg, the incubation period can vary. For chicken eggs, it typically takes about **21 days** for the eggs to hatch.
Building a homemade egg incubator with a water bottle is an affordable and effective way to incubate eggs right at home. With a little creativity and basic materials, you can create a simple incubator that maintains the right temperature and humidity levels for a successful hatch. Whether you’re hatching chicken, duck, or other types of eggs, this DIY incubator will provide the ideal conditions for your eggs to thrive.
Don’t forget to check out the **full guide in the first comment** for more detailed instructions and troubleshooting tips 🐣🐤🐥 Happy hatching