Have you ever purchased a pack of juicy, sweet blueberries from the store and wondered if you could grow your own plants from those very berries? Well, you’re in luck Growing blueberries from store-bought berries is possible, and it’s easier than you might think. While it may take some patience and attention, you can turn your grocery store blueberries into thriving blueberry plants that will reward you with fresh fruit right in your own garden.
In this step-by-step guide, we’ll show you how to grow blueberries from seeds taken from store-bought berries. Whether you’re a beginner gardener or looking for a fun DIY project, this process will teach you how to extract the seeds, prepare them for planting, and care for your growing blueberry plants. Plus, you’ll be helping the environment by reusing your fruit scraps and giving them a new life in your garden
### Why Grow Blueberries from Store-Bought Berries?
Before we dive into the process, you might be asking yourself, “Why should I grow blueberries from store-bought berries?” Here are a few reasons why this is a great idea:
1. **Cost-Effective**: Blueberries can be expensive, especially if you buy them regularly. Growing your own blueberries means you won’t have to spend money at the store.
2. **Sustainability**: Growing blueberries at home is an environmentally friendly practice. Instead of discarding seeds from store-bought berries, you’re giving them a second life and reducing food waste.
3. **Fresh, Homegrown Berries**: There’s nothing quite like the taste of fresh, homegrown blueberries By growing your own plants, you’ll have easy access to delicious fruit at your fingertips.
4. **Educational and Fun**: Growing blueberries from seeds is a fantastic learning experience for both beginner and seasoned gardeners. It teaches patience, care, and the basics of plant propagation.
Now that we’ve established why it’s worth growing blueberries from store-bought berries, let’s explore how to do it
### Materials Needed
Before you start growing blueberries from store-bought berries, make sure you have the following materials:
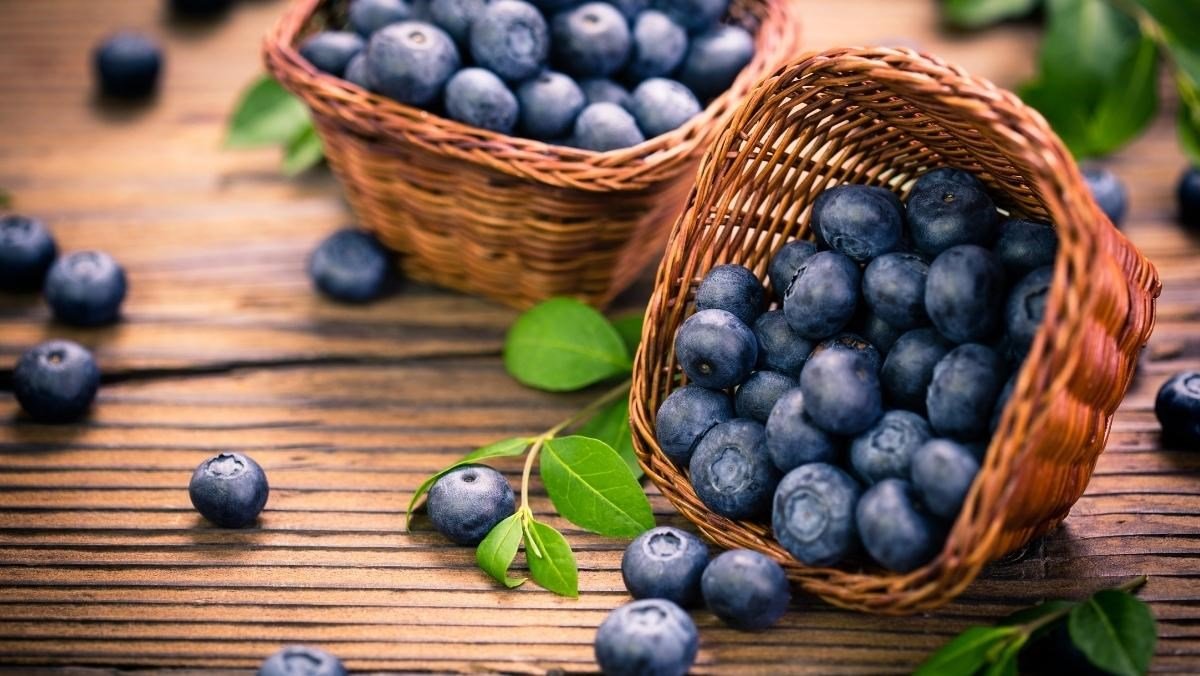
1. **Store-Bought Blueberries**: Choose ripe, organic blueberries with healthy, undamaged seeds. The best blueberries for growing are often the largest, most vibrant ones.
2. **A Small Knife or Scissors**: To cut open the blueberries and extract the seeds.
3. **Water**: To clean and separate the seeds.
4. **Paper Towels or Napkins**: For drying the seeds after cleaning.
5. **Plastic Containers or Small Pots**: To plant your blueberry seeds in.
6. **High-Quality Potting Mix**: A well-draining potting mix is essential for seed germination.
7. **Plastic Wrap or a Humidity Dome**: To maintain humidity and help with seed germination.
8. **Grow Light (Optional)**: If you don’t have access to sufficient natural light, grow lights can be used to ensure your seeds receive the light they need.
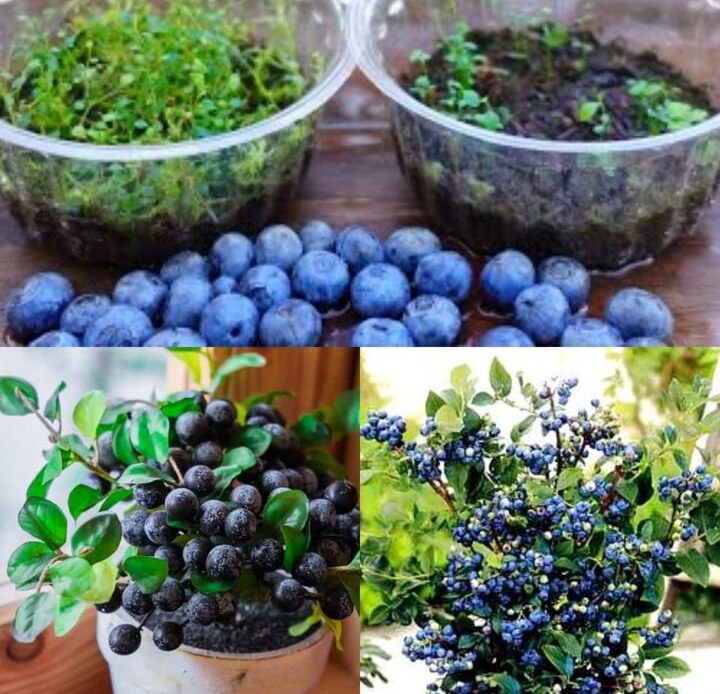
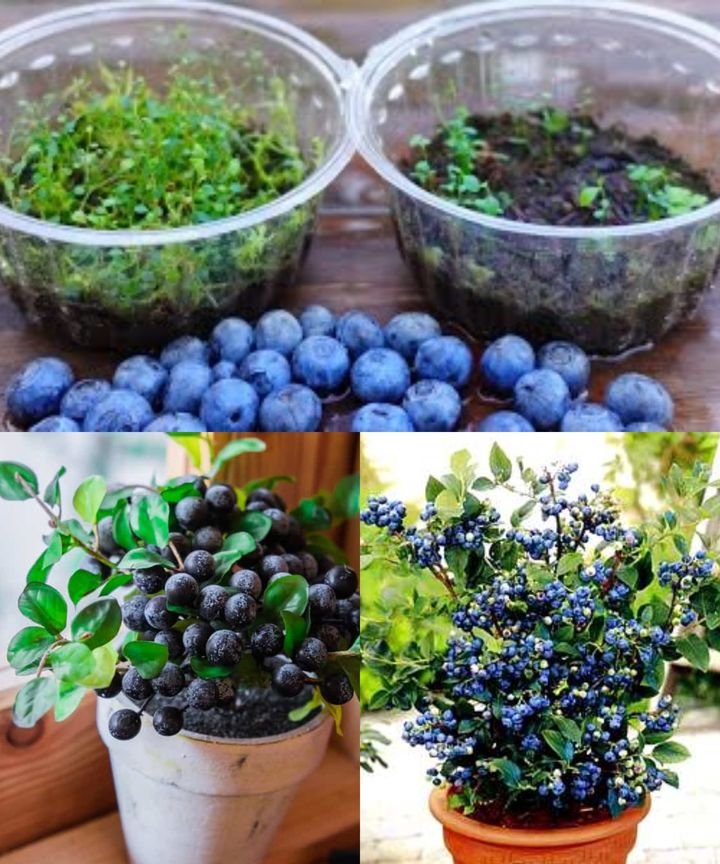
### Method 1: Seed Extraction with Pulp 🫐
If you prefer to extract seeds from your store-bought blueberries, the first step is to prepare the berries and extract the seeds properly. This method is simple and effective and will ensure that you have clean seeds ready for planting.
#### Step 1: Selecting the Best Blueberries
Choose the **largest, healthiest blueberries** you can find. Look for berries that are **firm**, **plump**, and free from mold or damage. Larger berries typically contain better seeds, and healthy berries are more likely to produce viable seeds for planting.
#### Step 2: Extracting the Seeds from Blueberries
Once you have your blueberries, it’s time to extract the seeds. Follow these steps:
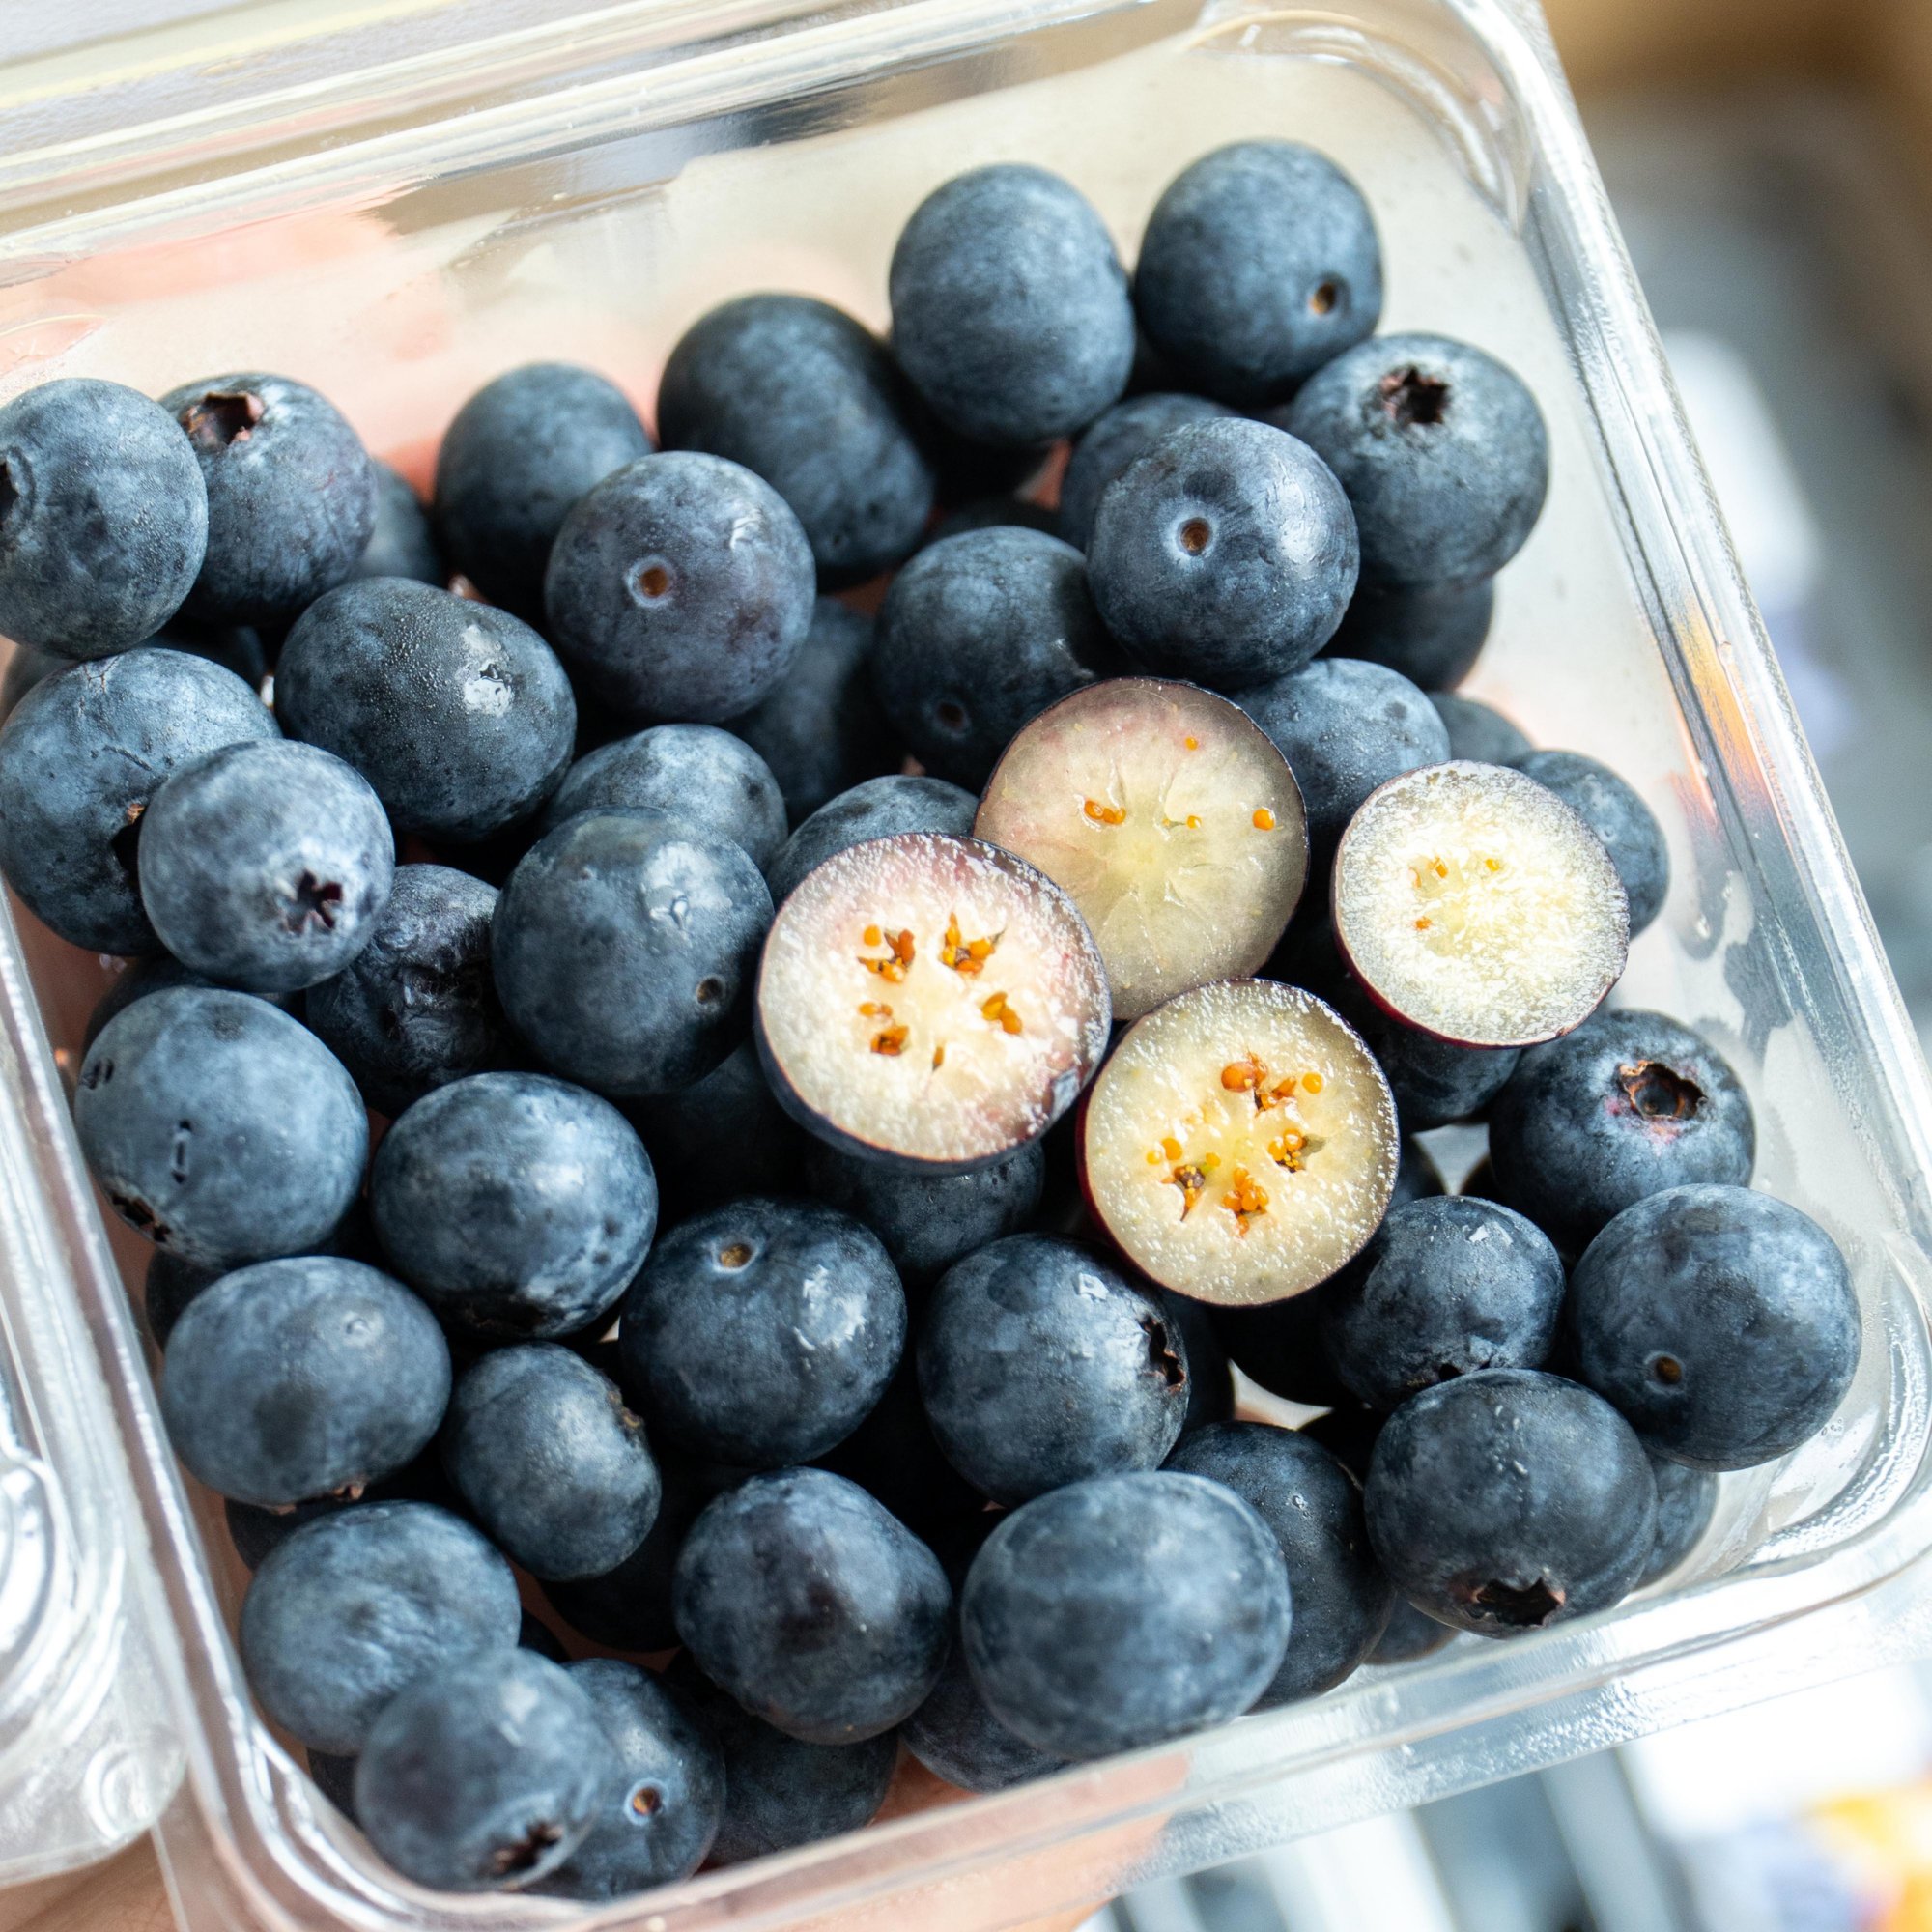
1. **Cut the Blueberries**: Use a small knife or scissors to carefully cut open the blueberries.
2. **Remove the Pulp**: Gently remove the pulp (the soft, fleshy part) from the seeds inside. This can be done using your fingers or a spoon. You may need to remove some of the juice as well.
3. **Clean the Seeds**: Place the extracted seeds in a bowl of warm water. Swirl the seeds around to help separate any remaining pulp or fruit juice. You may want to gently rub the seeds between your fingers to ensure they’re clean.
#### Step 3: Allowing Separation
Once you’ve separated the pulp and seeds, leave the container with the seeds and water for a few hours. Over time, the **heavier seeds** will sink to the bottom, while the lighter pulp and debris will float to the top.
#### Step 4: Rinsing Away the Pulp
After the seeds have separated, carefully pour off the water and floating debris, leaving only the seeds behind. Rinse the seeds thoroughly under cool water to ensure all the pulp is removed.
#### Step 5: Drying the Seeds
Place the cleaned seeds on a **paper napkin** or a clean towel to dry. Let them air dry for a day or two until they’re completely dry to the touch. This step is crucial because wet seeds can rot and won’t germinate properly.
#### Step 6: Storing the Seeds
Once the seeds are dry, store them in a **cool, dry place** for up to a month until you’re ready to plant them. You can keep them in a small envelope or a container with a lid to keep them safe from moisture.
### Method 2: Direct Planting of Seeds 🌱
For those who prefer a simpler method, direct planting is another way to propagate blueberries from store-bought berries. While the seed extraction method is the most common, you can also plant the seeds directly into your prepared soil without the need for prior cleaning.
#### Step 1: Selecting and Preparing the Soil
Blueberries thrive in acidic, well-draining soil. Start by choosing a **container with drainage holes**, such as a small pot, or use a seed tray for multiple seeds. Prepare a soil mix by combining **potting soil with a small amount of compost**, ensuring it is aerated and loose.
1. **Choose the Right Soil**: Blueberries require acidic soil, so consider adding **peat moss** or **pine bark** to your mix to lower the pH level if necessary.
2. **Prepare the Container**: Fill the container with your soil mix, leaving about an inch from the top to make watering easier.
#### Step 2: Planting the Seeds
For direct planting, you don’t need to worry about extracting the seeds. Simply spread the seeds evenly across the surface of the soil. You can plant **several seeds per container** but make sure they’re spaced at least an inch apart.
1. **Planting Depth**: If the seeds are large enough, press them gently into the soil. For very small seeds, just sprinkle them on top of the soil.
2. **Covering the Seeds**: Lightly cover the seeds with a thin layer of soil, ensuring they’re secure but not buried too deeply.
#### Step 3: Creating Humidity
To help the seeds germinate, you’ll need to maintain a humid environment.
1. **Sprinkle Water**: Gently water the soil until it’s moist but not waterlogged.
2. **Cover the Container**: Use plastic wrap or a humidity dome to cover the container, trapping moisture inside to encourage seed germination.
#### Step 4: Providing Light and Warmth
Blueberry seeds require **bright, indirect sunlight** to germinate. Place the container in a warm, sunny spot where it can receive about **6-8 hours of indirect sunlight** a day. If you don’t have enough natural light, consider using **grow lights** to provide the necessary light for the seeds.
1. **Temperature**: Keep the container in a warm area, ideally between **65-75°F** (18-24°C), to encourage proper seed germination.
### Step 7: Care and Maintenance of Your Blueberry Seedlings
Once the seeds have germinated, you’ll need to take care of the seedlings as they grow. Keep the soil consistently moist, but not soggy. Thin out any weak seedlings, leaving the healthiest one to grow.
1. **Transplanting**: After a few weeks, when the seedlings are strong enough, you can transplant them into larger pots or into the garden.
2. **Fertilizing**: Apply **organic fertilizer** every few weeks to promote healthy growth.
### Step 8: Harvesting Your Blueberries
Growing blueberries from store-bought seeds takes time, but eventually, your plants will bear fruit. Be patient and provide consistent care, and you’ll be rewarded with homegrown blueberries in about **2-3 years**.
1. **When to Harvest**: Blueberries are ready to harvest when they turn a deep blue color and are fully ripe. They should easily come off the plant when gently pulled.
### Conclusion: Enjoy Your Homegrown Blueberries 🫐
Growing blueberries from store-bought berries is a fun, cost-effective, and eco-friendly way to start your own fruit garden. By following the methods outlined above—whether you’re extracting seeds from the pulp or planting directly in the soil—you’ll be able to grow your own blueberries and enjoy fresh, flavorful fruit right at home.
So, go ahead and give it a try With a little patience and some basic gardening care, you’ll soon have thriving blueberry plants that will reward you with delicious berries for years to come. Happy gardening 🌱✨